Instrukcja obsługi Anchor Audio EXP-7500U1AC
Anchor Audio głośnik EXP-7500U1AC
Przeczytaj poniżej 📖 instrukcję obsługi w języku polskim dla Anchor Audio EXP-7500U1AC (7 stron) w kategorii głośnik. Ta instrukcja była pomocna dla 12 osób i została oceniona przez 4 użytkowników na średnio 4.8 gwiazdek
Strona 1/7
MADE IN USA
SIX YEAR WARRANTY
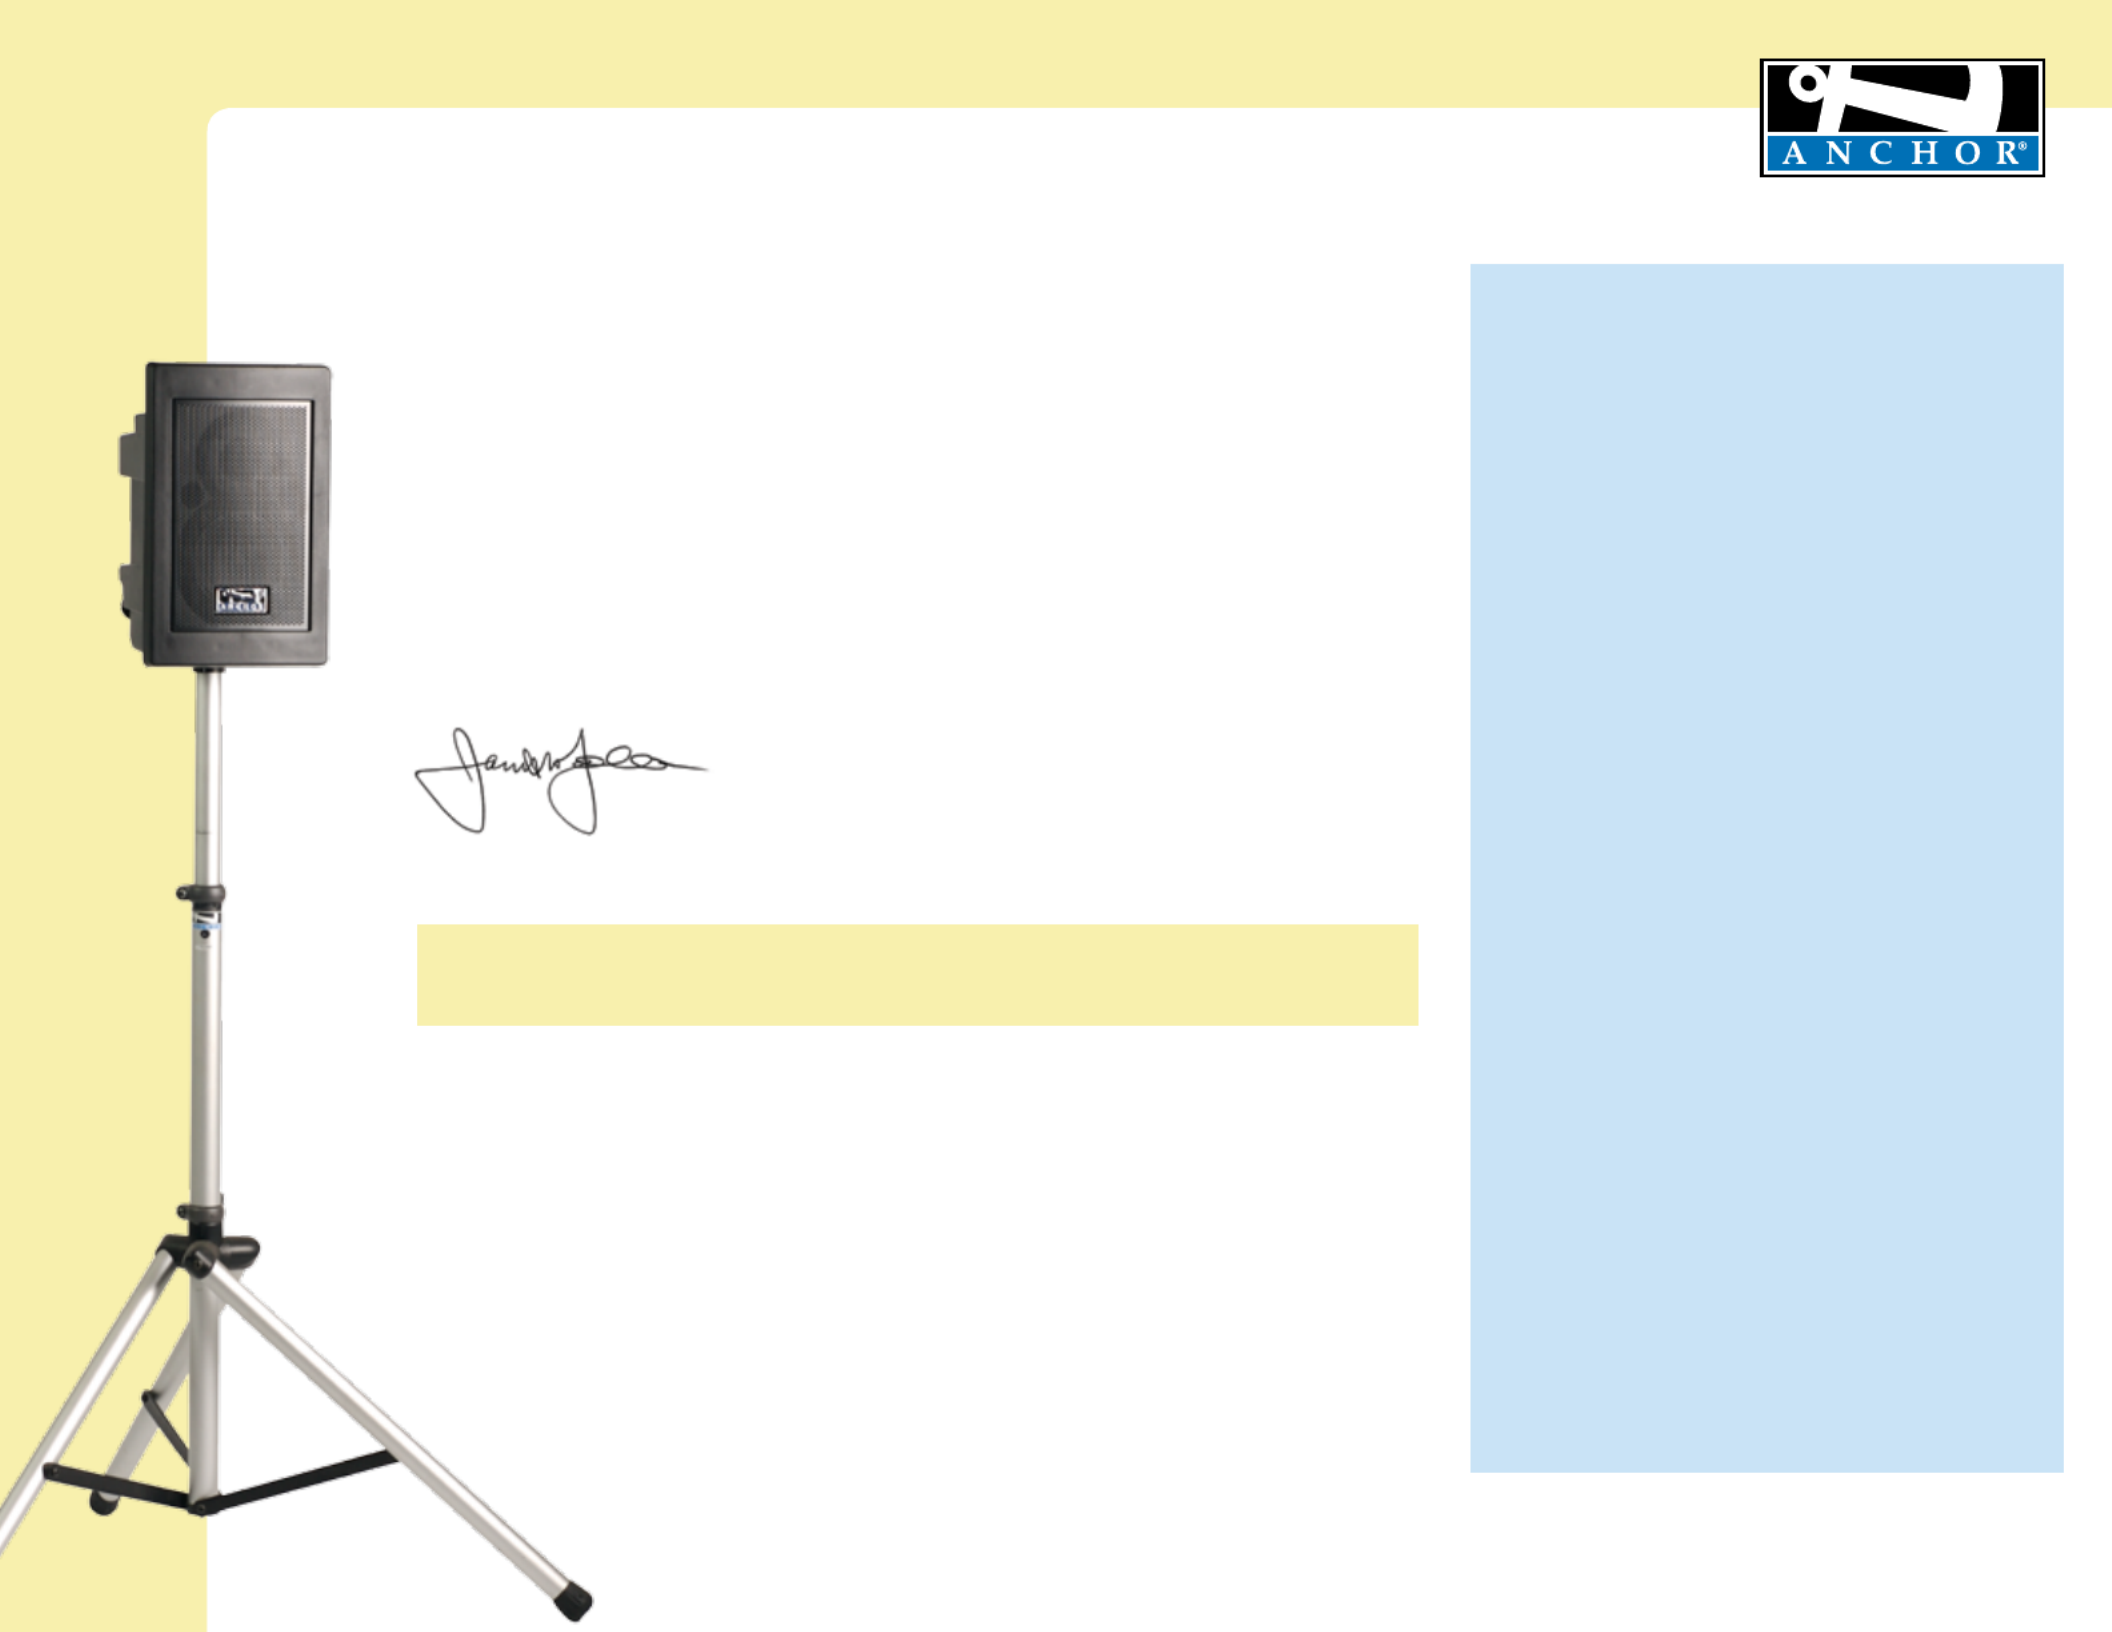
Explorer Pro Sound System Owners Manual
For System Setup & Operation Videos Visit Our Website: www.anchoraudio.com
MADE IN USA
SIX YEAR WARRANTY
A Message from the President
Congratulations on purchasing an Anchor Audio sound system, the choice of thousands
of satisfied customers including the White House, prestigious universities, school
districts nationwide, police and fire departments, and all branches of the U.S. military.
Our products are made of the finest materials and built with pride in the U.S.
We’ve incorporated the latest technology into your sound system yet kept it simple to
use. Just take a few minutes to review this manual to ensure the maximum enjoyment
of your Anchor system. Or, you can view a demonstration video complete with a trouble
shooting section at www.anchoraudio.com.
Feel free to call our friendly customer support staff at 1-800-ANCHOR1 Monday thru
Friday between 7:00am and 5:00pm Pacific Standard Time with any questions. We
love to hear from our customers.
Janet Jacobs – President
on behalf of all Anchor Employees
CONTENTS
GETTING STARTED / WARRANTY INFORMATION1 .........................................................................
BASIC SYSTEM OPERATION / SPEAKER STAND SETUP 2 ..............................................................
CONNECTING SOUND SYSTEM / CONTROLLING FEEDBACK 3 ......................................................
OPERATING THE BUILT-IN UHF WIRELESS RECEIVER / CERTIFICATION 4 ........................................
OPERATING THE WIRELESS MICROPHONE / TRANSMITTER .......................................................
5
CARING FOR YOUR BATTERY 6 ...................................................................................................
HAVING TROUBLE WITH YOUR SOUND SYSTEM? / TECHNICAL SPECIFICATIONS .........................
7
GETTING STARTED
Please check your new unit carefully for any
damage which may have occurred during shipment.
Each Anchor product is carefully inspected at the
factory and packed in specially designed boxes for
safe transport.
Notify the freight carrier immediately of any damage
to the shipping box or product. Repack the unit
in the original box and wait for inspection by the
carrier’s claim agent. Notify your dealer of the
pending freight claim.
NOTE: All damage claims must be made with freight carrier!
RETURNING SYSTEMS FOR SERVICE
OR REPAIR
For service or repair, please contact the dealer
you purchased your system from or Anchor Audio
Customer Service at 800.262.4671 to obtain a RA
(Return Authorization)
number. You may
also complete an online RA request form at
www.anchoraudio.com. All shipments to Anchor
Audio must include a RA number and must be
shipped prepaid. C.O.D. shipments will be refused
and returned at your expense.
IMPORTANT: Save the shipping box & packing materials,
they were specially designed to ship your unit!
WARRANTY REGISTRATION
Visit our website at www.anchoraudio.com and
select “Warranty Registration.” Complete the
online form to activate the six-year limited warranty
on your Explorer Pro sound system and two-year
limited warranty for the microphones.
1
100-0172-000/A - 11/10
Specyfikacje produktu
| Marka: | Anchor Audio |
| Kategoria: | głośnik |
| Model: | EXP-7500U1AC |
| Kolor produktu: | Czarny |
| Rodzaj zasilania: | Prąd przemienny |
| Wbudowany wyłącznik: | Tak |
| Częstotliwość wejściowa AC: | 50 - 60 Hz |
| Napięcie wejściowe AC: | 110 - 220 V |
| Wysokość produktu: | 430 mm |
| Szerokość produktu: | 270 mm |
| Głębokość produktu: | 240 mm |
| Waga produktu: | 7500 g |
| Rekomendowane użycie: | PC |
| Technologia łączności: | Przewodowa |
| Moc wyjściowa (RMS): | 75 W |
| Skrócona instrukcja obsługi: | Tak |
| Przewody: | Prąd przemienny |
| Kanały wyjścia audio: | 1.0 kan. |
| Przewodowa sieć LAN: | Nie |
| Wejście XLR: | Tak |
| Diody LED: | Nie |
| Baterie w zestawie: | Nie |
| Wyście mocy ac: | Tak |
| Regulacja głośności: | obrotowy |
| Zasięg częstotliwości: | 80 - 16000 Hz |
| Rozmieszczenie głośników: | Podłoga |
| Obudowa głośnika: | Zamknięty |
| Położenie głośnika: | Przednie |
| Ilość przetworników: | 2 |
| Głośnik wysokotonowy: | Nie |
| Głośnik niskotonowy: | Tak |
| Wzmacniacz: | Nie |
| Czułość: | 110 dB |
| Ustawienia korektora: | Nie |
| Regulacja poziomu tonów niskich: | Tak |
| Moc szczytowa (PMPO): | 100 W |
| Odtwarzacz mp3: | Nie |
| Złącze(a): | 2 x Lo-Z 1k Ω XLR, 2 x Hi-Z 10k Ω 1/4", Lo-Z 1/4” |
| Typ głośnika: | 2-drożny |
| Głębokość: | 10.5 " |
| Wysokość (imperialna): | 17 " |
| Szerokość (imperialna): | 9.5 " |
| Liczba głośników niskotonowych: | 1 |
| Średnica głośnika niskotonowego (imperial): | 6.5 " |
| Średnica głośnika niskotonowego: | 165 mm |
Potrzebujesz pomocy?
Jeśli potrzebujesz pomocy z Anchor Audio EXP-7500U1AC, zadaj pytanie poniżej, a inni użytkownicy Ci odpowiedzą
Instrukcje głośnik Anchor Audio

15 Września 2024
15 Września 2024
15 Września 2024
15 Września 2024
15 Września 2024
15 Września 2024
15 Września 2024
15 Września 2024
15 Września 2024
15 Września 2024
Instrukcje głośnik
Najnowsze instrukcje dla głośnik
8 Kwietnia 2025
8 Kwietnia 2025
8 Kwietnia 2025
7 Kwietnia 2025
7 Kwietnia 2025
7 Kwietnia 2025
5 Kwietnia 2025
3 Kwietnia 2025
3 Kwietnia 2025
3 Kwietnia 2025