Instrukcja obsługi Luxul XGS-1008
Luxul przełącznik XGS-1008
Przeczytaj poniżej 📖 instrukcję obsługi w języku polskim dla Luxul XGS-1008 (8 stron) w kategorii przełącznik. Ta instrukcja była pomocna dla 34 osób i została oceniona przez 6 użytkowników na średnio 4.7 gwiazdek
Strona 1/8
FoldFoldFold
READ ME FIRST
QUICK INSTALL GUIDE
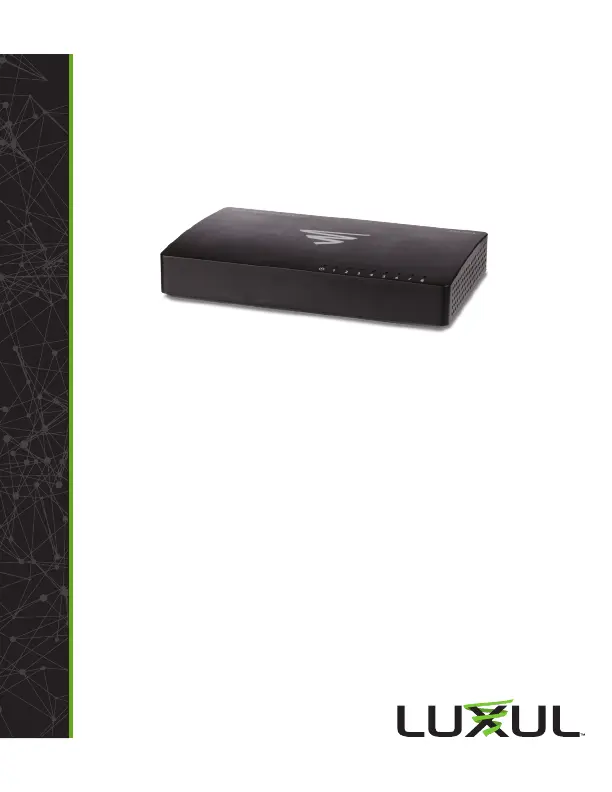
8-Port Gigabit Switch
XGS-1008
Includes:
XGS-1008 8-Port Gigabit Switch
Power Adapter
INSTALLATION AND SETUP
1
Physical Installation
Install the XGS-1008 in a stable/safe place to avoid any possible damage. Avoid
placement in direct sunlight and do not place heavy articles on the XGS-1008.
Ensure there is adequate space for proper heat dissipation and ventilation
around the switch.
XGS-1008 Front Panel and Side View Showing Ventilation
2
Connecting Power
Connect the included AC power adapter to a power outlet near the XGS-1008,
then connect the power adapter plug to the switch power connector.
XGS-1008 Rear Panel Detail with DC Power Connector
cCAUTION:Use only the included power supply. If a dierent power
supply is used, it could damage the XGS-1008.
Sales
P: 801-822-5450
E: sales@luxul.com
Technical Support
P: 801-822-5450 Option 3
E: support@luxul.com
LUX-QIG-XGS-1008-v7 06271702
Copyright and Trademark Notices
No part of this document may be modified or adapted in any way, for any purposes without permission
in writing from Luxul. The material in this document is subject to change without notice. Luxul reserves
the right to make changes to any product to improve reliability, function, or design. No license is granted,
either expressly or by implication or otherwise under any Luxul intellectual property rights. An implied
license only exists for equipment, circuits and subsystems contained in this or any Luxul product.
© Copyright 2017 Luxul. All rights reserved. The name Luxul, the Luxul logo, the Luxul logo mark and
Simply Connected are all trademarks and or registered trademarks of Luxul Wireless, Inc. All other
trademarks and registered trademarks are property of their respective holders.
Specyfikacje produktu
| Marka: | Luxul |
| Kategoria: | przełącznik |
| Model: | XGS-1008 |
Potrzebujesz pomocy?
Jeśli potrzebujesz pomocy z Luxul XGS-1008, zadaj pytanie poniżej, a inni użytkownicy Ci odpowiedzą
Instrukcje przełącznik Luxul

14 Stycznia 2025
14 Stycznia 2025
14 Stycznia 2025
14 Stycznia 2025
14 Stycznia 2025
14 Stycznia 2025
14 Stycznia 2025
14 Stycznia 2025
14 Stycznia 2025
14 Stycznia 2025
Instrukcje przełącznik
Najnowsze instrukcje dla przełącznik
9 Kwietnia 2025
9 Kwietnia 2025
7 Kwietnia 2025
5 Kwietnia 2025
4 Kwietnia 2025
4 Kwietnia 2025
4 Kwietnia 2025
3 Kwietnia 2025
3 Kwietnia 2025
2 Kwietnia 2025