Instrukcja obsługi Microchip PS700
Microchip
Nie skategoryzowane
PS700
Przeczytaj poniżej 📖 instrukcję obsługi w języku polskim dla Microchip PS700 (14 stron) w kategorii Nie skategoryzowane. Ta instrukcja była pomocna dla 8 osób i została oceniona przez 4.5 użytkowników na średnio 4.4 gwiazdek
Strona 1/14

2004 Microchip Technology Inc. DS21771B-page 1
PS7051/PS7052
Features
•PS700 tested, fully populated modules for
evaluation
•Designed to work with 1 and 2 series cell Lithium
configurations
•Performs all major battery management functions
including accurate capacity monitoring
•SMBus v1.1 with PEC/CRC-8 communication
with system host
•High accuracy measurement of charge/discharge
current, voltage and temperature with on-chip
15-bit integrating A/D
•Precise capacity reporting using Microchip
patented algorithms and 3D battery cell models
•3D models and “learned” parameters stored in
integrated EEPROM
•Extremely low-power operation:
- Sleep mode: < 20 µA typical
- Run mode: < 100 µA typical
- Sample mode: < 50 µA typical
•Complete hardware and software development
tools available
•Overall mechanical dimensions:
- 0.248 W x 1.200 L (inches)
- 6.30 W x 30.50 L (millimeters)
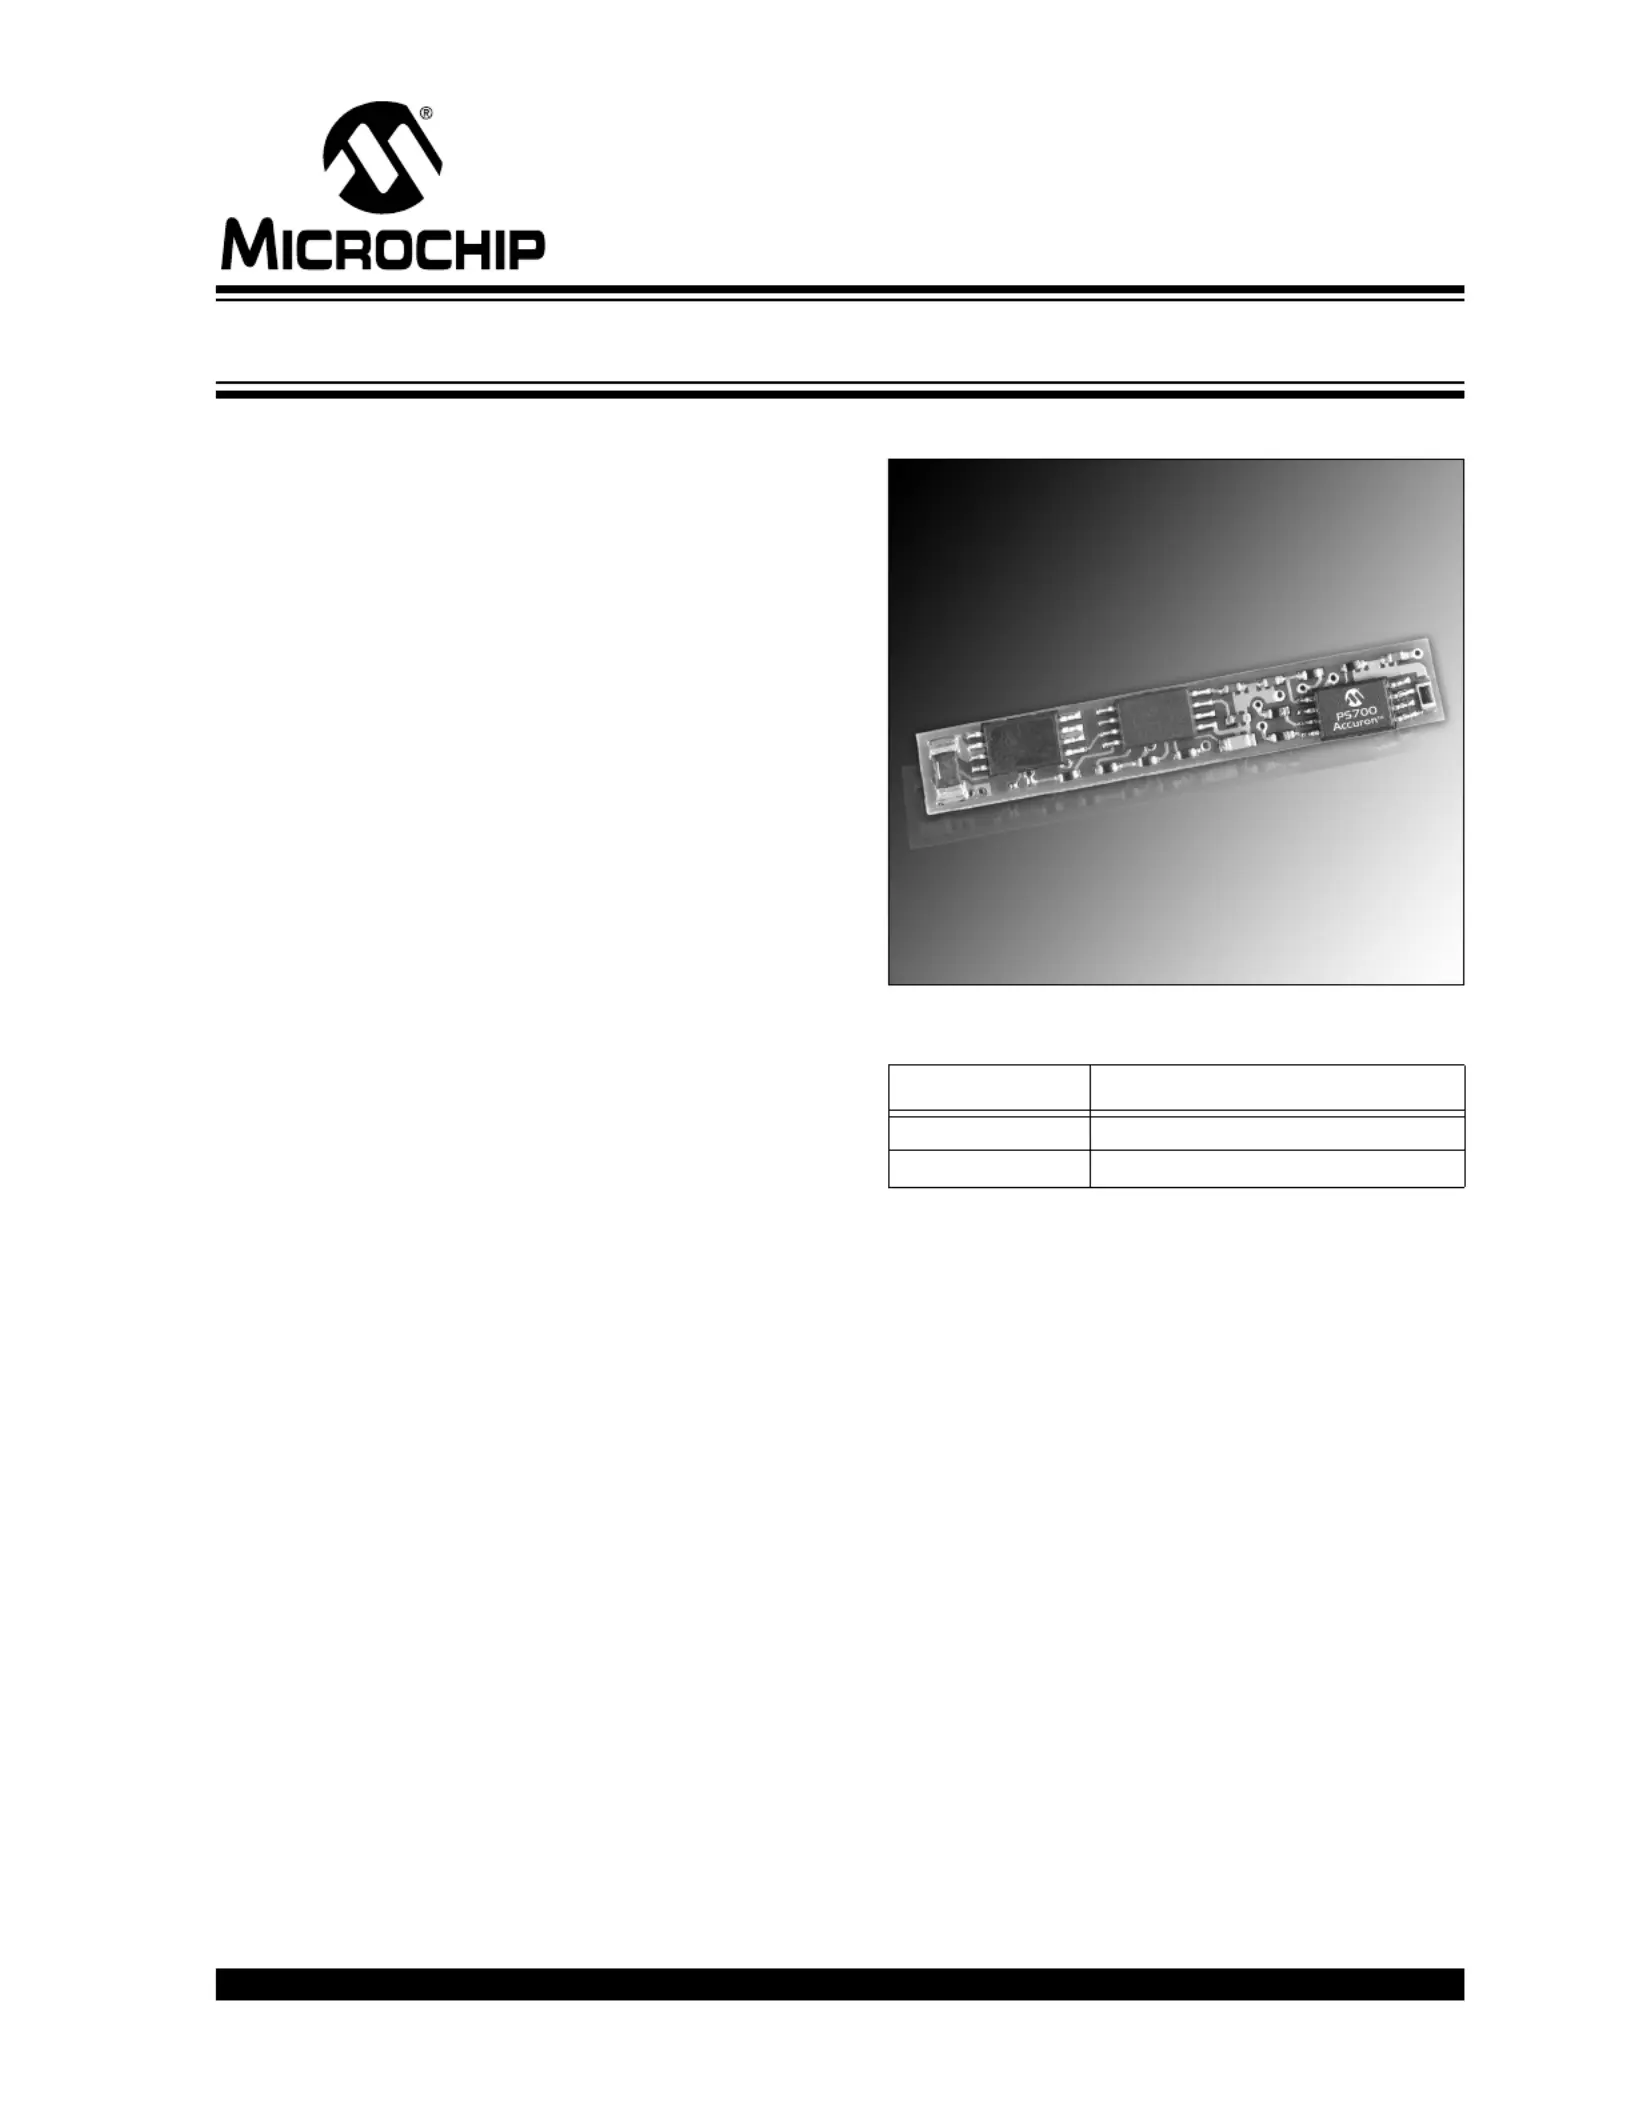
Board Photo
Ordering Information
Part Number Description
PS7051 Li Ion - 1 series cell
PS7052 Li Ion - 2 series cells
PS700 Battery Monitor and Safety Module

PS7051/PS7052
DS21771B-page 2 2004 Microchip Technology Inc.
1.0 GENERAL DESCRIPTION
The PS7051 and PS7052 modules are complete Smart
Battery controller subsystems based on the Microchip
PS700 battery monitor. The modules are designed to
operate in a battery pack consisting of one (1) or two
(2) series connected Lithium cells. The module con-
sists of the Microchip PS700 fuel gauge IC and a Seiko
battery protection IC.
1.1 Quick Start – Pack Assembly
Follow these directions to assemble a pack with the
PS705X module.
•Use standard precautions when handling static
sensitive devices.
•Modules should be connected to battery cells in
the order indicated below to insure proper start-up
and operation. Wires should be attached to the
modules first and then connected to the battery
cells as instructed.
•The connection sequence is critical to successful
use of the PS700 family of CMOS ASICs. The
pack positive should be securely connected to the
module first, followed by pack negative.
Step 1: Connect wires to module. Use large diameter
wire (18 AWG-20 AWG) or tabs for current carrying
lines from VR, V2 (PS7052 only) and V1. All others are
signal only lines (24 to 22 AWG).
Step 2: Connect V1 to the most positive point on the
battery cell stack.
Step 3: Connect VR to the most negative point on the
battery cell stack.
Step 4: For PS7052 only, connect V2 to the middle of
the cell stack.
Step 5: Connect external connector to B-, C, D and B+.
Step 6: Program the assembled pack using Microchip’s
PowerMate™ software and PowerCal™ 2 board or
PowerInfo™ 2 board hardware. The EEPROM param-
eters can be changed at will using the utilities on the EE
page in the PowerMate software.
Step 7: Calibrate the pack using the PowerMate
software and PowerCal 2 board hardware. The pack is
now ready for use.
FIGURE 1-1: PS7051 BOARD ASSEMBLY (SIDE 1)
FIGURE 1-2: PS7051 BOARD ASSEMBLY (SIDE 2)
V1
NTC1
NTC2
B+
B-C D
V2

2004 Microchip Technology Inc. DS21771B-page 3
PS7051/PS7052
FIGURE 1-3: PS7052 BOARD ASSEMBLY (SIDE 1)
FIGURE 1-4: PS7052 BOARD ASSEMBLY (SIDE 2)
V1
NTC1
NTC2
B+
B-C D
V2
V2
2
Specyfikacje produktu
Marka: | Microchip |
Kategoria: | Nie skategoryzowane |
Model: | PS700 |
Potrzebujesz pomocy?
Jeśli potrzebujesz pomocy z Microchip PS700, zadaj pytanie poniżej, a inni użytkownicy Ci odpowiedzą
Instrukcje Nie skategoryzowane Microchip
12 Marca 2025
12 Marca 2025
6 Marca 2025
5 Marca 2025
2 Marca 2025
2 Marca 2025
1 Marca 2025
1 Marca 2025
25 Lutego 2025
25 Lutego 2025
Instrukcje Nie skategoryzowane
- Nie skategoryzowane Simrad
- Nie skategoryzowane Linhof
- Nie skategoryzowane Osprey
- Nie skategoryzowane Metronic
- Nie skategoryzowane PeakTech
- Nie skategoryzowane Exquisit
- Nie skategoryzowane RIX
- Nie skategoryzowane Drawmer
- Nie skategoryzowane I-PRO
- Nie skategoryzowane DeLonghi
- Nie skategoryzowane Abus
- Nie skategoryzowane Scotsman
- Nie skategoryzowane Esatto
- Nie skategoryzowane ETON
- Nie skategoryzowane DVDO
Najnowsze instrukcje dla Nie skategoryzowane
9 Kwietnia 2025
9 Kwietnia 2025
9 Kwietnia 2025
9 Kwietnia 2025
9 Kwietnia 2025
9 Kwietnia 2025
9 Kwietnia 2025
9 Kwietnia 2025
9 Kwietnia 2025
9 Kwietnia 2025