Instrukcja obsługi Middle Atlantic PDW-12X220J
Middle Atlantic Nie skategoryzowane PDW-12X220J
Przeczytaj poniżej 📖 instrukcję obsługi w języku polskim dla Middle Atlantic PDW-12X220J (4 stron) w kategorii Nie skategoryzowane. Ta instrukcja była pomocna dla 19 osób i została oceniona przez 3 użytkowników na średnio 4.9 gwiazdek
Strona 1/4
I-00349 Rev A
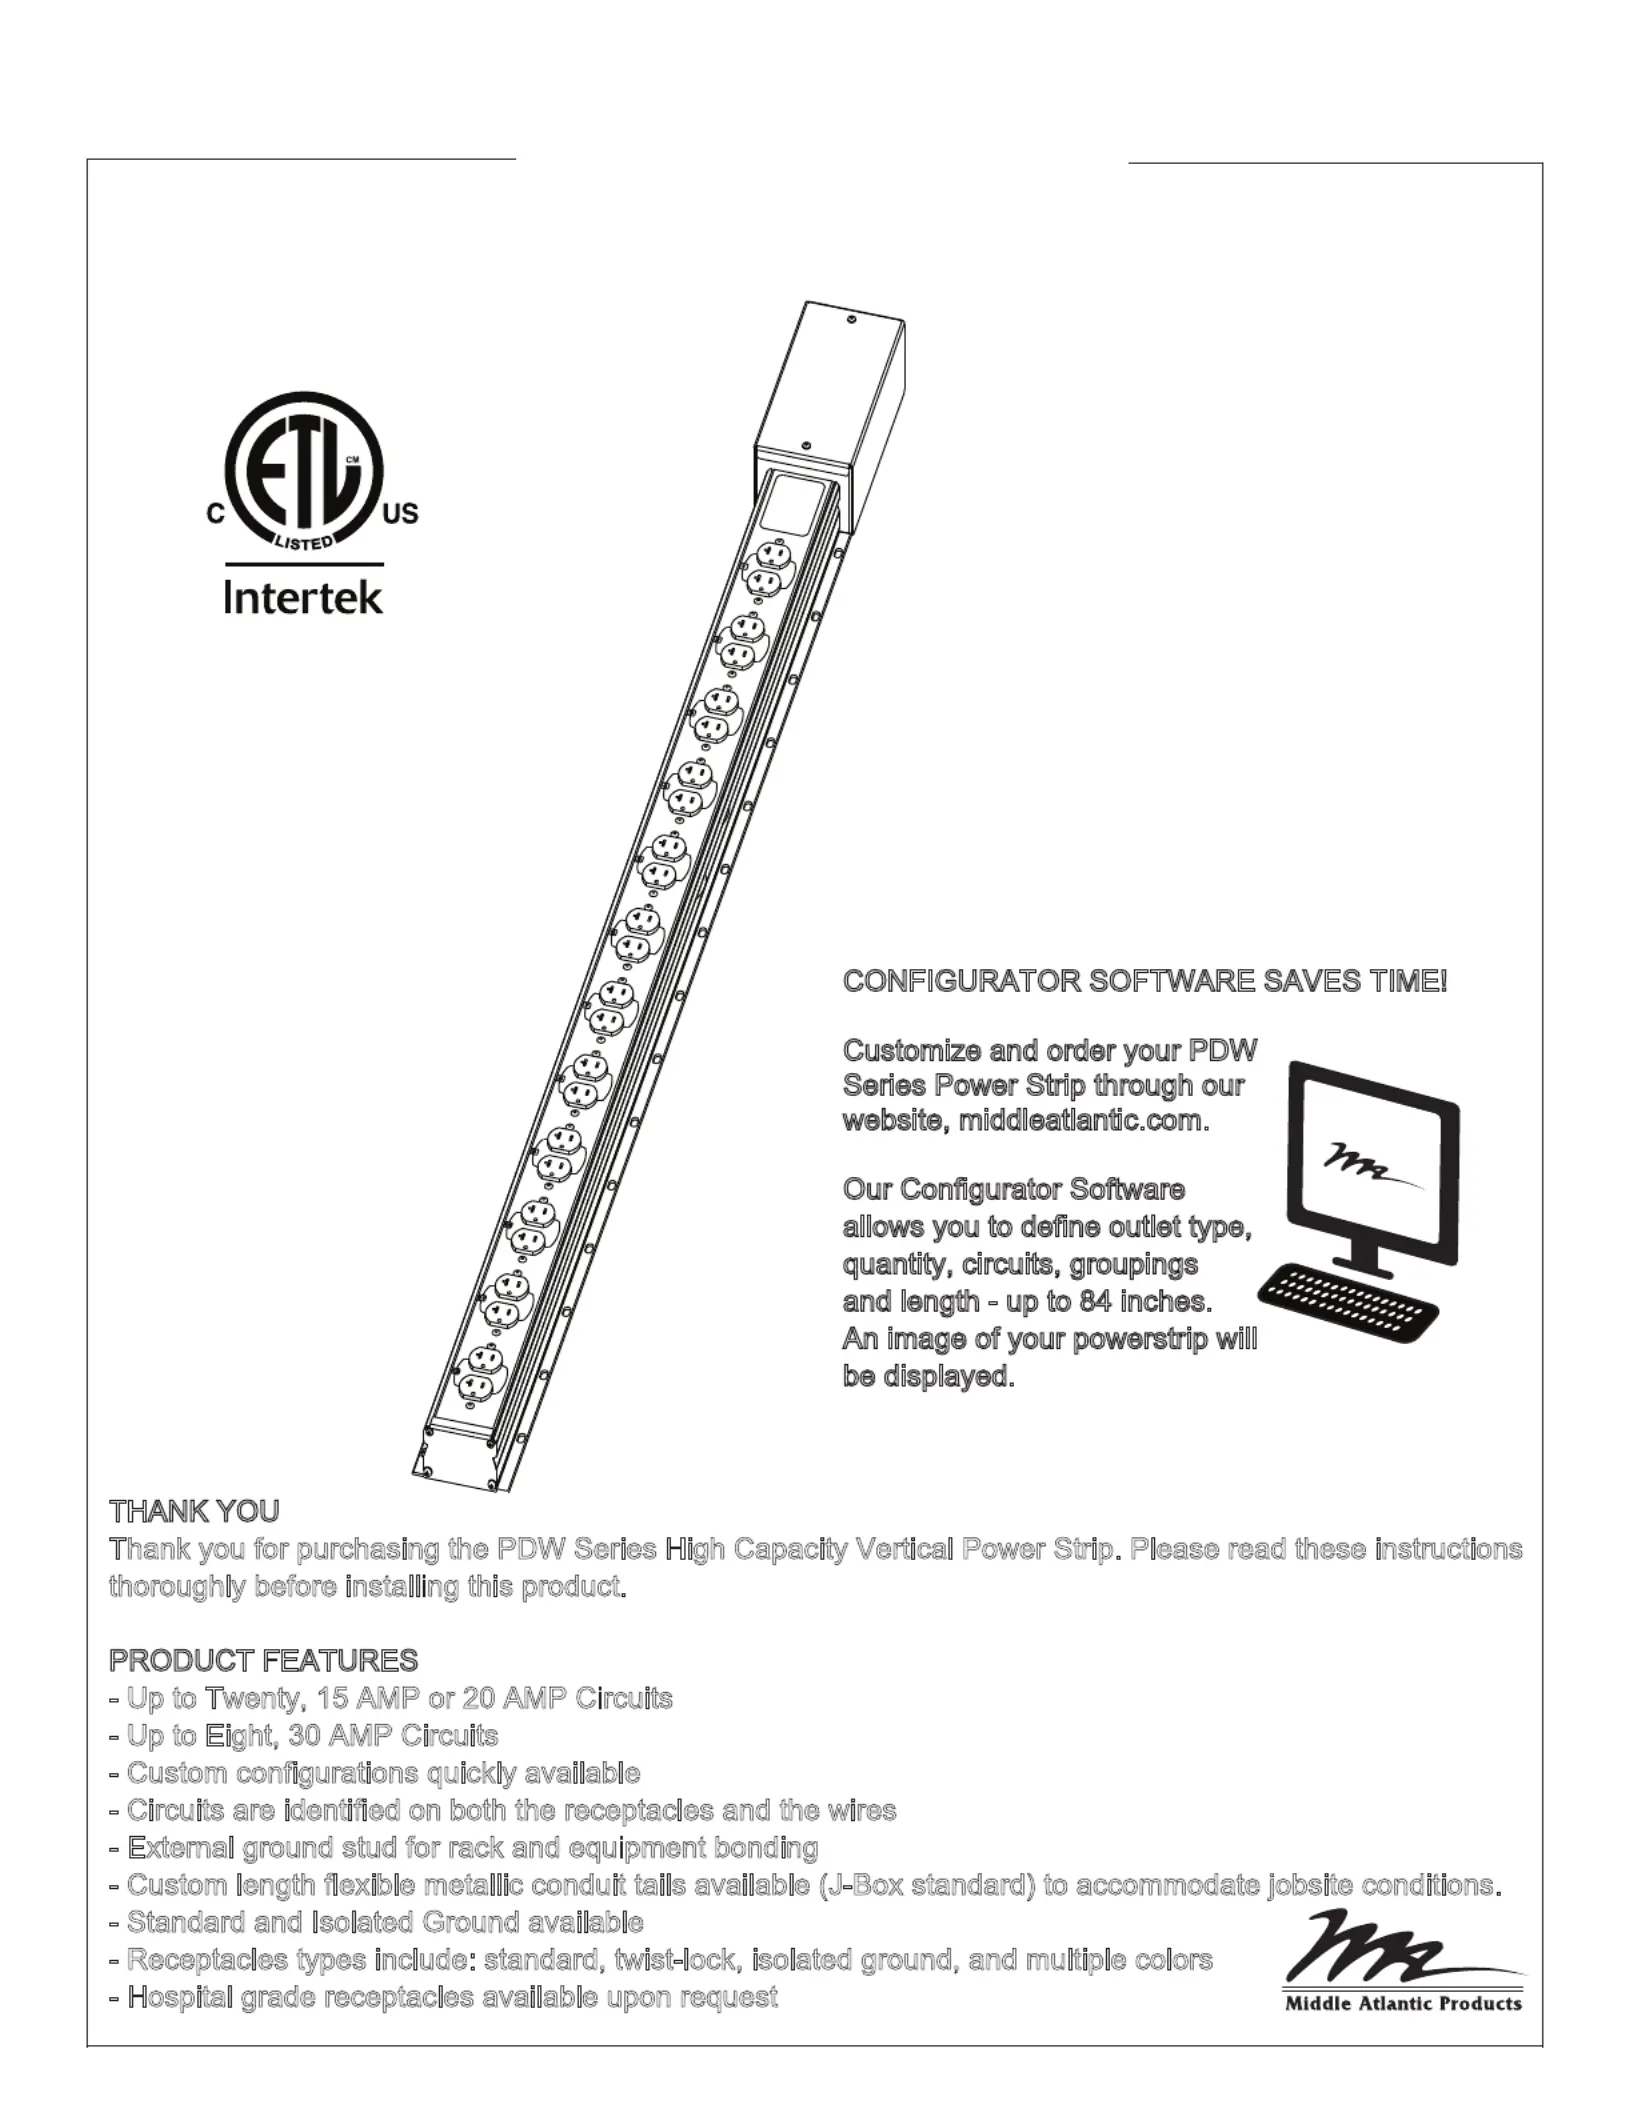
PDW SERIES
High Capacity Vertical Power Strip
Instruction Sheet
CONFIGURATOR SOFTWARE SAVES TIME!
Customize and order your PDW
Series Power Strip through our
website, middleatlantic.com.
Our Configurator Software
allows you to define outlet type,
quantity, circuits, groupings
and length - up to 84 inches.
An image of your powerstrip will
be displayed.
THANK YOU
Thank you for purchasing the PDW Series High Capacity Vertical Power Strip. Please read these instructions
thoroughly before installing this product.
PRODUCT FEATURES
- Up to Twenty, 15 AMP or 20 AMP Circuits
- Up to Eight, 30 AMP Circuits
- Custom configurations quickly available
- Circuits are identified on both the receptacles and the wires
- External ground stud for rack and equipment bonding
- Custom length flexible metallic conduit tails available (J-Box standard) to accommodate jobsite conditions.
- Standard and Isolated Ground available
- Receptacles types include: standard, twist-lock, isolated ground, and multiple colors
- Hospital grade receptacles available upon request
Specyfikacje produktu
| Marka: | Middle Atlantic |
| Kategoria: | Nie skategoryzowane |
| Model: | PDW-12X220J |
Potrzebujesz pomocy?
Jeśli potrzebujesz pomocy z Middle Atlantic PDW-12X220J, zadaj pytanie poniżej, a inni użytkownicy Ci odpowiedzą
Instrukcje Nie skategoryzowane Middle Atlantic

3 Kwietnia 2025
2 Kwietnia 2025
2 Kwietnia 2025
2 Kwietnia 2025
2 Kwietnia 2025
2 Kwietnia 2025
2 Kwietnia 2025
2 Kwietnia 2025
2 Kwietnia 2025
2 Kwietnia 2025
Instrukcje Nie skategoryzowane
Najnowsze instrukcje dla Nie skategoryzowane
9 Kwietnia 2025
9 Kwietnia 2025
9 Kwietnia 2025
9 Kwietnia 2025
9 Kwietnia 2025
9 Kwietnia 2025
9 Kwietnia 2025
9 Kwietnia 2025
9 Kwietnia 2025
9 Kwietnia 2025