Instrukcja obsługi AudioControl A600.4
AudioControl odbiornik A600.4
Przeczytaj poniżej 📖 instrukcję obsługi w języku polskim dla AudioControl A600.4 (16 stron) w kategorii odbiornik. Ta instrukcja była pomocna dla 33 osób i została oceniona przez 5 użytkowników na średnio 4.9 gwiazdek
Strona 1/16
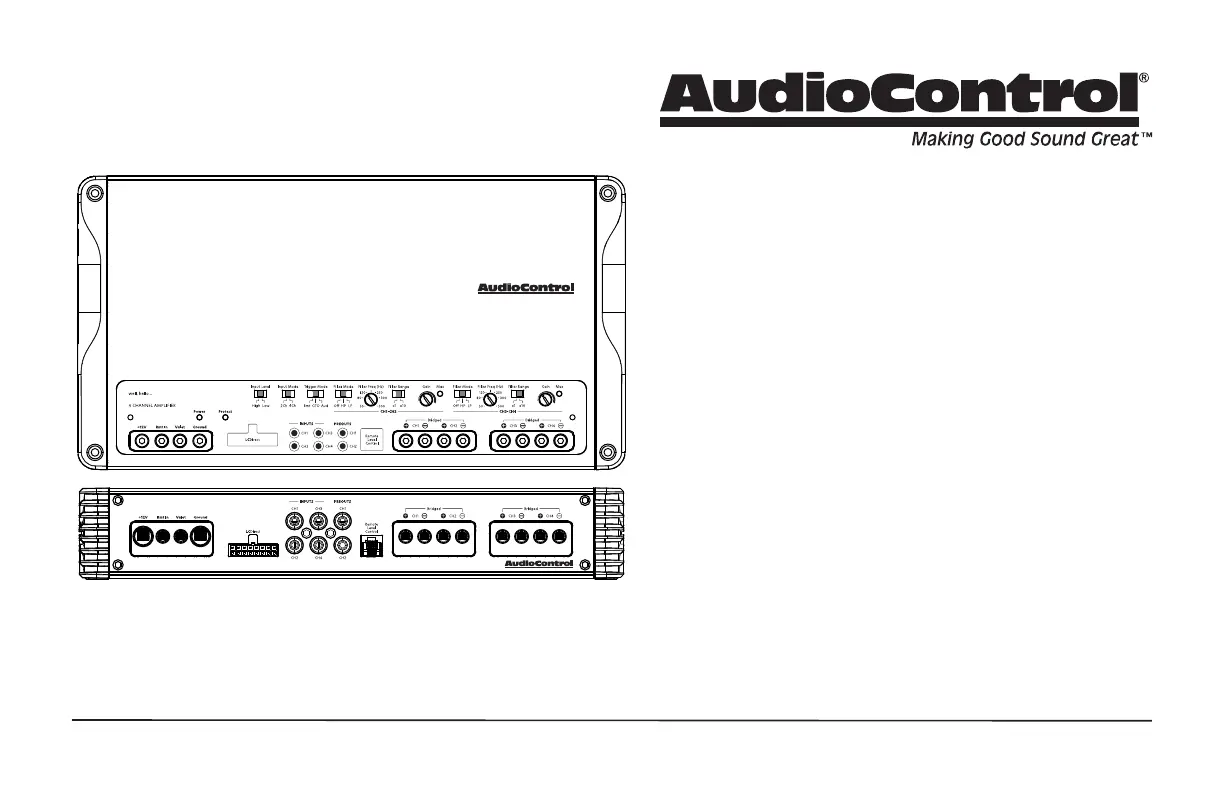
Four Channel Amplifier
Quick Start Guide
Features
• 4 x 100 W @ 4Ω, 150 W @ 2Ω
• 2 x 300 W @ 4Ω bridged
• 2 RCA Line Outputs
• GTO
TM
and Audio Signal Sense
• Variable independent crossovers (12 dB/oct Linkwitz-Riley)
• Optional wired ACR-1 remote level control for Subwoofer
• Valet Mode Enabled
• LC Direct High Level Input
• Start/stop compliant
• EV compliant up to 17V
• Sleek Chassis Design
• Tasty
A600.4
A600.4
A600.4
Specyfikacje produktu
| Marka: | AudioControl |
| Kategoria: | odbiornik |
| Model: | A600.4 |
Potrzebujesz pomocy?
Jeśli potrzebujesz pomocy z AudioControl A600.4, zadaj pytanie poniżej, a inni użytkownicy Ci odpowiedzą
Instrukcje odbiornik AudioControl

5 Stycznia 2025
5 Stycznia 2025
4 Stycznia 2025
4 Stycznia 2025
4 Stycznia 2025
29 Grudnia 2024
28 Grudnia 2024
28 Grudnia 2024
8 Października 2024
8 Października 2024
Instrukcje odbiornik
Najnowsze instrukcje dla odbiornik
9 Kwietnia 2025
9 Kwietnia 2025
5 Kwietnia 2025
4 Kwietnia 2025
3 Kwietnia 2025
2 Kwietnia 2025
2 Kwietnia 2025
1 Kwietnia 2025
30 Marca 2025
30 Marca 2025