Instrukcja obsługi Avallon AWC242FD
Avallon
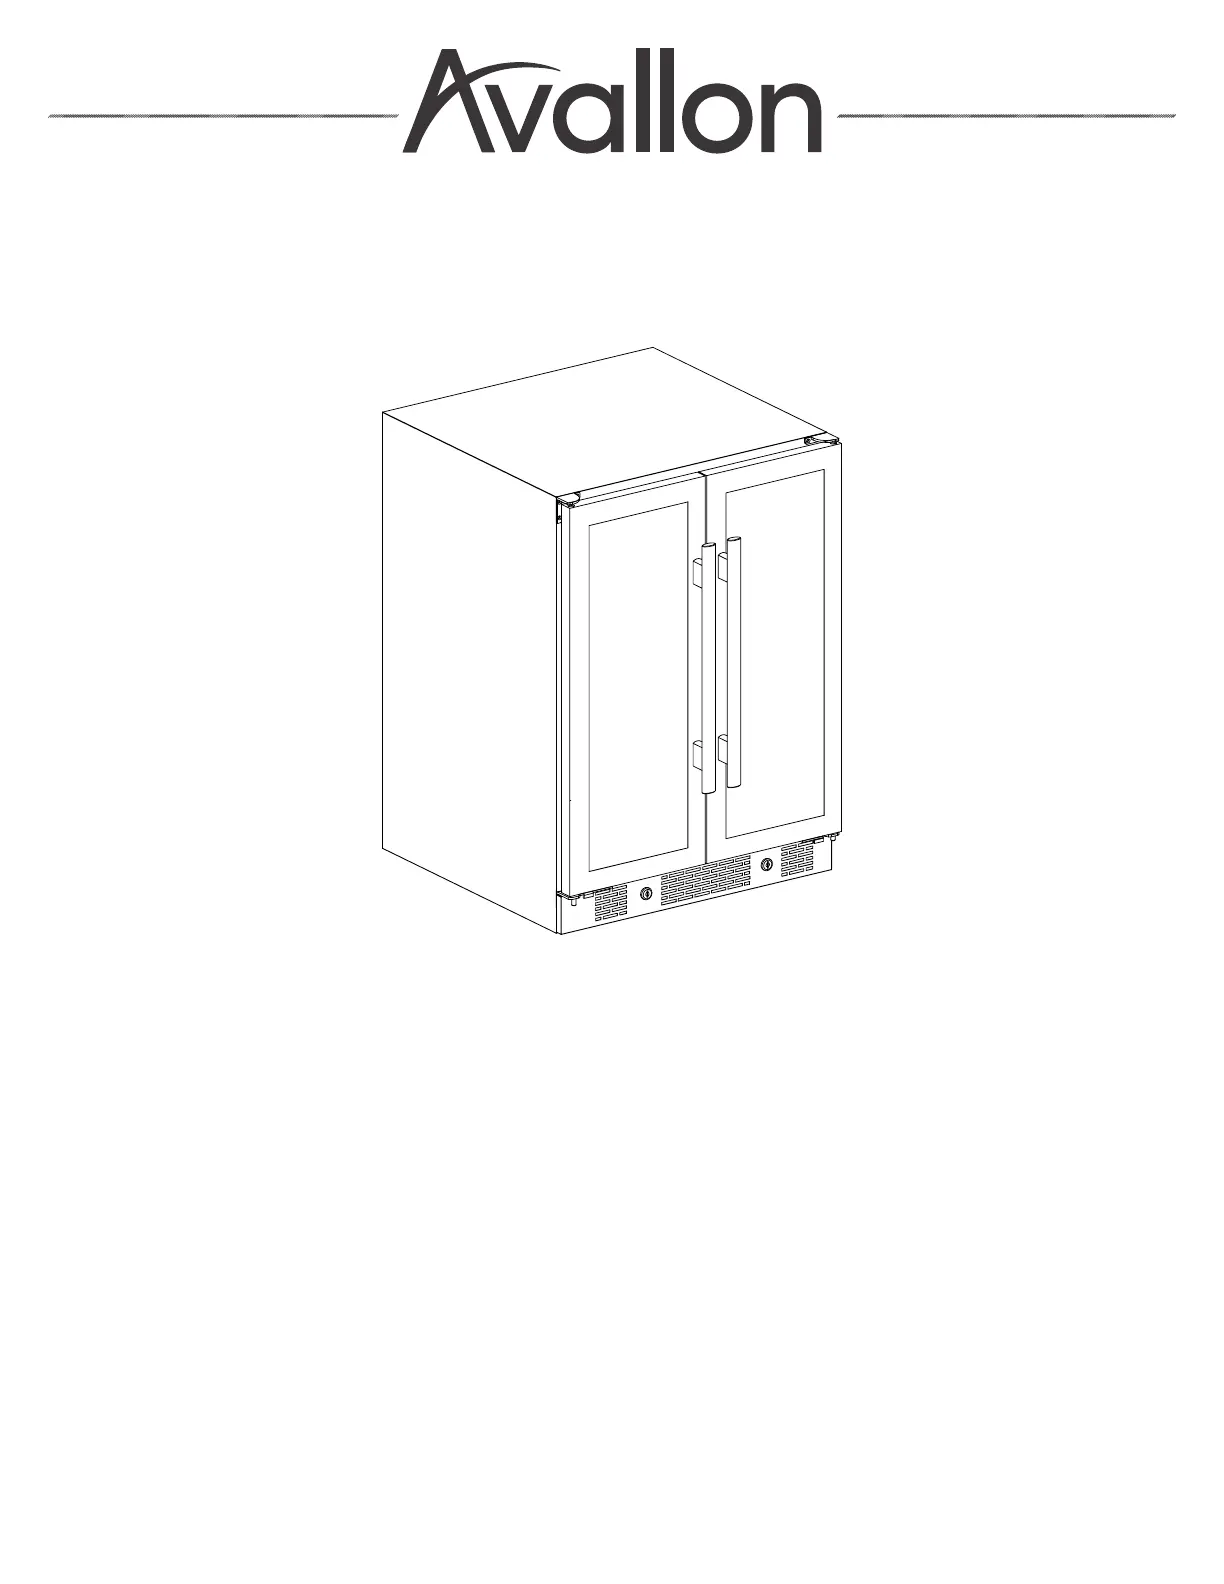
Szafka klimatyczna na wino
AWC242FD
Przeczytaj poniżej 📖 instrukcję obsługi w języku polskim dla Avallon AWC242FD (10 stron) w kategorii Szafka klimatyczna na wino. Ta instrukcja była pomocna dla 8 osób i została oceniona przez 4.5 użytkowników na średnio 4.0 gwiazdek
Strona 1/10
Owner’s Manual
Undercounter Wine Refrigerator
Model: AWC242FD
V1.0-03202021
www.avallon.com
Specyfikacje produktu
| Marka: | Avallon |
| Kategoria: | Szafka klimatyczna na wino |
| Model: | AWC242FD |
Potrzebujesz pomocy?
Jeśli potrzebujesz pomocy z Avallon AWC242FD, zadaj pytanie poniżej, a inni użytkownicy Ci odpowiedzą
Instrukcje Szafka klimatyczna na wino Avallon

10 Stycznia 2025

10 Stycznia 2025

10 Stycznia 2025

10 Stycznia 2025

10 Stycznia 2025

10 Stycznia 2025

10 Stycznia 2025

10 Stycznia 2025

10 Stycznia 2025

10 Stycznia 2025
Instrukcje Szafka klimatyczna na wino
Najnowsze instrukcje dla Szafka klimatyczna na wino

9 Kwietnia 2025

1 Kwietnia 2025

1 Kwietnia 2025

1 Kwietnia 2025

1 Kwietnia 2025

11 Marca 2025

11 Marca 2025

7 Marca 2025

4 Marca 2025

28 Lutego 2025