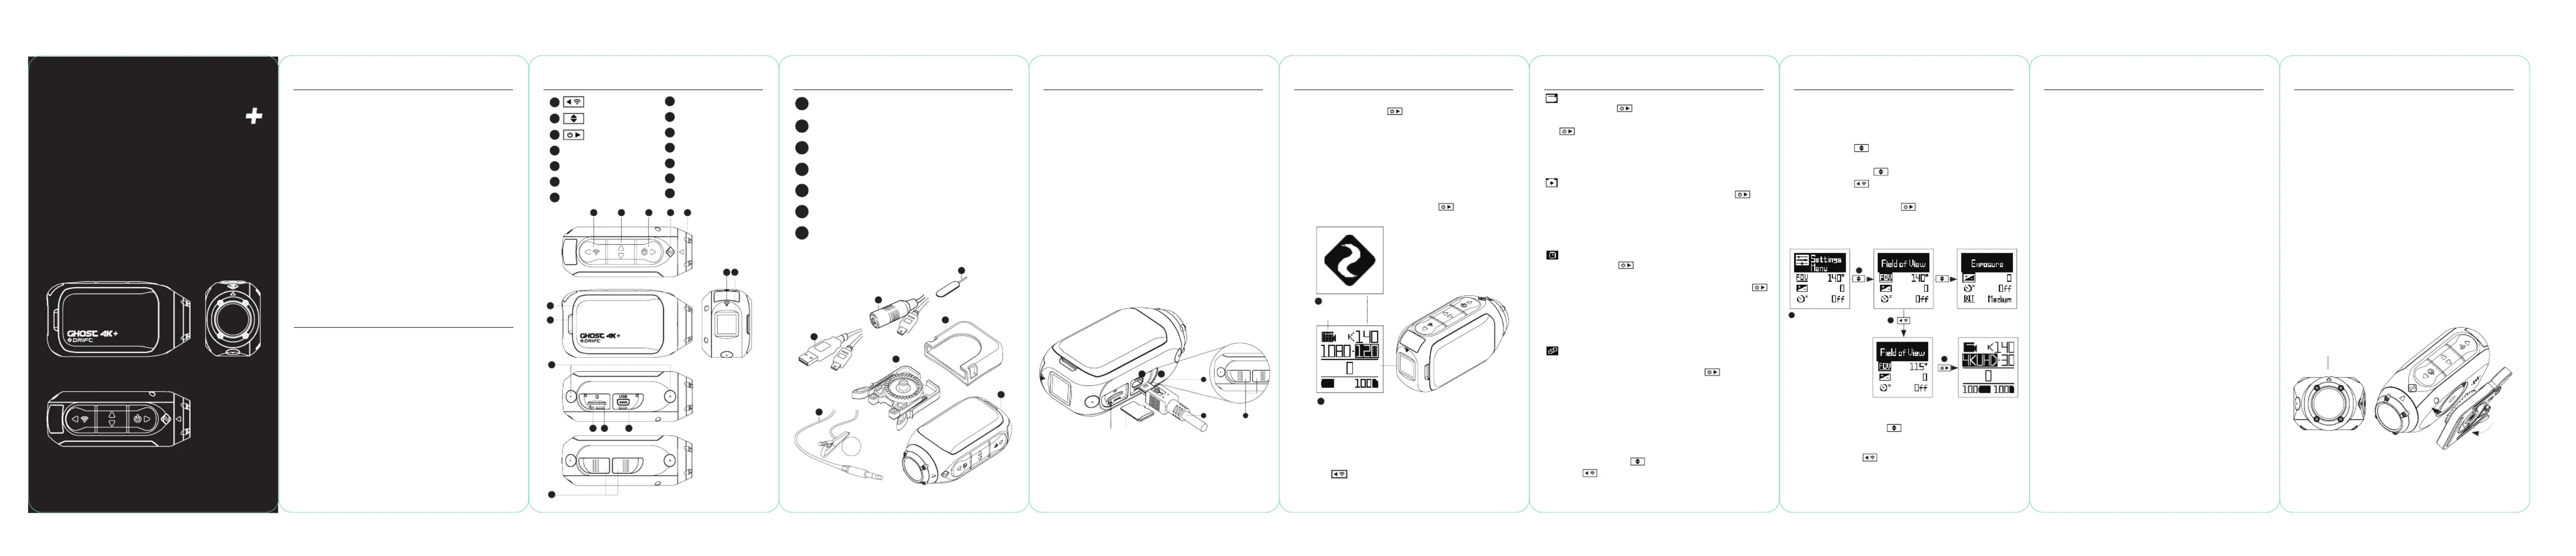
Instrukcja obsługi Drift Ghost 4K+
Drift kamera sportowa Ghost 4K+
Przeczytaj poniżej 📖 instrukcję obsługi w języku polskim dla Drift Ghost 4K+ (3 stron) w kategorii kamera sportowa. Ta instrukcja była pomocna dla 24 osób i została oceniona przez 3 użytkowników na średnio 4.9 gwiazdek
Strona 1/3
-1--2---4---6---8---3-5-7-9
About Your CameraPackage Contents
Getting Started
Initial Setup
1. Uncover the microSD slot by lifting its rubber cover.
2. Insert a Class 10 or higher microSD/HC/ card (up XC
to 128GB).
Format before fi rst usage!
3. Uncover the mini USB port by lifting its rubber cover
4. Connect the camera via a mini USB cable to a
powed USB port, re
and charge the battery for 2.5 hours before fi rst use.
5. Replace the rubber covers securely to cover both
the microSD slot and mini USB port. u are ready Yo
to go!
4
3
12
5
POWER ON/OFF
1. Press and hold the button to power on.
2. The Rear Screen will power on, showing the
welcome display.
3. The camera is now ready to record video or take photos.
4. Current camera mode is indicated by the colour of
the Status LED and
Rear Screen, along with the icon in the top left of the
Rear Screen.
5. To power o , press and hold the button for 3
seconds.
2
4
MODE NAVIGATION
To change the current camera cording mode, re
press the button; changing between Video, Photo,
Timelapse, Photoburst, and General Settings modes.
RESET YOUR CAMERA
When Ghost 4K+ doesn’t response properly, you can
press and hold the “Power” button for 20s to reset it.
Mode Icon
Came ModesSettings Menura
SETTINGS MENU NAVIGATION
1. On arrival to the settings menu, the highlight black
box rests on the top, highlighting the Settings Menu
icon as the starting position.
2. Press the button to navigate down, this
highlights the next setting.
Press hold the button to scroll upwards.
3. Press the button to change the option for that
setting.
4. At any time, press the button to change mode
(returning to Video).
4
1
2
3
In this example pressing once moves highlight block
to the next setting (Field of View), pressing once more
moves to Exposure.
In step 3 pressing
changed FOV 140° to 115°.
Settings
Speaolumker Ve
LED Ss Itatundicator
Indicator Timer
Instant Rdecor
Video Sdtandar
Date
Date Stamp
Default Start-Up Meod
Camera O
THM Files
Language
Reset Ssetting
Format SD Cdar
Serial Nrumbe
Clone Meod
Clone Group
Firmware Version
*Check r ouo cial r website fofi rmware updates.
OFF / LOW / MED / H IGH
OFF / ON
OFF / 5s / 10s / 20s / 1m
OFF / ON
ALALL / NC / PTS / CINEMATIC
YY/MM/DD HHm/m
OFF / ON
RESUME LT SN / VO / PHASESSIOIDEOTO /
TIMELAPSE / PHOTOBURST
NEVER / 2MIN / 5MIN / 10MIN / 20MIN
ON / OFF
EN / DE / FR / IT / ES / CN
YES / NO
YES / NO
XXXXXX
O / Mr / Sastelave
0 / 1 / 2 / 3 / 4 / 5
XXXXXX
Wi-Fi
Wi-Fi Frequency
DVKit
BT Cr Ahleaut
Field of View
Exposure
Self Timer
Bit Reat
Filters
ISensitiviO Sty
Video Tagging
Video Tagging Ilnterva
Car DVR
Car DVR Lp Iloonterva
Video Stabilization
Microphone
Mic Sensitivity
OFF / ON
2.4 / 5.8 GHz
OFF / ON
YES / NO
90° / 1° / 1°1540
-2 / -1 / 0 / +1 / +2
OFF / 3S / 5S / 10S
HIGH / MM / LEDIUOW
NORMIVIIGHAL / VD / LOW LT / WATER
100 / 200 / 400 / 800 / AOUT
OFF / ON
10S / 30S / 1N / 2NMIMI
OFF / ON
10S / 30S / 1N / 2N / 5N / 1MIMIMI0MIN
OFF / ON
FRONT / RREA
OFF / 1 / 2 / 3 / 4 / 5
AB
I
CDE
G
J
F
N
H
MKL
Rear Button
Status DLE
Module Latch
Wi-Fi DLE
Rear Screen
MicroSD Ca Slotrd
Middle Butnto
Rotating Lens
Dual microphones
10 Pin Mini USB Port
Rubber Cover
Front Button
Battery Module
Reset Button
A
D
G
H
I
L
B
E
J
M
C
F
K
N
Ghost 4K+ Camera
Universal Clip
Curved Adhesive Mount
External Microphone
USB-Mic Coerternv
MiniUSB Cable
Reset Tool
A
D
F
B
E
G
C
A
C
B
D
F
E
G
VIDEO MODE
(Green LED) Press the button to start recording. The Status
LED and LCD backlight will fl ash red to indicate recording. Press
the button again to stop recording.
VIDEO SETTINGS
• Resolution
• Frame Rate
PHOTO MODE
(Yellow LED) The camera will capture still images when the
button is pressed, and the status LED and LCD screen will fl ash red
each time a photo is captured.
PHO SETTINGSOT
• Resolution
CHANGE SETTINGS
In any mode press the button to highlight a setting.
Press the button to change the option for the
highlighted setting.
TIMELAPSE MODE
(Purple LED) Press the button to capture a series of still
images at a specifi ed rate. The Status LED and LCD screen will fl ash
red each time an image is captured. stop cording, press the Tore
button once more.
TIMELAPSE SETTINGS
• Resolution
• Timelapse Interval
PHOTOBURST MODE
(Cyan LED) The camera will capture a burst of still images for an
allotted duration and at a specifi ed rate, when the button
is pressed. For best results, use a memory card with the highest
possible data rate.
PHOBURST SETTINGSOT
• Resolution
• Burst Duration/Capture Rate
GHOST 4K
Quick Guide
Thank you for purchasing the Drift Ghost 4K+
CUSTOMER SUPPORT
Download the full manual and check our o cial
website for fi rmware updates, customer support,
and info on all of our products.
https://driftinnovation.com/
If you have any suggestions, comments or concerns;
please contact our customer support team at:
support@driftinnovation.com
WARRANTY
Warranty does not apply if the product is damaged
due abuse, mishandling, accident, fito physical re,
frostbite, damage, negligence or failure water to
follow the supplied operating instructions. For
mo information on your warrant see:rey,
https://driftinnovation.com/warranty
About Your Camera | ckage ContentsPa
Initial Setup | Getting Started
Came Modesra
Settings Menu
Settings
Mounting the Camera
Featurviewe Over
Accessory Guide
Wi-Fi + Firaremw
Connecting Your Camera
Specifi cations
Disclosures
2-3
4-5
6
7
8
9
10-11
12
13
14
15-16
17-19
Contents
Mounting the Camera
1. Attach the Universal Clip to the camera in any
360° orientation as needed – fi rst position the clip
in the desired orientation, then secure by rotating
the screw base by hand.
2. Slide the Universal Clip into your chosen mount,
ensuring that it ‘clicks’ into place. *Double check
it has been fully inserted by pushing out the
clips.
3. Align your shot. Rotate the lens by hand, using
the lens marker as an ‘up’ ference, mantaining re
it perpendicular to the ground for correct
orientation.
Lens Marker
Specyfikacje produktu
| Marka: | Drift |
| Kategoria: | kamera sportowa |
| Model: | Ghost 4K+ |
Potrzebujesz pomocy?
Jeśli potrzebujesz pomocy z Drift Ghost 4K+, zadaj pytanie poniżej, a inni użytkownicy Ci odpowiedzą
Instrukcje kamera sportowa Drift

7 Października 2024
7 Października 2024
7 Października 2024
8 Sierpnia 2024
Instrukcje kamera sportowa
Najnowsze instrukcje dla kamera sportowa
5 Lutego 2025
14 Stycznia 2025
14 Stycznia 2025
12 Stycznia 2025
1 Stycznia 2025
29 Grudnia 2024
29 Grudnia 2024
24 Grudnia 2024
22 Grudnia 2024
22 Grudnia 2024