Instrukcja obsługi Fuji Electric RDG12UI-MIN
Fuji Electric
klimatyzacja
RDG12UI-MIN
Przeczytaj poniżej 📖 instrukcję obsługi w języku polskim dla Fuji Electric RDG12UI-MIN (5 stron) w kategorii klimatyzacja. Ta instrukcja była pomocna dla 14 osób i została oceniona przez 7.5 użytkowników na średnio 4.6 gwiazdek
Strona 1/5
OPERATING MANUAL
(simple)
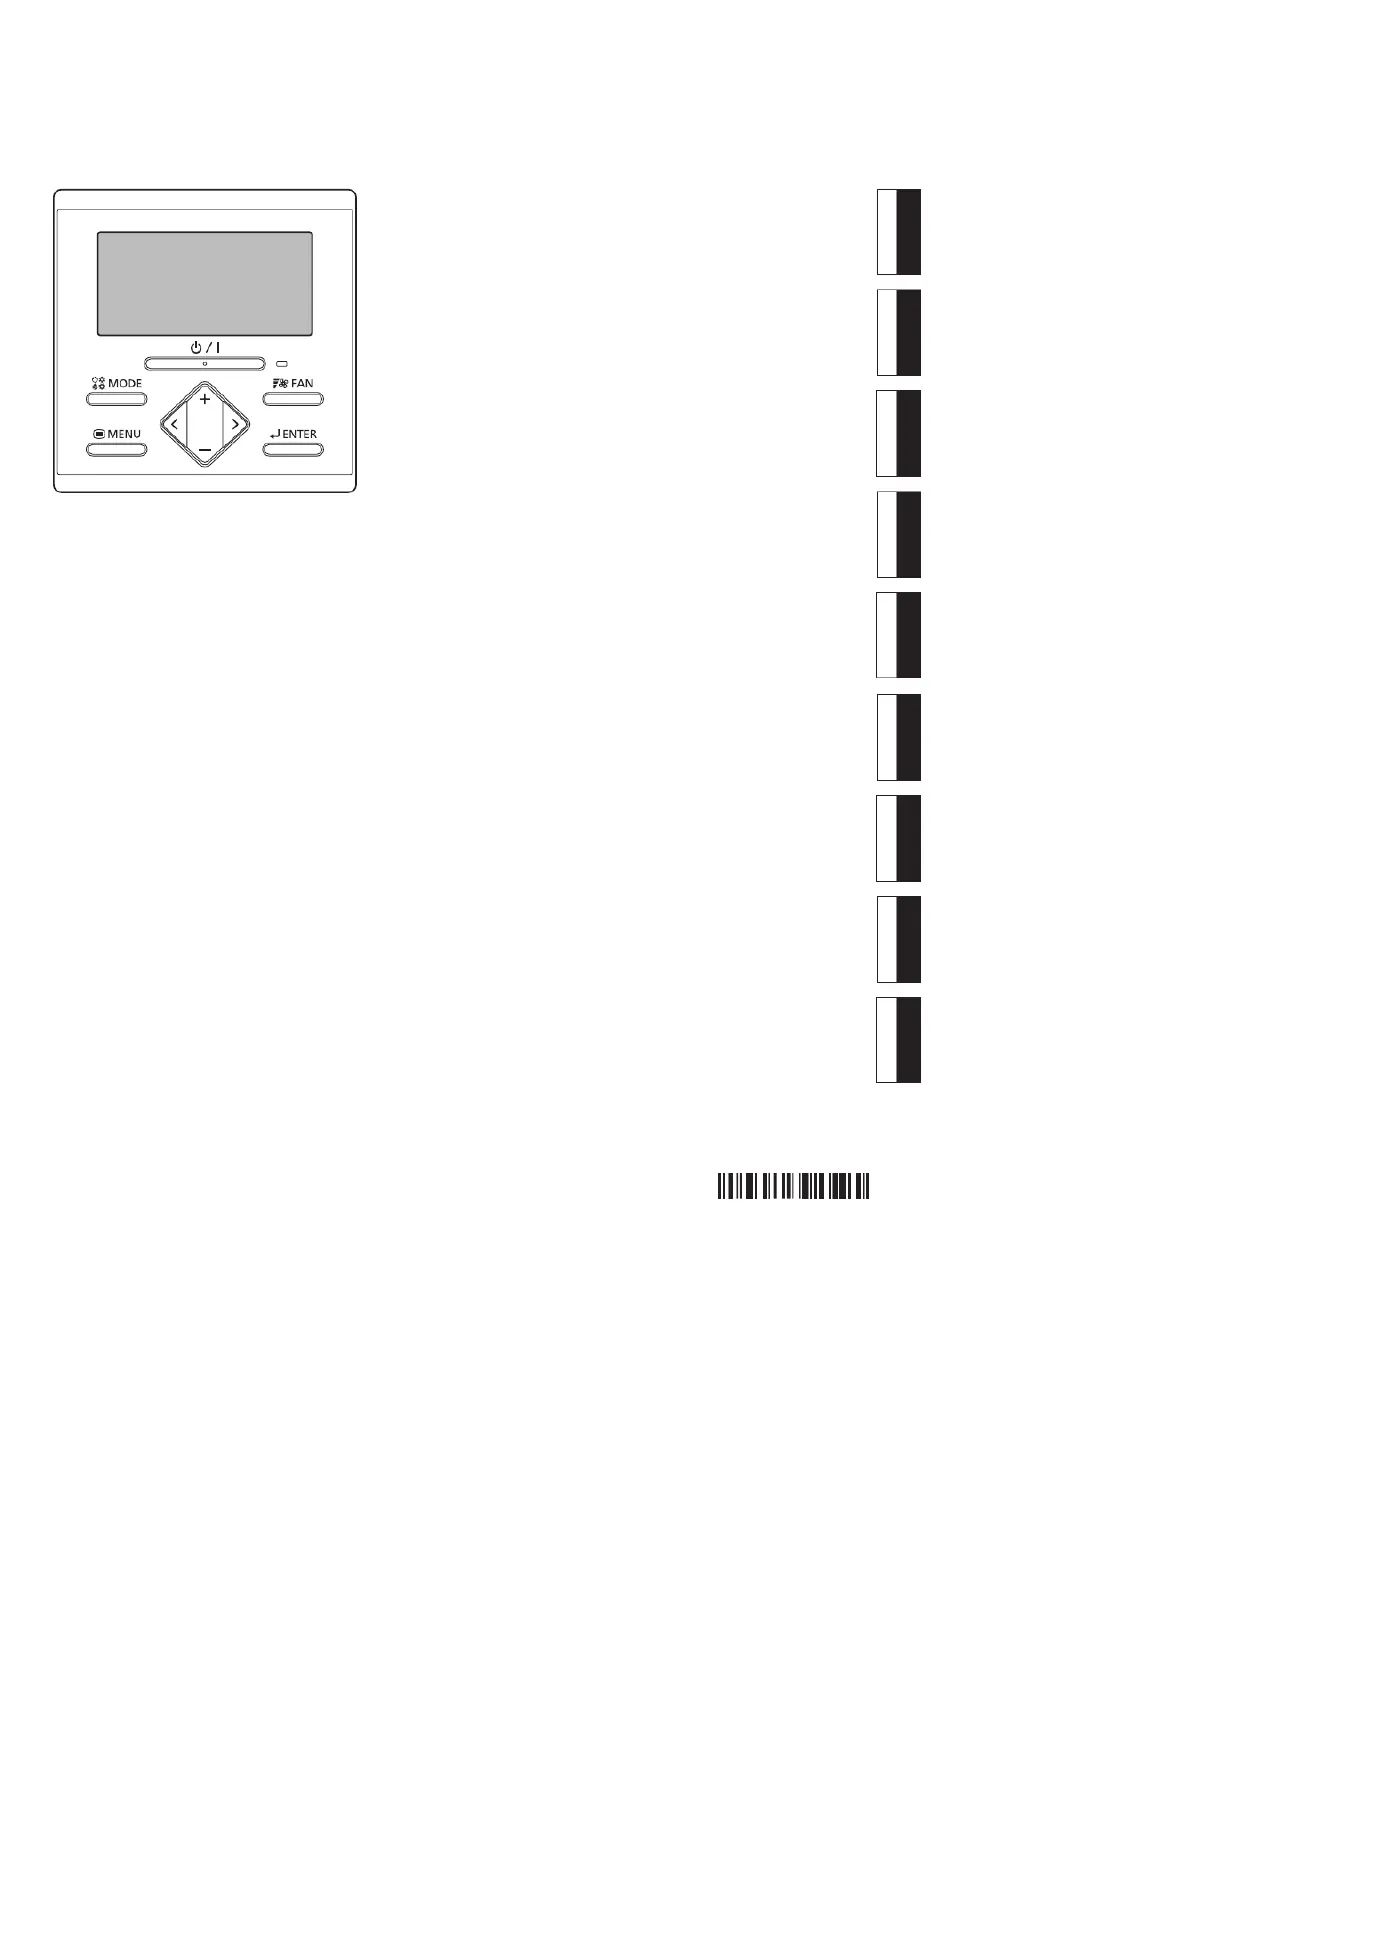
WIRED REMOTE CONTROLLER
Keep this manual for future reference.
BEDIENUNGSANLEITUNG
(Einfach)
KABEL-FERNBEDIENUNG
Bewahren Sie dieses Handbuch zum späteren Nachschlagen auf.
MODE D’EMPLOI
(simple)
TÉLÉCOMMANDE FILAIRE
Conservez ce manuel pour référence ultérieure.
MANUAL DE FUNCIONAMIENTO
(simple)
MANDO A DISTANCIA CON CABLE
Conserve este manual para futura referencia.
MANUALE DI ISTRUZIONI
(semplice)
TELECOMANDO A FILO
Conservare il presente manuale per future consultazioni.
ΕΓΧΕΙΡΙΔΙΟ ΛΕΙΤΟΥΡΓΙΑΣ
(απλό)
ΕΝΣΥΡΜΑΤΟ ΤΗΛΕΧΕΙΡΙΣΤΗΡΙΟ
Φυλαξτε το εγχειριδιο για μελλοντικη αναφορα
MANUAL DE FUNCIONAMENTO
(simples)
CONTROLO REMOTO COM FIOS
Guarde este manual para referência futura.
РУКОВОДСТВО ПО ЭКСПЛУАТАЦИИ
(простой)
ПРОВОДНОЙ ПУЛЬТ ДИСТАНЦИОННОГО УПРАВЛЕНИЯ
Храните руководство для справок в будущем
KULLANIM KILAVUZU
(basit)
KABLOLU UZAKTAN KUMANDA
Bu kılavuzu ileride başvurmak üzere saklayın.
EnglishDeutschFrançaisEspañolItaliano
EλληvIkά
Português
РусскийTürkçe
UTY-RLR
PART No. 9373329442
[Original instructions]
REMOTE CONTROLLER (WIRED TYPE)
Specyfikacje produktu
| Marka: | Fuji Electric |
| Kategoria: | klimatyzacja |
| Model: | RDG12UI-MIN |
Potrzebujesz pomocy?
Jeśli potrzebujesz pomocy z Fuji Electric RDG12UI-MIN, zadaj pytanie poniżej, a inni użytkownicy Ci odpowiedzą
Instrukcje klimatyzacja Fuji Electric

24 Lutego 2025

24 Lutego 2025

24 Lutego 2025

24 Lutego 2025

24 Lutego 2025

24 Lutego 2025

24 Lutego 2025

22 Września 2024

22 Września 2024

22 Września 2024
Instrukcje klimatyzacja
- Toyotomi
- Moa
- Broan
- Alpatec
- Livoo
- Middle Atlantic
- Liebert
- Companion
- Fral
- KDK
- Ariston Thermo
- Saunier Duval
- Ridgid
- Edy
- Defy
Najnowsze instrukcje dla klimatyzacja

9 Kwietnia 2025

9 Kwietnia 2025

9 Kwietnia 2025

9 Kwietnia 2025

9 Kwietnia 2025

9 Kwietnia 2025

9 Kwietnia 2025

9 Kwietnia 2025

9 Kwietnia 2025

9 Kwietnia 2025