Instrukcja obsługi Joy-It RB-StromPi3-Case
Joy-It Komputerowe przejęcie RB-StromPi3-Case
Przeczytaj poniżej 📖 instrukcję obsługi w języku polskim dla Joy-It RB-StromPi3-Case (11 stron) w kategorii Komputerowe przejęcie. Ta instrukcja była pomocna dla 24 osób i została oceniona przez 5 użytkowników na średnio 4.9 gwiazdek
Strona 1/11
www.joy-it.net
Pascalstr. 8 47506 Neukirchen-Vluyn
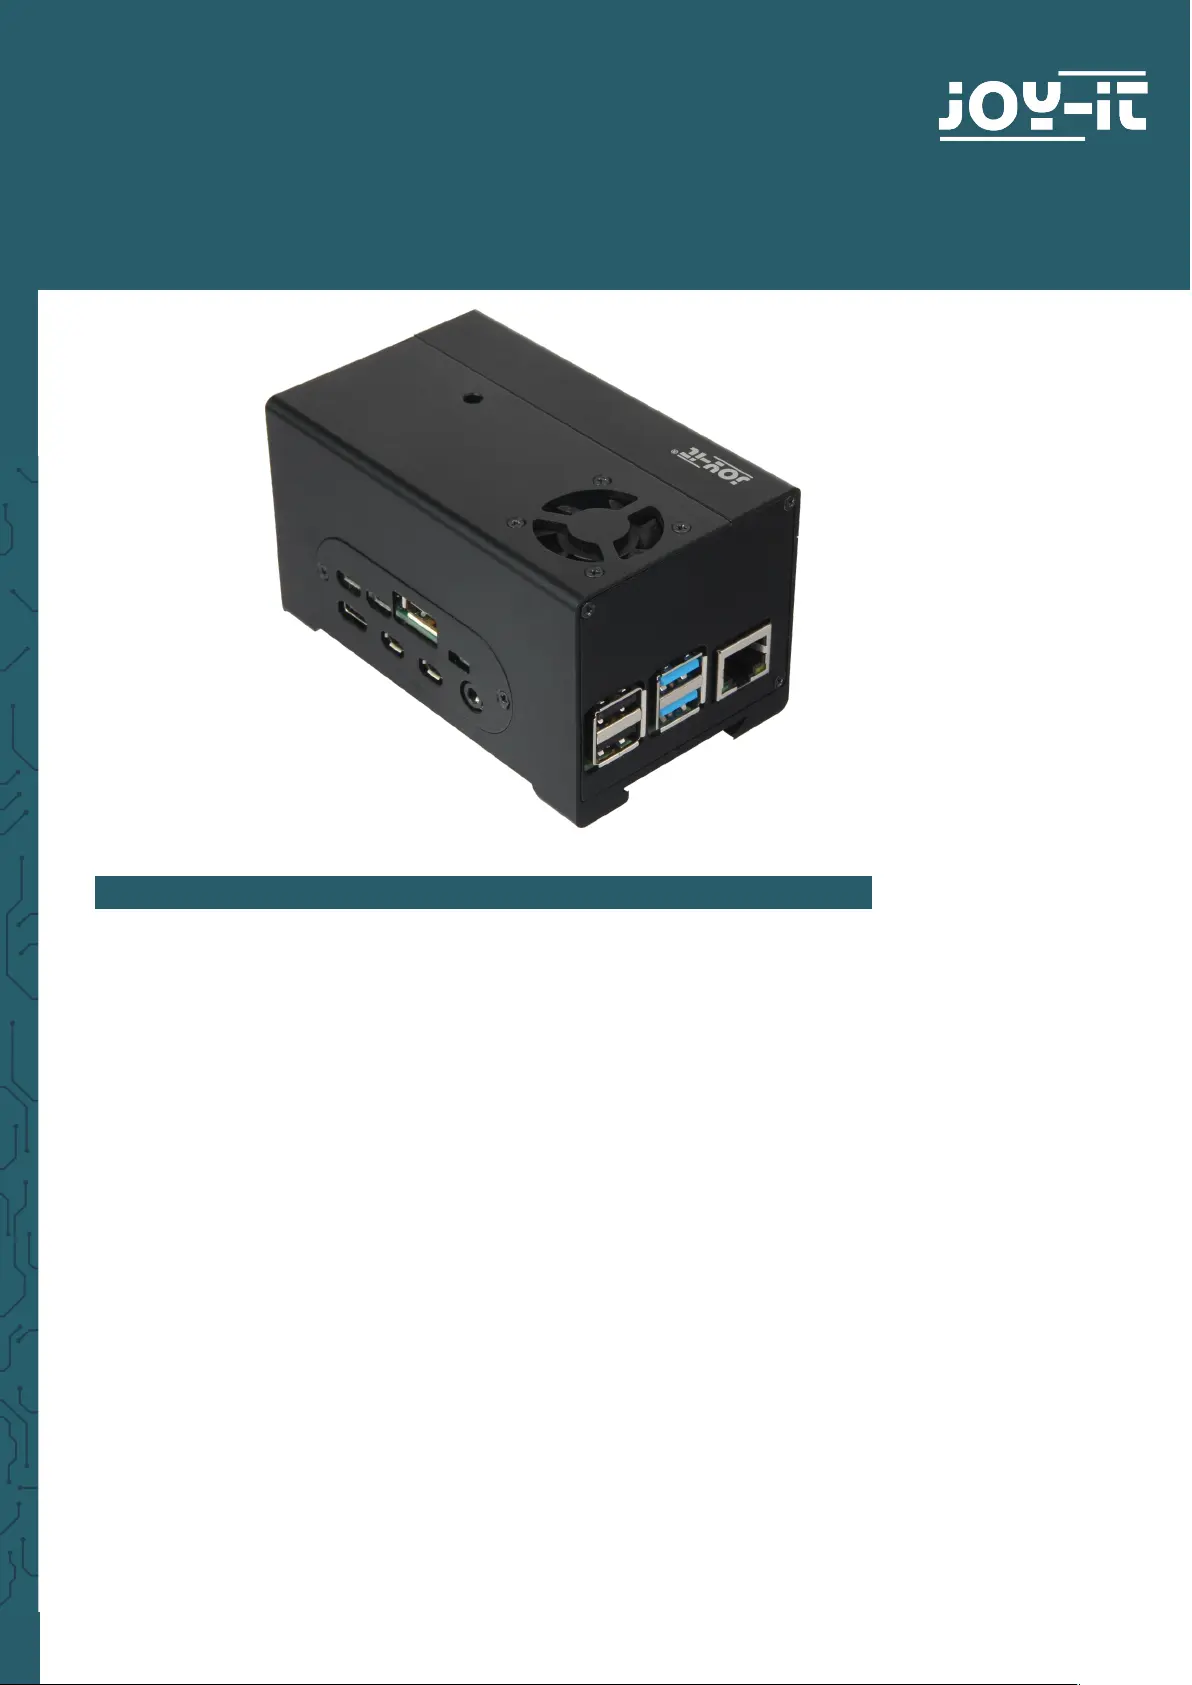
STROMPI 3 CASE
RB-StromPi3-Case
1. GENERAL INFORMATION
Dear costumer,
Thank you for buying our product. The structure and functions of the
StromPi3 are explained in the following chapters. We show you which
settings must be adjusted that the Raspberry Pi will work with the Strom-
Pi perfectly.
If you get any diiculties with the usage with the device, do not hesitate
to conact us.
This high-quality aluminium case oers space for your Raspberry Pi incl.
StromPi 3 and Battery Hat (-XL also). A removable cover above the GPIO bar
keeps it easily accessible.
The RB-StromPi3-PCB allows the use of the power button function. In additi-
on, the fan can be operated with this board and optionally controlled.
Specyfikacje produktu
| Marka: | Joy-It |
| Kategoria: | Komputerowe przejęcie |
| Model: | RB-StromPi3-Case |
Potrzebujesz pomocy?
Jeśli potrzebujesz pomocy z Joy-It RB-StromPi3-Case, zadaj pytanie poniżej, a inni użytkownicy Ci odpowiedzą
Instrukcje Komputerowe przejęcie Joy-It

27 Grudnia 2024
Instrukcje Komputerowe przejęcie
Najnowsze instrukcje dla Komputerowe przejęcie
9 Kwietnia 2025
7 Kwietnia 2025
5 Kwietnia 2025
3 Kwietnia 2025
1 Kwietnia 2025
1 Kwietnia 2025
1 Kwietnia 2025
30 Marca 2025
30 Marca 2025
29 Marca 2025