Instrukcja obsługi RIKON 30-100
Przeczytaj poniżej 📖 instrukcję obsługi w języku polskim dla RIKON 30-100 (20 stron) w kategorii Wiertarka. Ta instrukcja była pomocna dla 51 osób i została oceniona przez 7 użytkowników na średnio 4.1 gwiazdek
Strona 1/20
30-100
www.rikontools.com
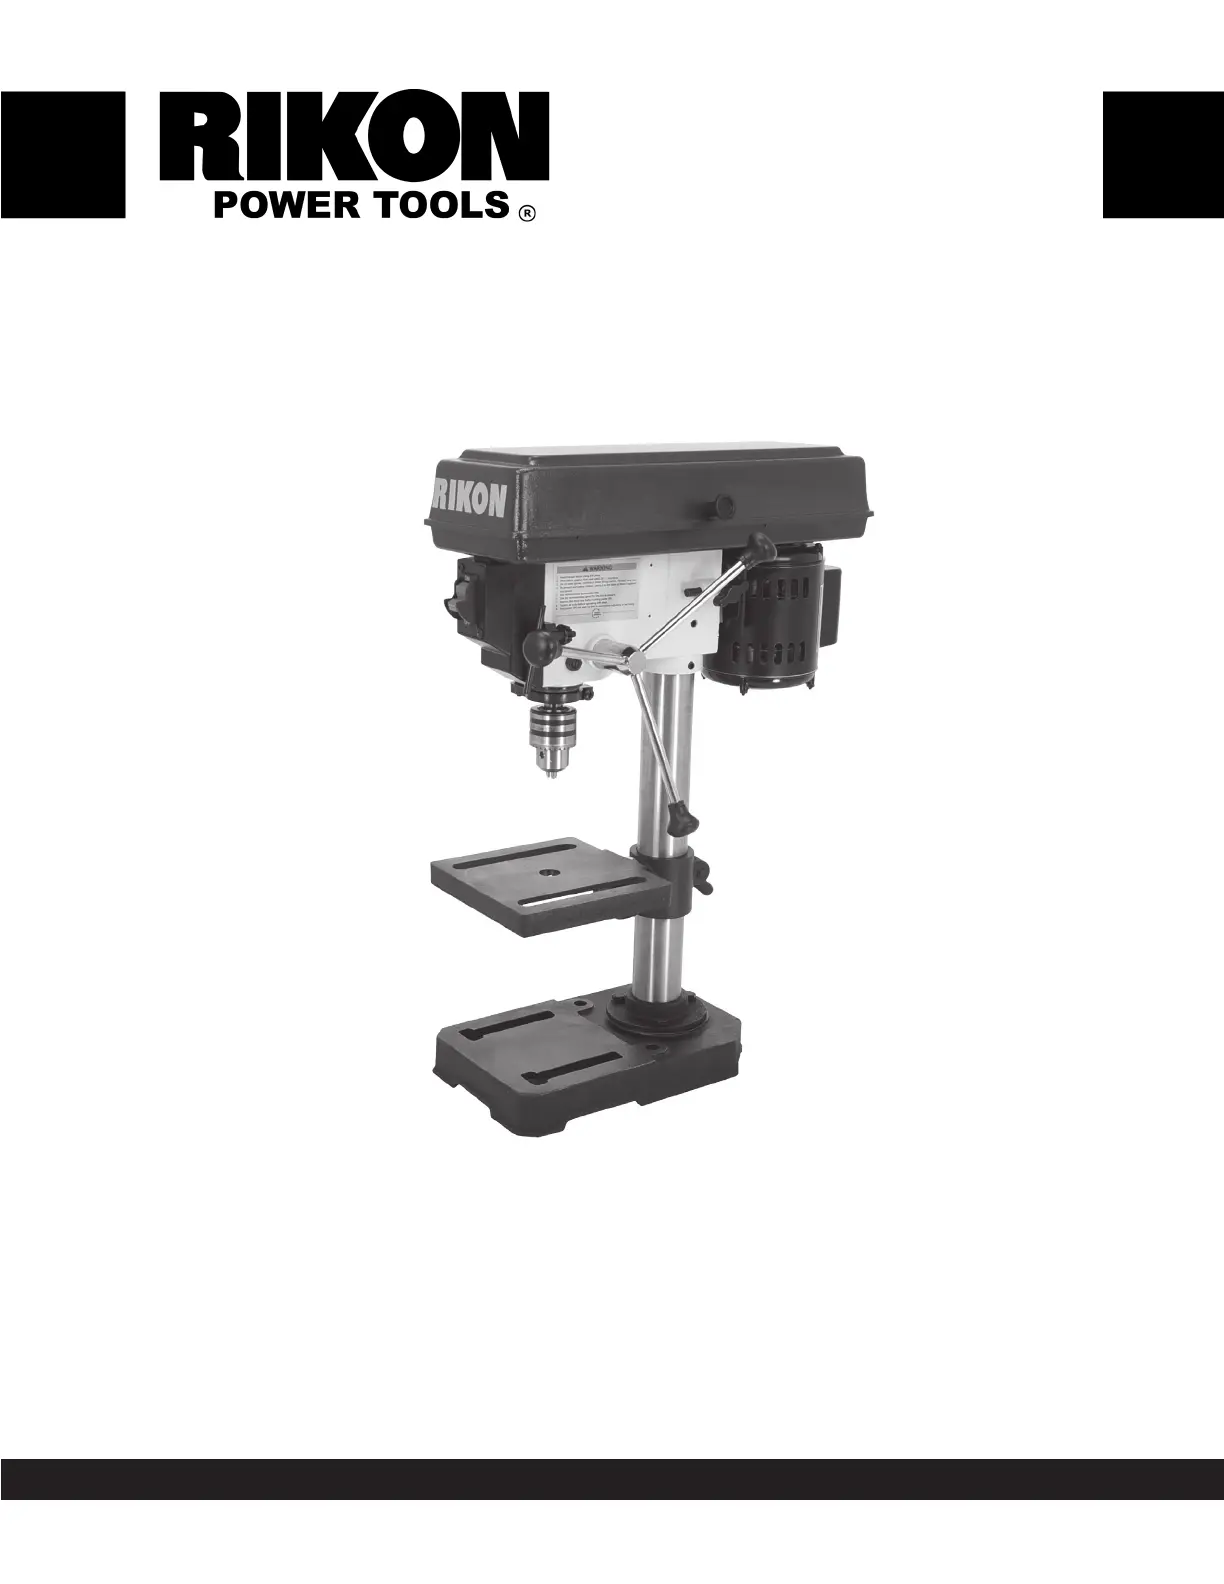
30-100M5
8” Benchtop Drill Press
Operator’s Manual
Record the serial number and date of purchase in your manual for future reference.
Serial Number: _________________________ Date of purchase: _________________________
For technical support or parts questions, email techsupport@rikontools.com or call toll free at (877)884-5167
Specyfikacje produktu
| Marka: | RIKON |
| Kategoria: | Wiertarka |
| Model: | 30-100 |
Potrzebujesz pomocy?
Jeśli potrzebujesz pomocy z RIKON 30-100, zadaj pytanie poniżej, a inni użytkownicy Ci odpowiedzą
Instrukcje Wiertarka RIKON

27 Grudnia 2024
27 Grudnia 2024
27 Grudnia 2024
27 Grudnia 2024
27 Grudnia 2024
27 Grudnia 2024
30 Września 2024
Instrukcje Wiertarka
Najnowsze instrukcje dla Wiertarka
3 Kwietnia 2025
2 Kwietnia 2025
2 Kwietnia 2025
2 Kwietnia 2025
1 Kwietnia 2025
1 Kwietnia 2025
29 Marca 2025
29 Marca 2025
29 Marca 2025
29 Marca 2025