Instrukcja obsługi Yealink Pod PA20
Yealink System wideokonferencji Pod PA20
Przeczytaj poniżej 📖 instrukcję obsługi w języku polskim dla Yealink Pod PA20 (8 stron) w kategorii System wideokonferencji. Ta instrukcja była pomocna dla 37 osób i została oceniona przez 4 użytkowników na średnio 4.0 gwiazdek
Strona 1/8
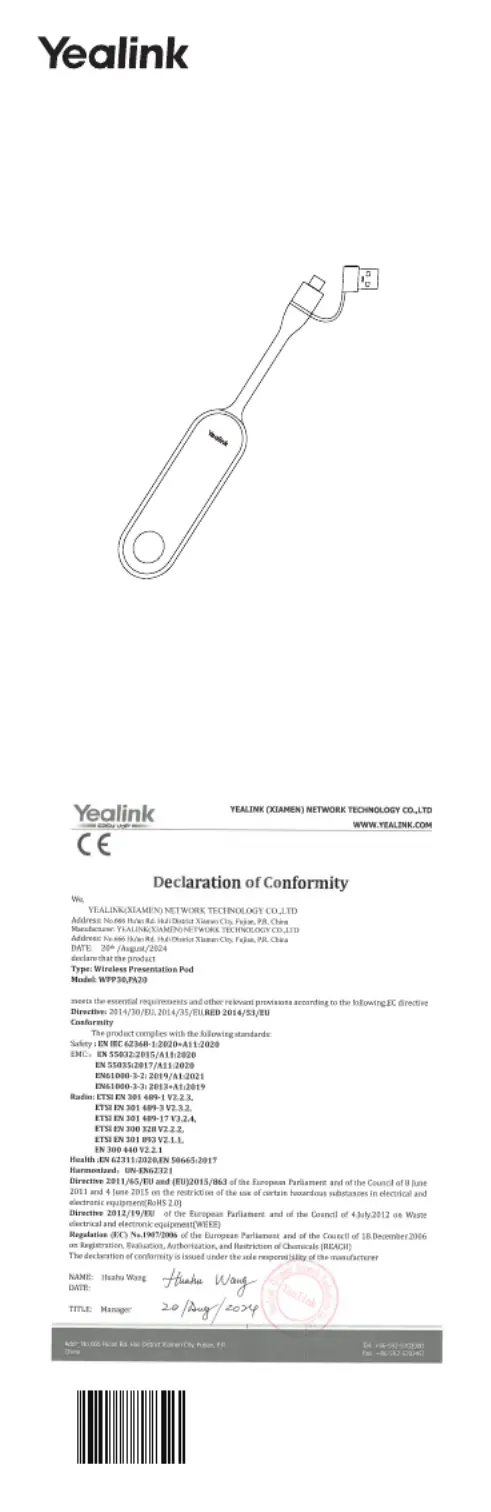
Yealink Pod PA20
English
| Deutsch | Français | Español
Quick Start Guide (V1.0)
YEALINK(XIAMEN) NETWORK TECHNOLOGY CO.,LTD.
Web: www.yealink.com
Copyright©2024 YEALINK(XIAMEN) NETWORK
TECHNOLOGY CO.,LTD.All rights reserved.
Specyfikacje produktu
| Marka: | Yealink |
| Kategoria: | System wideokonferencji |
| Model: | Pod PA20 |
Potrzebujesz pomocy?
Jeśli potrzebujesz pomocy z Yealink Pod PA20, zadaj pytanie poniżej, a inni użytkownicy Ci odpowiedzą
Instrukcje System wideokonferencji Yealink

3 Stycznia 2025
20 Grudnia 2024
20 Grudnia 2024
10 Października 2024
2 Października 2024
2 Października 2024
2 Października 2024
29 Września 2024
22 Września 2024
12 Września 2024
Instrukcje System wideokonferencji
Najnowsze instrukcje dla System wideokonferencji
1 Kwietnia 2025
20 Lutego 2025
7 Lutego 2025
12 Stycznia 2025
11 Stycznia 2025
4 Stycznia 2025
26 Grudnia 2024
26 Grudnia 2024
26 Grudnia 2024
25 Grudnia 2024