Instrukcja obsługi Atlona AT-VTP-550
Atlona
Niesklasyfikowane
AT-VTP-550
Przeczytaj poniżej 📖 instrukcję obsługi w języku polskim dla Atlona AT-VTP-550 (9 stron) w kategorii Niesklasyfikowane. Ta instrukcja była pomocna dla 15 osób i została oceniona przez 8 użytkowników na średnio 4.7 gwiazdek
Strona 1/9

Installation Guide
AT-VTP-550
1
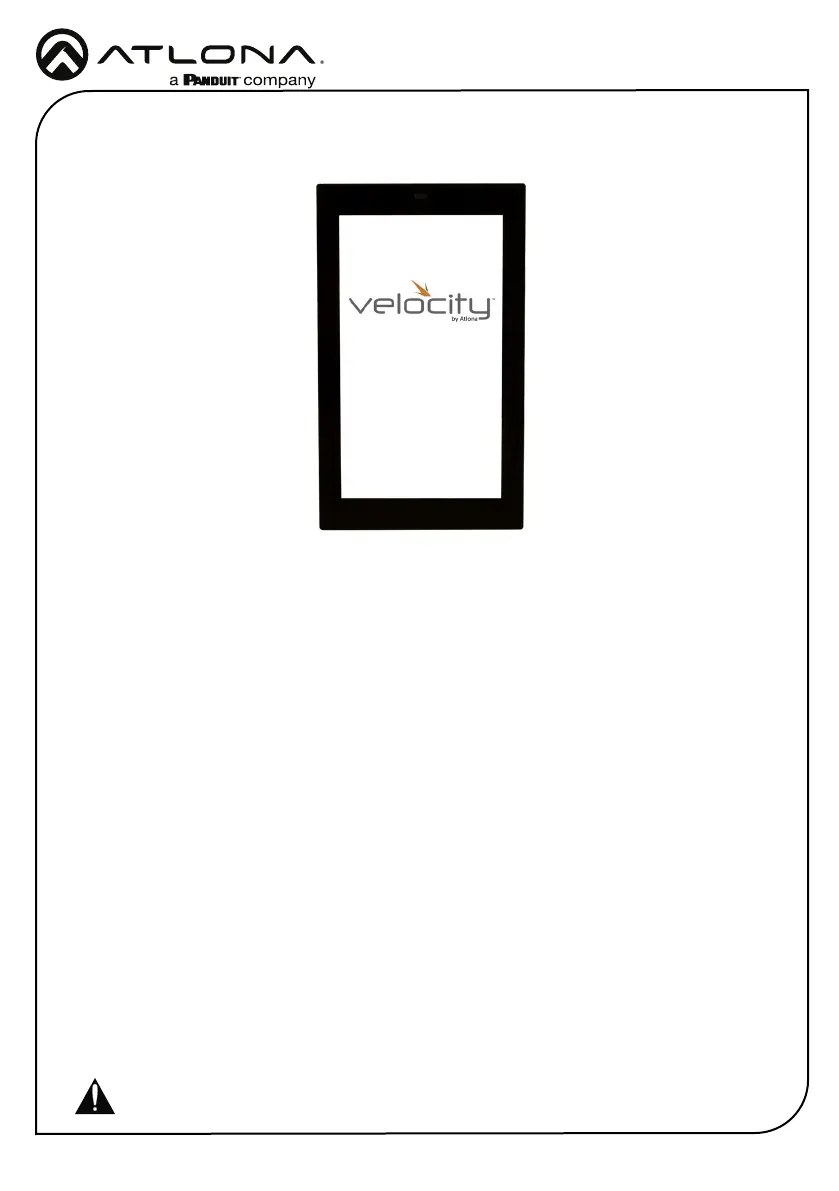
Velocity 5.5” Touch Panel
AT-VTP-550-WH and AT-VTP-550-BL
The Atlona AT-VSP-550-BL and AT-VTP-550-WH are 5.5” touch panels in black and white,
respectively, for the Atlona Velocity™ Control System. They feature contemporary, rened styling
for modern presentation environments with 720x1280 native resolution, and a capacitive glass
surface that supports multi-touch and gesture interactions. These touch panels conveniently
install into a wall or furniture via a US or Euro one-gang opening. The VTP-550-BL and VTP-550-
WH feature Power over Ethernet (PoE), enabling a single network connection for data and power.
Setting up the touch panels is eortless as the AV control GUI is automatically uploaded from the
Velocity Control Gateway processor during system conguration.
1 x AT-VTP-550
1 x Metal mounting plate
4 x Mounting screws
1 x Installation Guide
Package Contents
Operating Notes
• The Velocity 5” Touch Panel (AT-VTP-550) must be on the same network as the Velocity
Gateway (AT-VGW-HW) or it will be unable to sync for control.
• The AT-VTP-550 is PoE capable, to power the unit, simply plug it into a 802.3at compatible
network switch. If the network switch is not PoE capable, a PoE injector (purchased separately)
can be used.
IMPORTANT: Velocity Gateway (AT-VGW-HW) must be set up before the AT-VTP-550 is
fully functional.

Installation Guide
AT-VTP-550
2
Mounting Instructions
The AT-VTP-550 can be mounted to a 1 gang back plate.
1 Select the type of 1 gang back box to use and install into a wall.
2 Thread the Ethernet cable through the 1 gang box.
3 Install the included mounting plate into the 1 gang box.
a If using a UK back box, place the screws in the two inside mounting holes.
b If using a US back box, place the screws through the outside screw holes.
4 Loosen or remove the two screws located at the top and bottom of the unit.
5 Place the unit onto the metal back plate, the dual prongs inserting into the small opening on
the back of the unit.
6 Tighten/attach the screws at the top and bottom of the touch pad.
NOTE: Install using the region’s safety guidelines for electrical boxes.
NOTE: To avoid damage to the unit, do not overtighten the screws.
24V DC / 0.5A
LAN / PoE
802.3af compliant
Designed in the USA
Manufactured in Taiwan

Installation Guide
AT-VTP-550
3
24V DC / 0.5A
LAN / PoE
802.3af compliant
D
esigned in the USA
Manufactured in Taiwan
Installation and Set Up
1 Connect the Ethernet cable into the back of the unit.
a If the Ethernet cable is connected to a non PoE switch, use a PoE injector using 802.3at
(purchased separately).
2 Secure the unit in either the wall or optional stand, as explained in the mounting instructions.
3 The Velocity logo will display during the booting process and will go directly into setup.
Press CONTINUE to start the setup process.
NOTE: Installation of the Velocity Touch Panel can only be done after Velocity has
been set up. View the installation guides for VGW-HW/VGW-SW and Velocity Manual
for instructions.
Initial Setup
CONTINUE
You will be guided through the setup process
in the next few screens.
Velocity Device Setup
Wired
Address
Device
Alias
Panel Settings
Velocity
URL
Enable
HTTPS
0.0.0.0
Velocity Touch Panel
10.0.0.123
SCAN FOR GATEWAYS
SAVE AND CONTINUE
PANEL SETTINGS
4 The unit will load a new screen. Change the Device Alias (if needed) to help dierentiate
when there are multiple touch panels at a site. A new screen will open.
Specyfikacje produktu
Marka: | Atlona |
Kategoria: | Niesklasyfikowane |
Model: | AT-VTP-550 |
Potrzebujesz pomocy?
Jeśli potrzebujesz pomocy z Atlona AT-VTP-550, zadaj pytanie poniżej, a inni użytkownicy Ci odpowiedzą
Instrukcje Niesklasyfikowane Atlona
14 Stycznia 2025
14 Stycznia 2025
10 Stycznia 2025
10 Stycznia 2025
10 Stycznia 2025
10 Stycznia 2025
10 Stycznia 2025
10 Stycznia 2025
10 Stycznia 2025
10 Stycznia 2025
Instrukcje Niesklasyfikowane
- Niesklasyfikowane Tefal
- Niesklasyfikowane On-Stage
- Niesklasyfikowane Lenmar
- Niesklasyfikowane Electrolux
- Niesklasyfikowane BBE
- Niesklasyfikowane Babylonia
- Niesklasyfikowane Technical Pro
- Niesklasyfikowane Ozone
- Niesklasyfikowane Chord
- Niesklasyfikowane Hayter
- Niesklasyfikowane FBT
- Niesklasyfikowane Bliss Hammocks
- Niesklasyfikowane Thames & Kosmos
- Niesklasyfikowane EWT
- Niesklasyfikowane Vonyx
Najnowsze instrukcje dla Niesklasyfikowane
29 Stycznia 2025
29 Stycznia 2025
29 Stycznia 2025
29 Stycznia 2025
29 Stycznia 2025
29 Stycznia 2025
29 Stycznia 2025
29 Stycznia 2025
29 Stycznia 2025
29 Stycznia 2025