Instrukcja obsługi Code Corporation CodeXML M2
Code Corporation Karta sieciowa/adapter CodeXML M2
Przeczytaj poniżej 📖 instrukcję obsługi w języku polskim dla Code Corporation CodeXML M2 (2 stron) w kategorii Karta sieciowa/adapter. Ta instrukcja była pomocna dla 17 osób i została oceniona przez 3 użytkowników na średnio 4.3 gwiazdek
Strona 1/2
2 C003345_01_CodeXML_Modem_QuickstartC003345_01_CodeXML_Modem_Quickstart 3
Figure 3
Cable Installation
Attach the end of the USB cable to the CodeXML Bluetooth® Modem
(Figure 2). Plug the USB connector into the USB port on the computer
(Figure 3). Once connected the modem’s blue LED light will turn on.
Establish Mode
Scan the USB Mode code (M708_01-right). Scan
the QuickConnect Code again. You are ready to
begin reading bar codes and transmitting decoded
data to the computer.
USB Mode
Keyboard Input (USB & PS2)
The modem is defaulted to English language keyboards. If you need to communicate in a different
language requiring a change in keyboard settings, please scan the appropriate code below, after
connecting to the modem:
CodeXML Bluetooth® Modem Installation as a USB Keyboard
Figure 2
USB Cable installed to
CodeXML Bluetooth Modem
Non-printable ASCII
Keyboard (Crtl + character)
Japanese Non-printable ASCII Keyboard
(No Leading 0)
Change Baud Rate Settings:
Scan the appropriate code below, after connecting to the modem These codes only affect Baud Note:
Rate for the modem and do not affect any settings on Code Readers.
Default Modem
settings:
Baud Rate: 9600
Stop Bits: 8
Parity: None
Stop Bits: 1
Hardware: None
Connecting with QuickConnect Code
(for all cable types):
Scan the QuickConnect Code on the label of the CodeXML Bluetooth®
Modem using the Code Reader with which you wish to establish a paired
connection to a computer. The reader and computer should easily
connect within 10 seconds. The reader will beep once as confirmation.
If the reader does not connect, the reader will beep four times in rapid
succession.
English (Default)UniversalFrench German
19200 3840057600 115200
1200 24004800 9600 (Default)
CodeXML Modem Installatin with PS/2 Cable
Cable Installation
Attach the end of the PS/2 cable with the single connector to
the CodeXML Modem (Figure 2 -page 2). Detach the keyboard
from the computer and connect it to the same type connector on
the PS/2 cable (Figure 8). Connect the other cable end to the
computer (Figure 9). The modem is powered by the PS2 port and
does not require a power supply. Once connected the modem’s
blue LED light will turn on.
Connecting with QuickConnect Code
See instructions on page 2 for establishing a paired connection
between the modem and the computer.
PS/2 Cable installed to CodeXML
Modem & Keyboard
Figure 8
Figure 9
PS2 Mode
Establish Mode
Scan the PS2 Mode code (M660_01-right). You are
ready to begin reading bar codes and transmitting
decoded data
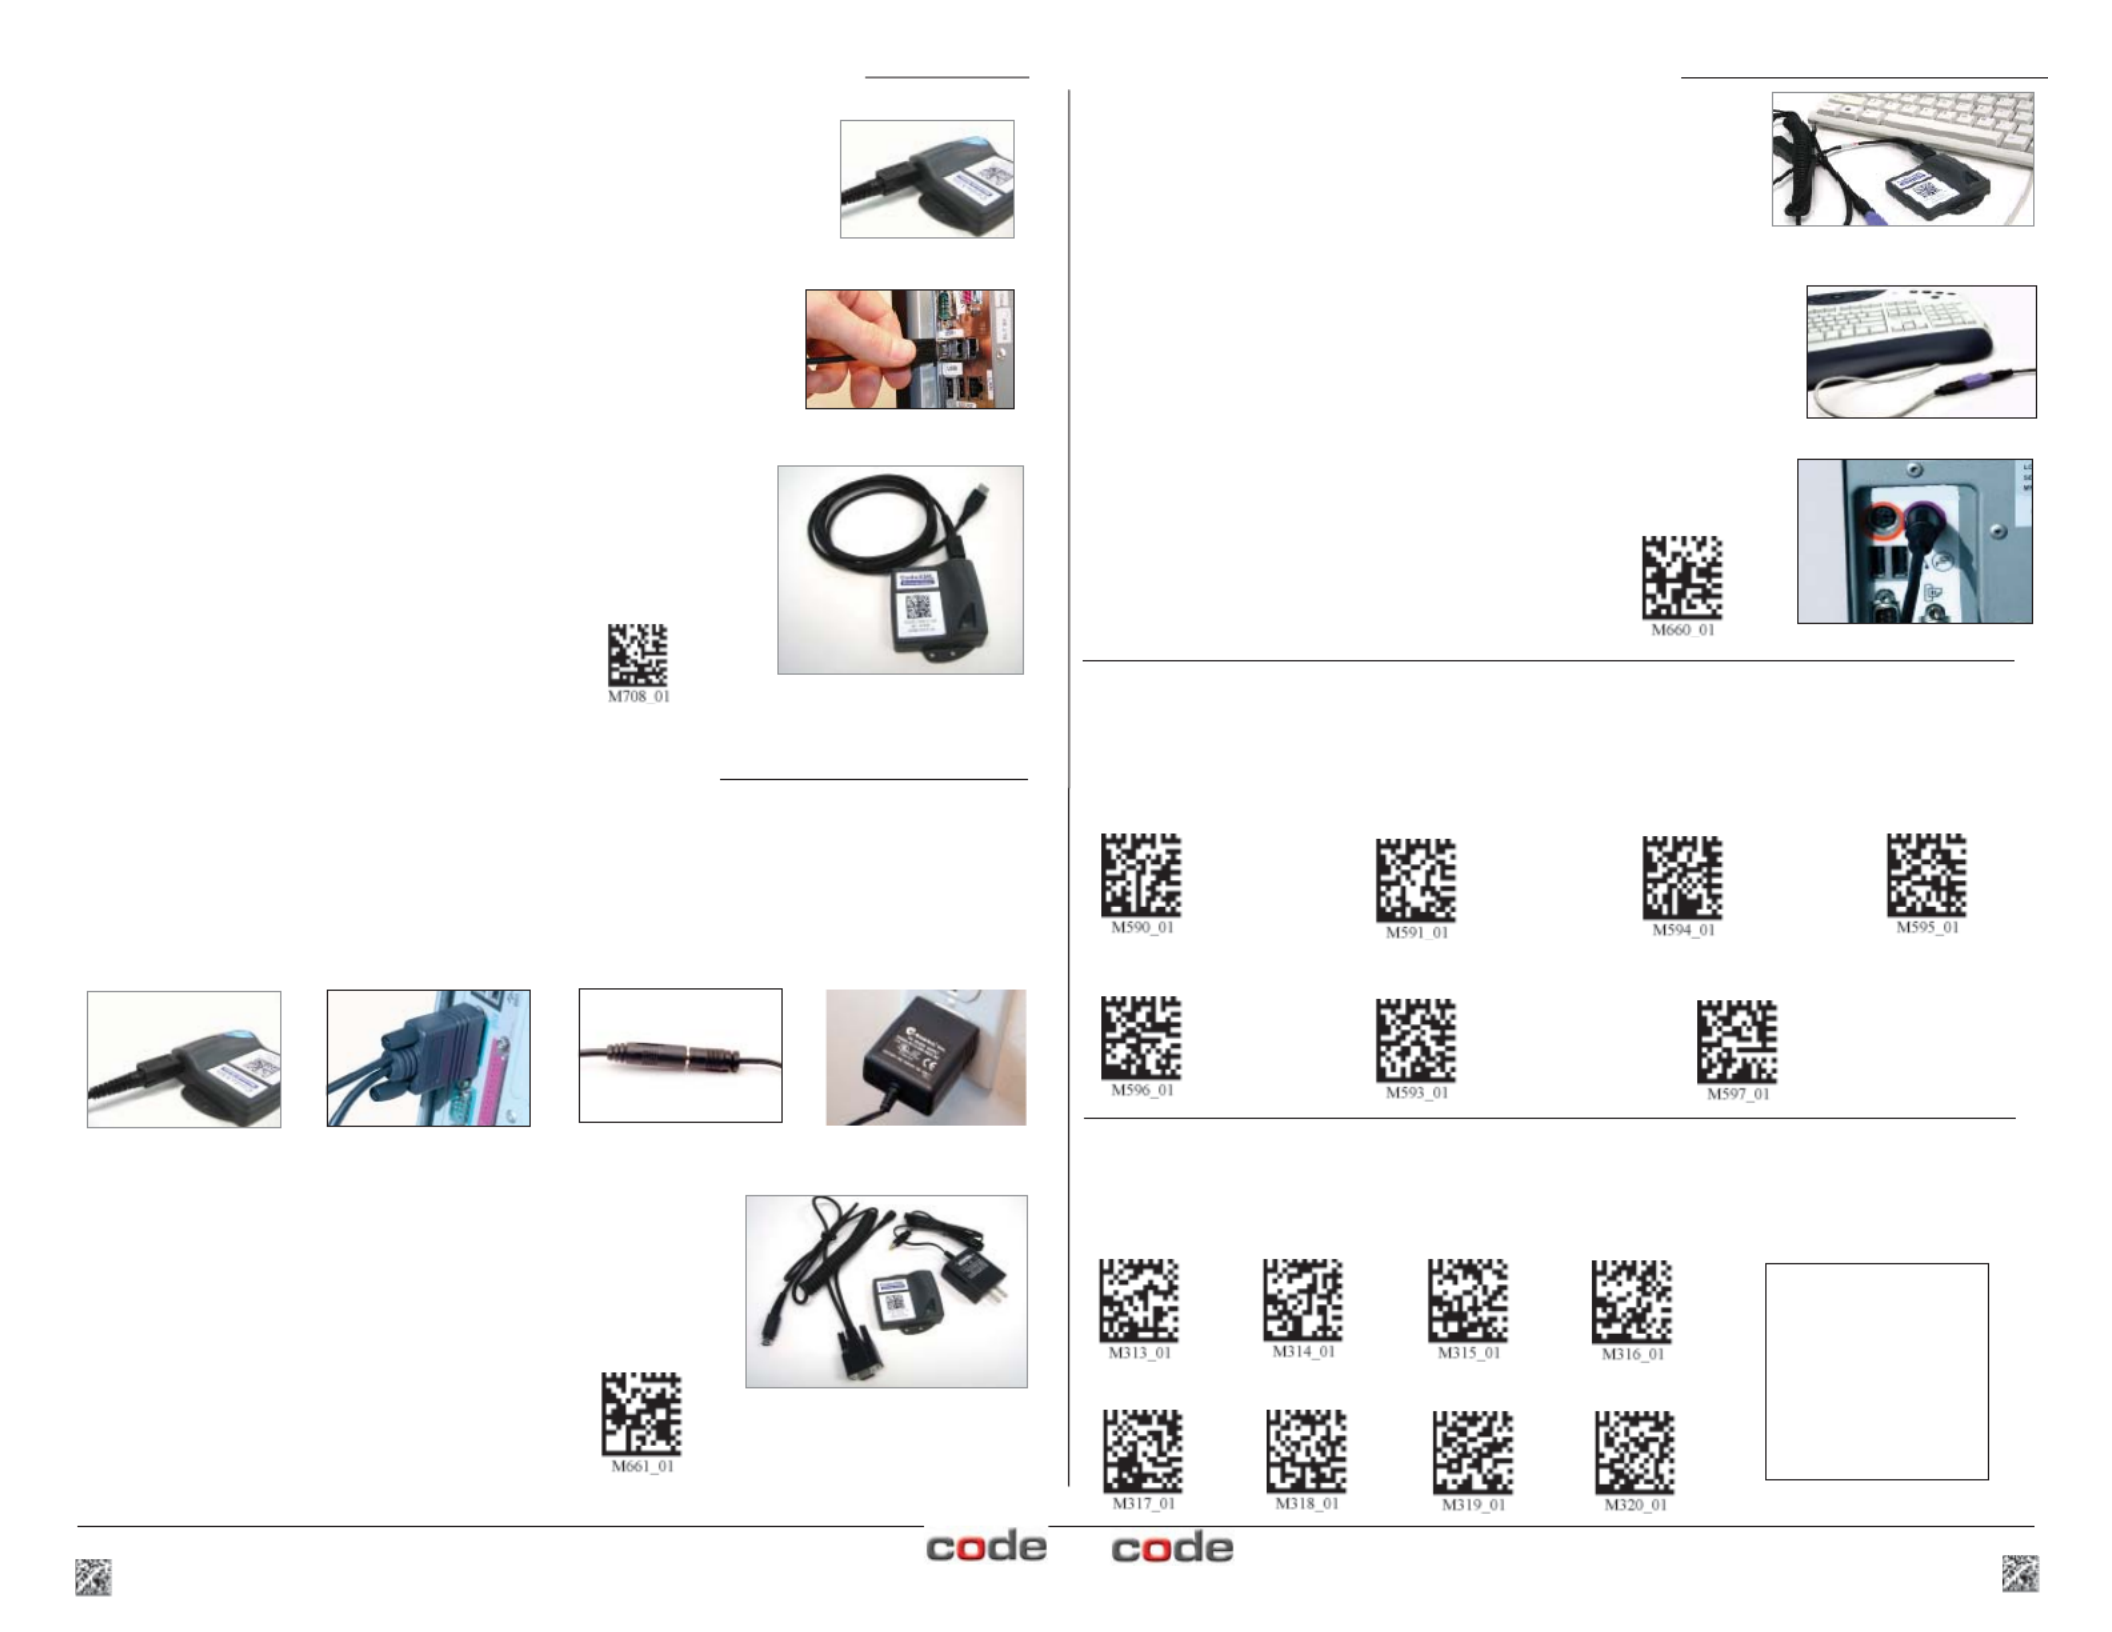
CodeXML Modem Installation with RS-232 (Serial)
Cable Installation
Attach the end of the RS-232 cable to the CodeXML Bluetooth® Modem (Figure 4). Connect the RS-232
adapter to the back of the computer (Figure 5). Connect the RS-232 cable to the power supply (Figure
6). Plug the power supply into a wall socket (Figure 7). Once connected the Modem’s blue LED light will
turn on.
Connecting with QuickConnect Code
See Page 2 for instructions to establish a paired connection between the
Modem and the reader.
Figure 5 Figure 6 Figure 7 Figure 4
RS-232 Cable (Left)
CodeXML Bluetooth Modem
(Center) Power Supply
(Right)
Establish Mode
Scan the RS-232 Mode code (M661_01- right).
Scan the QuickConnect Code again. You are
ready to begin reading bar codes and transmitting
decoded data to a computer.
RS232 Mode
Specyfikacje produktu
| Marka: | Code Corporation |
| Kategoria: | Karta sieciowa/adapter |
| Model: | CodeXML M2 |
Potrzebujesz pomocy?
Jeśli potrzebujesz pomocy z Code Corporation CodeXML M2, zadaj pytanie poniżej, a inni użytkownicy Ci odpowiedzą
Instrukcje Karta sieciowa/adapter Code Corporation

25 Września 2024
25 Września 2024
Instrukcje Karta sieciowa/adapter
Najnowsze instrukcje dla Karta sieciowa/adapter
8 Kwietnia 2025
3 Kwietnia 2025
3 Kwietnia 2025
2 Kwietnia 2025
2 Kwietnia 2025
1 Kwietnia 2025
30 Marca 2025
29 Marca 2025
14 Marca 2025
14 Marca 2025