Instrukcja obsługi CRUX VRFBM-77i
CRUX Niesklasyfikowane VRFBM-77i
Przeczytaj poniżej 📖 instrukcję obsługi w języku polskim dla CRUX VRFBM-77i (11 stron) w kategorii Niesklasyfikowane. Ta instrukcja była pomocna dla 15 osób i została oceniona przez 2 użytkowników na średnio 4.4 gwiazdek
Strona 1/11
BMW
2015 – 2016 i3*
With OE type Dynamic Parking Guide Lines
On-screen display and setup
2 trigger outputs (+12V max. 1A), separately adjustable switching events (CAN, ACC, rear-view camera,
reverse gear)
Rear-view camera input
Front camera input
Front camera input can also be used as an Auxiliary Video Input
Automatic switching to rear-view camera input on engagement of reverse gear from all operation modes
Forced rear-view camera option (only on vehicles with PDC button)
Manual return from rear-view and front camera (cancellation of automatic switching)
Picture-in-picture mode combining after-market rear-view and front camera picture(s) with factory parking
sensor graphics
Compatible with all factory video accessories (e.g. rear-view camera, DVD-changer, etc.)
Plug & Play installation
For the BMW i3 with navigation system or radio and 6.5”, 7”, 8.8” or 10.25” monitor with 4+2pin HSD2
LVDS connector
The interface is installed under the glove compartment and the radio headunit is located under the rear
seat.
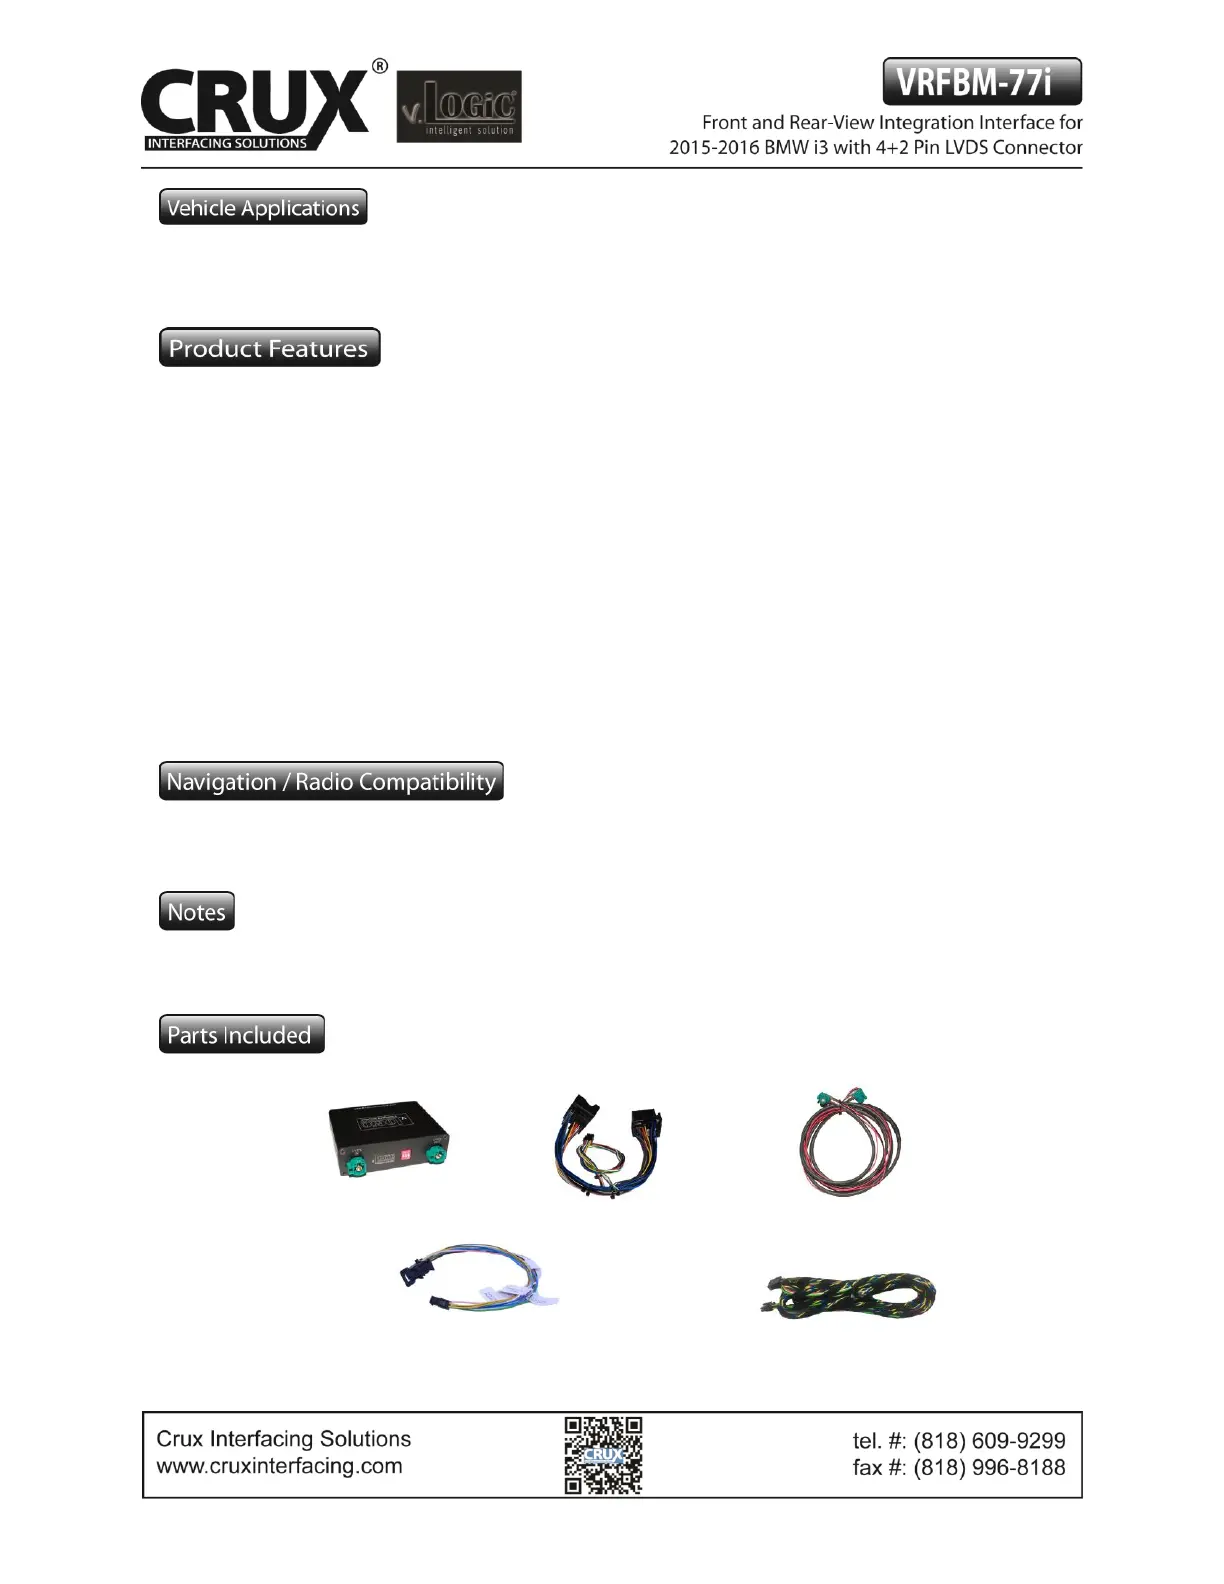
BM-77i Module
BM-77i Harness
4+2 PIN HSD2 LVDS Cable
Power/CAN Harness
i3-HAR
1 / 11
Rev.112816
Specyfikacje produktu
| Marka: | CRUX |
| Kategoria: | Niesklasyfikowane |
| Model: | VRFBM-77i |
Potrzebujesz pomocy?
Jeśli potrzebujesz pomocy z CRUX VRFBM-77i, zadaj pytanie poniżej, a inni użytkownicy Ci odpowiedzą
Instrukcje Niesklasyfikowane CRUX

3 Stycznia 2025
1 Stycznia 2025
1 Stycznia 2025
1 Stycznia 2025
1 Stycznia 2025
1 Stycznia 2025
1 Stycznia 2025
1 Stycznia 2025
1 Stycznia 2025
1 Stycznia 2025
Instrukcje Niesklasyfikowane
Najnowsze instrukcje dla Niesklasyfikowane
29 Stycznia 2025
29 Stycznia 2025
29 Stycznia 2025
29 Stycznia 2025
29 Stycznia 2025
29 Stycznia 2025
29 Stycznia 2025
29 Stycznia 2025
29 Stycznia 2025
29 Stycznia 2025