Instrukcja obsługi CRUX WVICH-03M
CRUX Niesklasyfikowane WVICH-03M
Przeczytaj poniżej 📖 instrukcję obsługi w języku polskim dla CRUX WVICH-03M (5 stron) w kategorii Niesklasyfikowane. Ta instrukcja była pomocna dla 23 osób i została oceniona przez 7 użytkowników na średnio 4.8 gwiazdek
Strona 1/5
WVICH-03M MODULEWVICH-03M HARNESS
Crux Interfacing Solutions • Chatsworth, CA 91311
phone: (818) 609-9299 • fax: (818) 996-8188 • www.cruxinterfacing.com
rev.0312211 of 5
- Enables wireless (Wi-Fi) Audio/Video mirroring from mobile devices to the OEM screen.
- Provides an audio/video input which can also be used to add a camera.
- Includes a USB input to play audio and video les.
- Provides a virtual remote control via a smartphone wi connection.
- Dual band (5GHz and 2.4GHz) Wi capability for clear connection.
- Includes HMDI output for high quality video.
- Works with Facetime, Maps, Skype, YouTube, and other apps.
PRODUCT FEATURES:
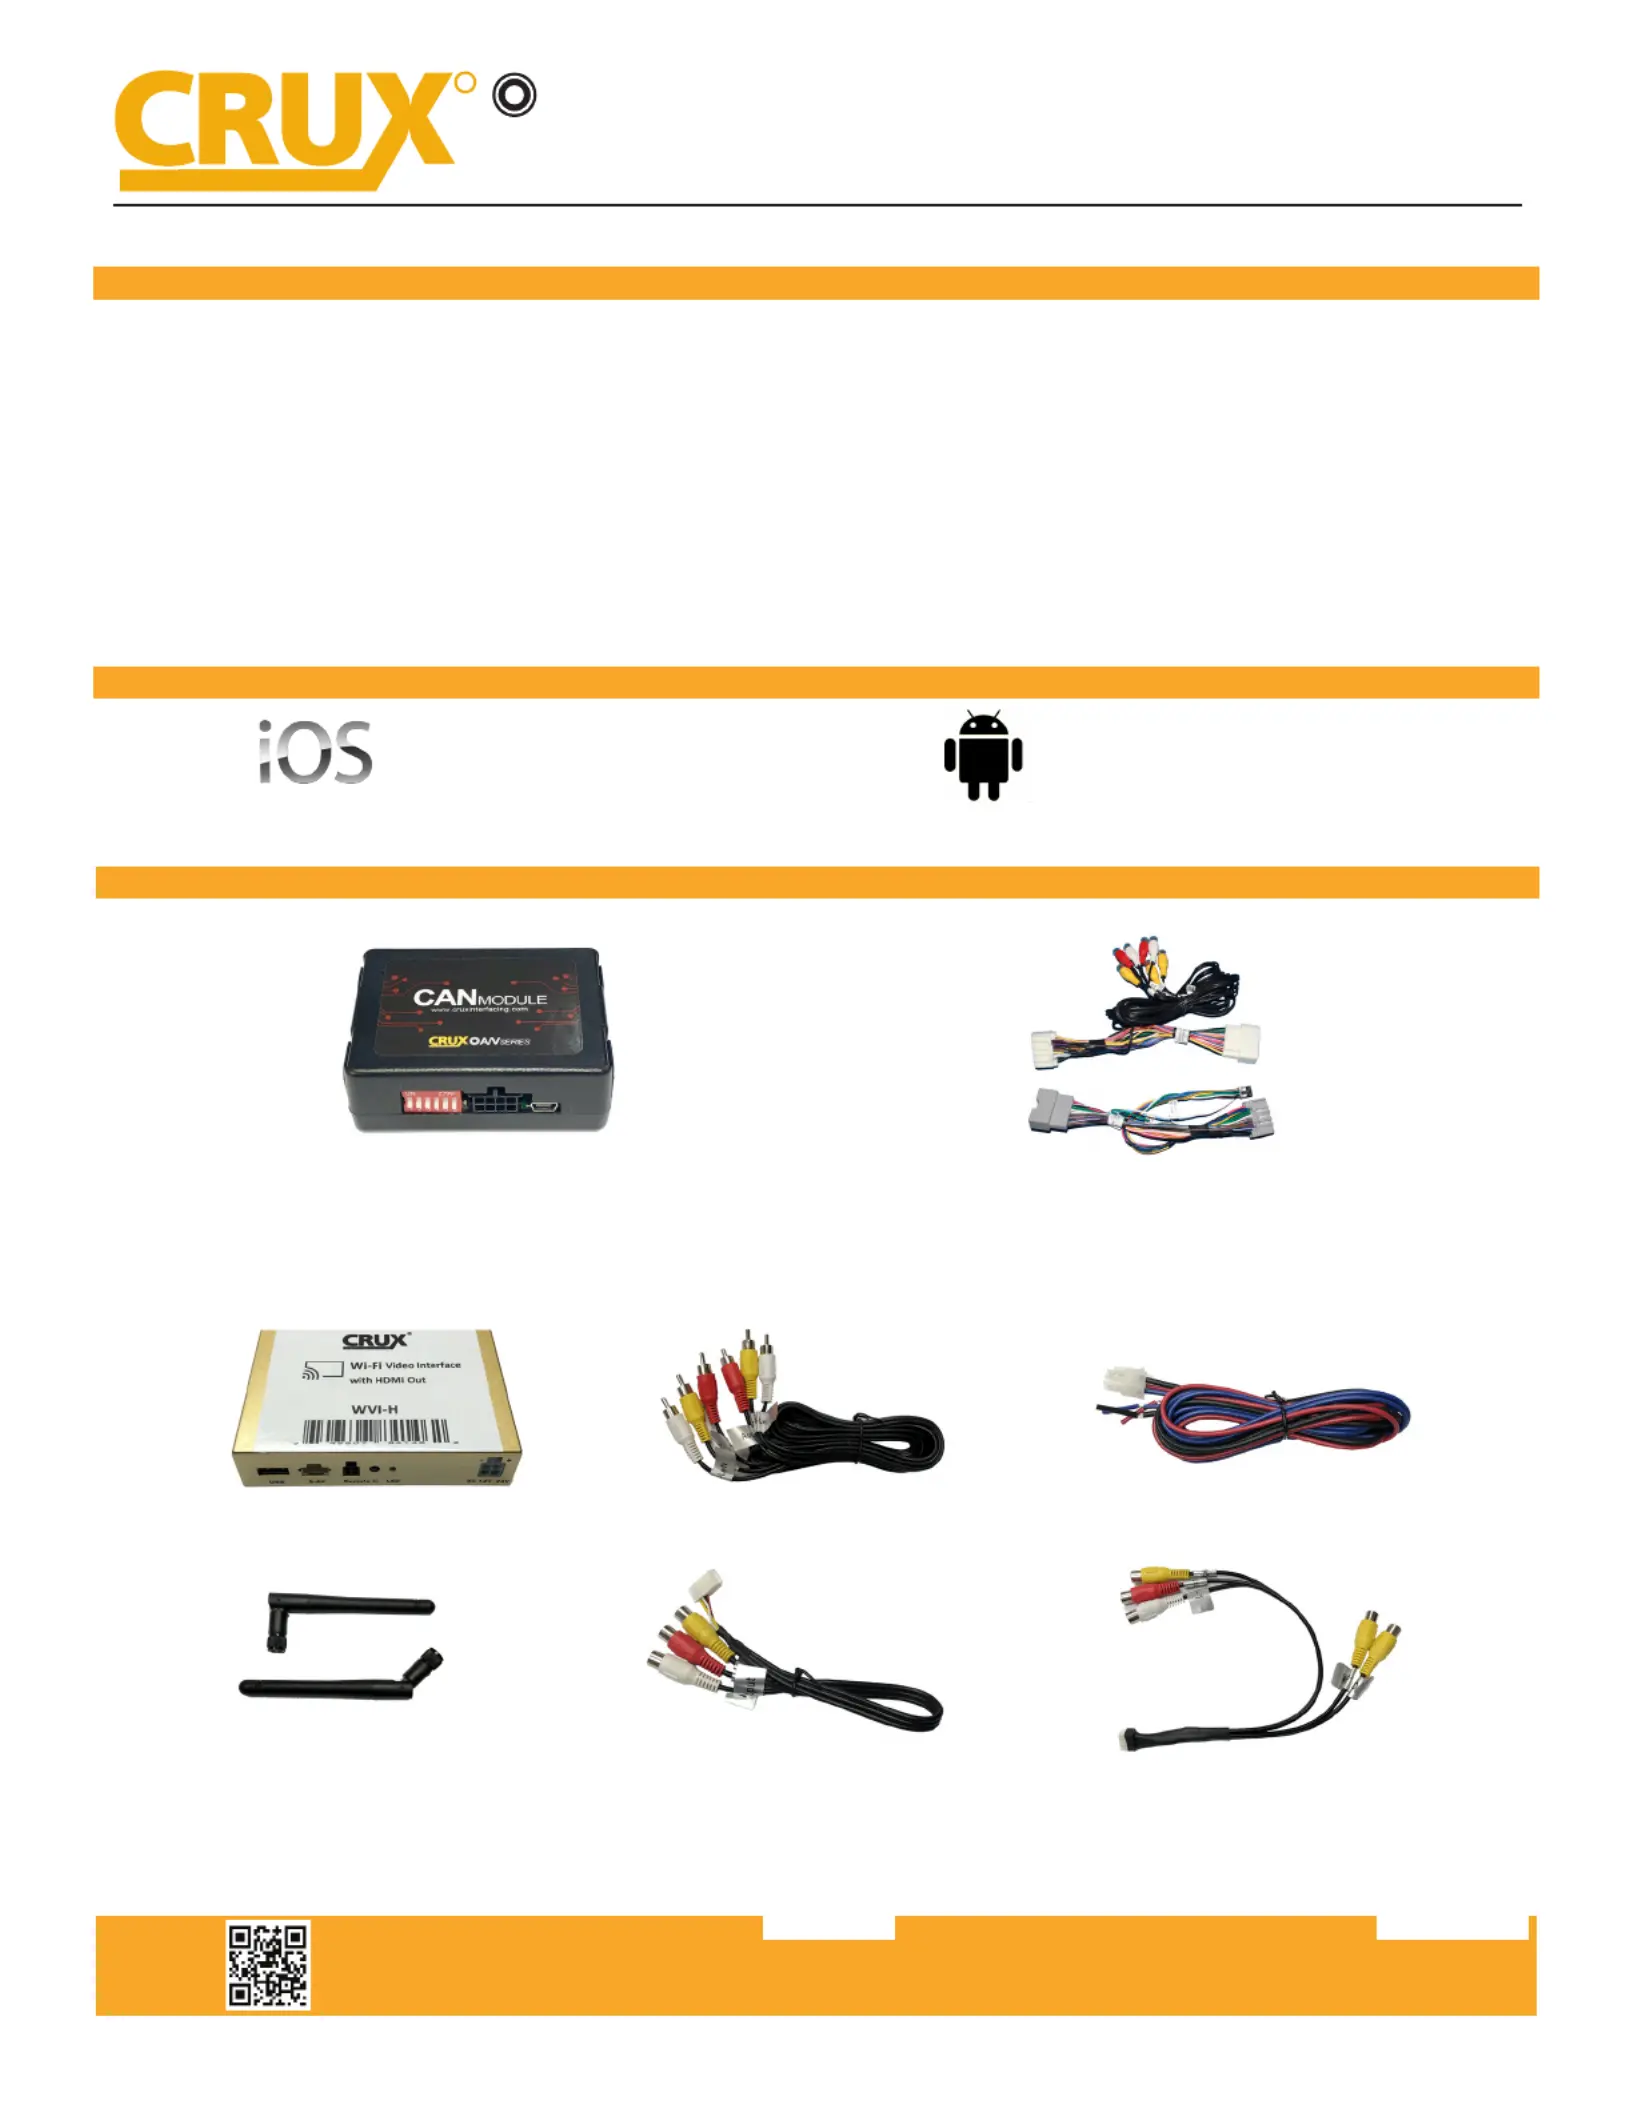
PARTS INCLUDED:
WVICH-03M
Wi Connectivity Integration and Audio Video Interface
for Select Chrysler, Dodge & Jeep Vehicles with MyGig Radio
R
INTERFACING SOLUTIONS
A/V
SERIES
WVI-H WiFi ModuleExtension AV CablePower Harness
Dual AntennasWiFi AV Out HarnessAV In / Video Out Harness
WORKS WITH:
iOS 7 and newer
OS 4.2 and newer
Specyfikacje produktu
| Marka: | CRUX |
| Kategoria: | Niesklasyfikowane |
| Model: | WVICH-03M |
Potrzebujesz pomocy?
Jeśli potrzebujesz pomocy z CRUX WVICH-03M, zadaj pytanie poniżej, a inni użytkownicy Ci odpowiedzą
Instrukcje Niesklasyfikowane CRUX

3 Stycznia 2025
1 Stycznia 2025
1 Stycznia 2025
1 Stycznia 2025
1 Stycznia 2025
1 Stycznia 2025
1 Stycznia 2025
1 Stycznia 2025
1 Stycznia 2025
1 Stycznia 2025
Instrukcje Niesklasyfikowane
Najnowsze instrukcje dla Niesklasyfikowane
29 Stycznia 2025
29 Stycznia 2025
29 Stycznia 2025
29 Stycznia 2025
29 Stycznia 2025
29 Stycznia 2025
29 Stycznia 2025
29 Stycznia 2025
29 Stycznia 2025
29 Stycznia 2025