Instrukcja obsługi Epcom X6465R
Epcom Niesklasyfikowane X6465R
Przeczytaj poniżej 📖 instrukcję obsługi w języku polskim dla Epcom X6465R (8 stron) w kategorii Niesklasyfikowane. Ta instrukcja była pomocna dla 24 osób i została oceniona przez 5 użytkowników na średnio 4.6 gwiazdek
Strona 1/8
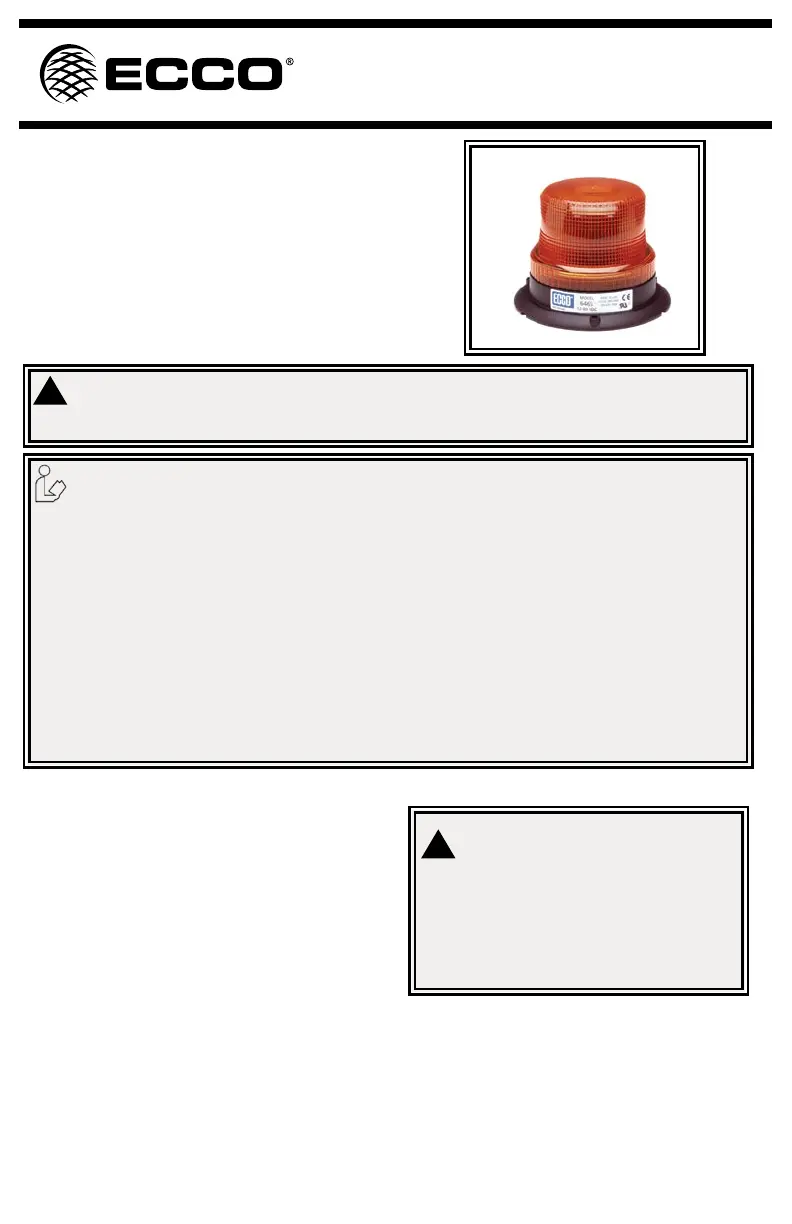
ECCO’s 6465 Series is a low prole LED beacon with a long,
maintenance-free service life. 6465 Series beacons are ideal for
industrial vehicle applications and feature a
12-80 VDC operating range.
Page 1 of 2
1. Proper installation combined with operator training in the use, care, and maintenance of emergency warning devices are essential to ensure
the safety of you and those you are seeking to protect.
2. Exercise caution when working with live electrical connections.
3. This product must be properly grounded. Inadequate grounding and/or shorting of electrical connections can cause high current arcing,
which can cause personal injury and/or severe vehicle damage, including re.
4. Proper placement and installation are vital to the performance of this warning device. Install this product so that output performance of the
system is maximized and the controls are placed within convenient reach of the operator so that s/he can operate the system without losing
eye contact with the roadway.
5. Do not install this product or route any wires in the deployment area of an air bag. Equipment mounted or located in an air bag deployment
area may reduce the effectiveness of the air bag or become a projectile that could cause serious personal injury or death. Refer to the
vehicle owner’s manual for the air bag deployment area. It is the responsibility of the user/operator to determine a suitable mounting location
ensuring the safety of all passengers inside the vehicle particularly avoiding areas of potential head impact.
6. It is the responsibility of the vehicle operator to ensure during use that all features of this product work correctly. In use, the vehicle operator
should ensure the projection of the warning signal is not blocked by vehicle components (i.e., open trunks or compartment doors), people,
vehicles or other obstructions.
7. The use of this or any other warning device does not ensure all drivers can or will observe or react to a warning signal. Never take the right-
of-way for granted. It is your responsibility to be sure you can proceed safely before entering an intersection, driving against trafc, respond-
ing at a high rate of speed, or walking on or around trafc lanes.
8. This equipment is intended for use by authorized personnel only. The user is responsible for understanding and obeying all laws regarding
warning signal devices. Therefore, the user should check all applicable city, state, and federal laws and regulations. The manufacturer as-
sumes no liability for any loss resulting from the use of this warning device.
Do not install and/or operate this safety product unless you have read and understand the safety information
contained
Failure to install or use this product according to manufacturer’s recommendations may result in property damage, serious injury, and/or death to
those you are seeking to protect!
!
WARNING!
Specications:
Size: Permanent Mount W: 5.1” x H: 4.2”
Magnet Mount W: 5.1” x H: 4.3”
Weight: Permanent Mount 0.6 lb.
Magnet Mount 1.6 lb.
Voltage: Model 6465X 12-80 VDC systems
Model 6465X-MG 12-24 VDC systems
Current Draw: 100 mA
Flash Rate: Pulse 8 ash mode: 85 FPM
WARNING!
Maximum recommended vehicle speed for safe operation using
the Magnet Mount model is 65 mph (104 km/h) on a well main-
tained road, when tted to the center of a vehicle roof of steel con-
struction. Higher speeds could cause the mount to fail, resulting
in the beacon ying off of the vehicle, which could cause damage
to other vehicles and injury or death to the passengers.
The magnet mount is not intended as a permanent mounting for the
beacon. The magnet mount unit must bemounted on a magnetic sur-
face (i.e. no berglass, etc.). Insure that the magnet is kept clean.
!
Installation & Mounting:
Carefully remove the beacon and place it on a at surface. Ex-
amine the unit for transit damage, broken lenses, etc. If damage
is found, contact the transit company or distributor. Do not use
damaged or broken parts.
Mounting:
Permanent, Model 6465
Position the unit in the desired mounting location. Using the base
as a template, mark the mounting hole locations. Drill three 3/16”
mounting holes, and drill one hole for power wire routing. The use of
a grommet is recommended for wires passing through compartment
walls. Mount the beacon using #10 hardware.
Installation and Operation Instructions
6465 LED Beacon
Specyfikacje produktu
| Marka: | Epcom |
| Kategoria: | Niesklasyfikowane |
| Model: | X6465R |
Potrzebujesz pomocy?
Jeśli potrzebujesz pomocy z Epcom X6465R, zadaj pytanie poniżej, a inni użytkownicy Ci odpowiedzą
Instrukcje Niesklasyfikowane Epcom

30 Września 2024
30 Września 2024
30 Września 2024
30 Września 2024
30 Września 2024
30 Września 2024
30 Września 2024
30 Września 2024
30 Września 2024
30 Września 2024
Instrukcje Niesklasyfikowane
Najnowsze instrukcje dla Niesklasyfikowane
29 Stycznia 2025
29 Stycznia 2025
29 Stycznia 2025
29 Stycznia 2025
29 Stycznia 2025
29 Stycznia 2025
29 Stycznia 2025
29 Stycznia 2025
29 Stycznia 2025
29 Stycznia 2025