Instrukcja obsługi Geemarc Amplicall 6
Przeczytaj poniżej 📖 instrukcję obsługi w języku polskim dla Geemarc Amplicall 6 (2 stron) w kategorii Ulga. Ta instrukcja była pomocna dla 22 osób i została oceniona przez 5 użytkowników na średnio 4.7 gwiazdek
Strona 1/2
123
USER GUIDE
Note: For lamps with a weight significantly higher than that of
the lamps for which they are a replacement, attention should
be drawn to the fact that the increased weight may reduce the
mechanical stability of certain luminaires and lamp holders
and may impair contact making and lamp retention.
!!! Please refer to our website: www.geemarc.com for an
up to date user guide, as there may be important
updates and changes you need to be made aware of !!!
1. Introduction
Congratulations on purchasing your Geemarc AMPLICALL6.
The Bulb unit (The AMPLICALL6) receives a transmitted signal
from any number of AMPLICALL transmitters. For example, the
AMPLICALL1, 2,3, 30 & 40 and extra AC6 LR.
2. Unpacking the AMPLICALL6
When unpacking the AMPLICALL6, you will find the following
in the box:
• 1 AMPLICALL6 Unit
• 1 master remote with battery
• 1 user guide.
3.General Description
Rated current: 0.022A
t
a
: 35 ℃
4. Mounting
• Turn off the power of your house light fitting
• Remove the Bulb
• Place the AMPLICALL6 Bulb
• Turn on the power
• Now you can use the remote to turn on your light.
5. Pairing
Once power is connected (every time if AC is connected),
Green LED will light for 10 seconds. This means the LED
bulb is in pairing mode.
6. Pair with AC1, 2, 30, 40 (option)
If the LED bulb is under pairing mode, then press the AC1
(AC2, AC30-40 and smoke alarm etc.) to pair with the LED
device.
If the 1
st
AC1 is paired with the bulb, the bulb White LED will
flash once: W – .
If the 2
nd
AC1 is paired with the bulb, the bulb White LED will
flash twice: W – W.
If the 3
rd
AC1 is paired with the bulb, the bulb White LED will
flash three times: W – W – W.
If the 4
th
AC1 is paired with the bulb, the bulb White LED will
flash four times: W – W – W – W.
Remarks:
•AC6 is able to pair with 4 x AC6 LR. 4x extra device e.g.
AC1, 2, 3, 4 and 10x smoke alarm.
•If the LED bulb is under pairing mode, then press the
Smoke alarm button, if the smoke alarm is paired with the
bulb,the bulb White LED will flash once.
7. Pair with AC6 LR Remote Dim/Highlight/OFF switch
AC6 LR (Master Dim / Highlight / OFF) control is already
pre-paired in the factory.
User does not need to do the pairing procedure.
In case the user wants to have extra AC6 LR to control the
light bulb Dim / Highlight / OFF, then one can pair extra AC6
LR with the LED bulb. Just follow the above pairing procedure.
Remarks:
•Geemarc LED bulb is able to pair with a maximum of 4 x
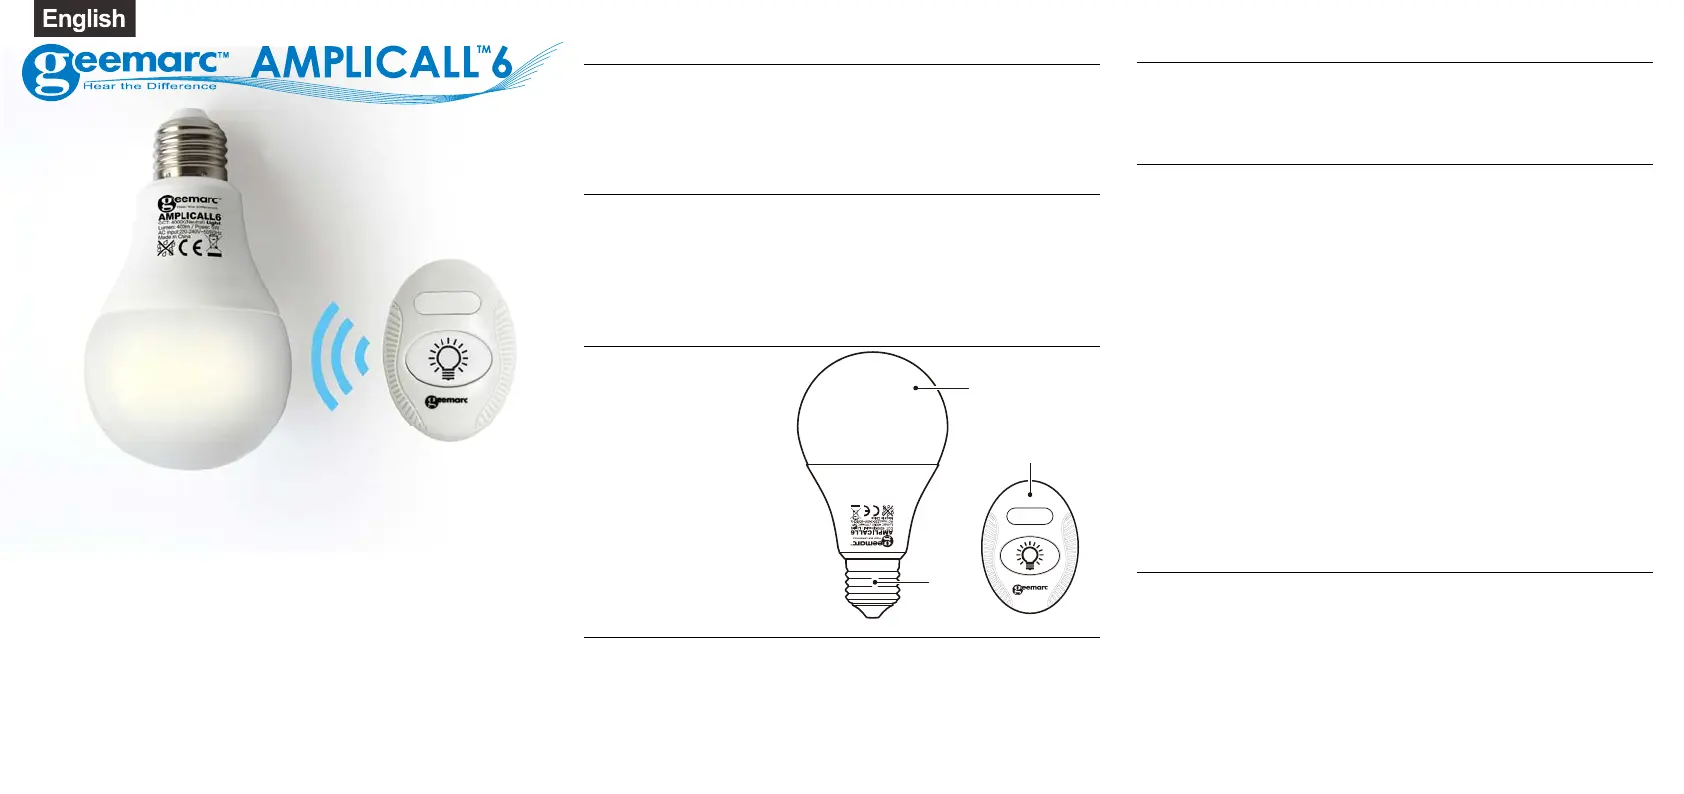
Bulb
Remote
A
C6 LR
E27
Specyfikacje produktu
| Marka: | Geemarc |
| Kategoria: | Ulga |
| Model: | Amplicall 6 |
Potrzebujesz pomocy?
Jeśli potrzebujesz pomocy z Geemarc Amplicall 6, zadaj pytanie poniżej, a inni użytkownicy Ci odpowiedzą
Instrukcje Ulga Geemarc

13 Września 2024
Instrukcje Ulga
Najnowsze instrukcje dla Ulga
9 Kwietnia 2025
8 Kwietnia 2025
8 Kwietnia 2025
8 Kwietnia 2025
8 Kwietnia 2025
7 Kwietnia 2025
5 Kwietnia 2025
5 Kwietnia 2025
5 Kwietnia 2025
5 Kwietnia 2025