Instrukcja obsługi Heatit Z-TRM6 DC
Przeczytaj poniżej 📖 instrukcję obsługi w języku polskim dla Heatit Z-TRM6 DC (12 stron) w kategorii termostat. Ta instrukcja była pomocna dla 58 osób i została oceniona przez 5 użytkowników na średnio 4.4 gwiazdek
Strona 1/12
1. INTRODUCTION
Heatit Z-TRM6 DC is an electronic thermostat with a
potential free relay, designed for boiler control, heat pumps
and actuators. The thermostat can be controlled through
your Z-Wave
®
network or via the buttons on the front. The
thermostat has a user friendly interface.
Heatit Z-TRM6 DC has 3 modes; Heat - Cool and Eco.
The thermostat fits in standard European junction boxes and
may be used with most System 55 frames. It has a sturdy metal
frame for secure fastening on the junction box. The thermostat
has one built-in room temperature sensor. Two additional
external temperature sensors may also be connected.
Heatit Z-TRM6 DC allows you to set the power metering value
manually.
The thermostat can be set up with multiple associations and
can be used as a master thermostat. It can control up to 10
thermostats and 10 external relays E.g wall plugs.
The device has a built-in potential free relay of max 3A that is
designed for the usage of up to 3x 24VDC actuators.
2. STATEMENT REGARDING PRODUCTS FROM MULTIPLE
MANUFACTURERS
Please read this before installation
This device may be used with all devices certified with the
Z-Wave Plus
®
certificate and should be compatible with
such devices produced by any manufacturer. Every primary
controller is dierent depending on the manufacturer, their
target audience and intended use/application. Please review
the functionalities implemented by the primary controller you
intend to use with our Z-Wave Plus certified device to ensure
that it provides the necessary controls to take full advantage of
our product’s capabilities.
3. BEHAVIOR WITHIN THE Z-WAVE NETWORK
This device may be operated within any Z-Wave
®
network
with Z-Wave-certified devices from other manufacturers. All
non-battery-operated nodes within the network will act as
repeaters regardless of manufacturer to increase the reliability
of the network. On delivery, the device does not belong to any
Z-Wave network. The device needs to be added to an existing
network to communicate with the other devices within it.
Devices may also be removed from a network. The add/
remove processes are initiated by the primary controller of the
Z-Wave network.
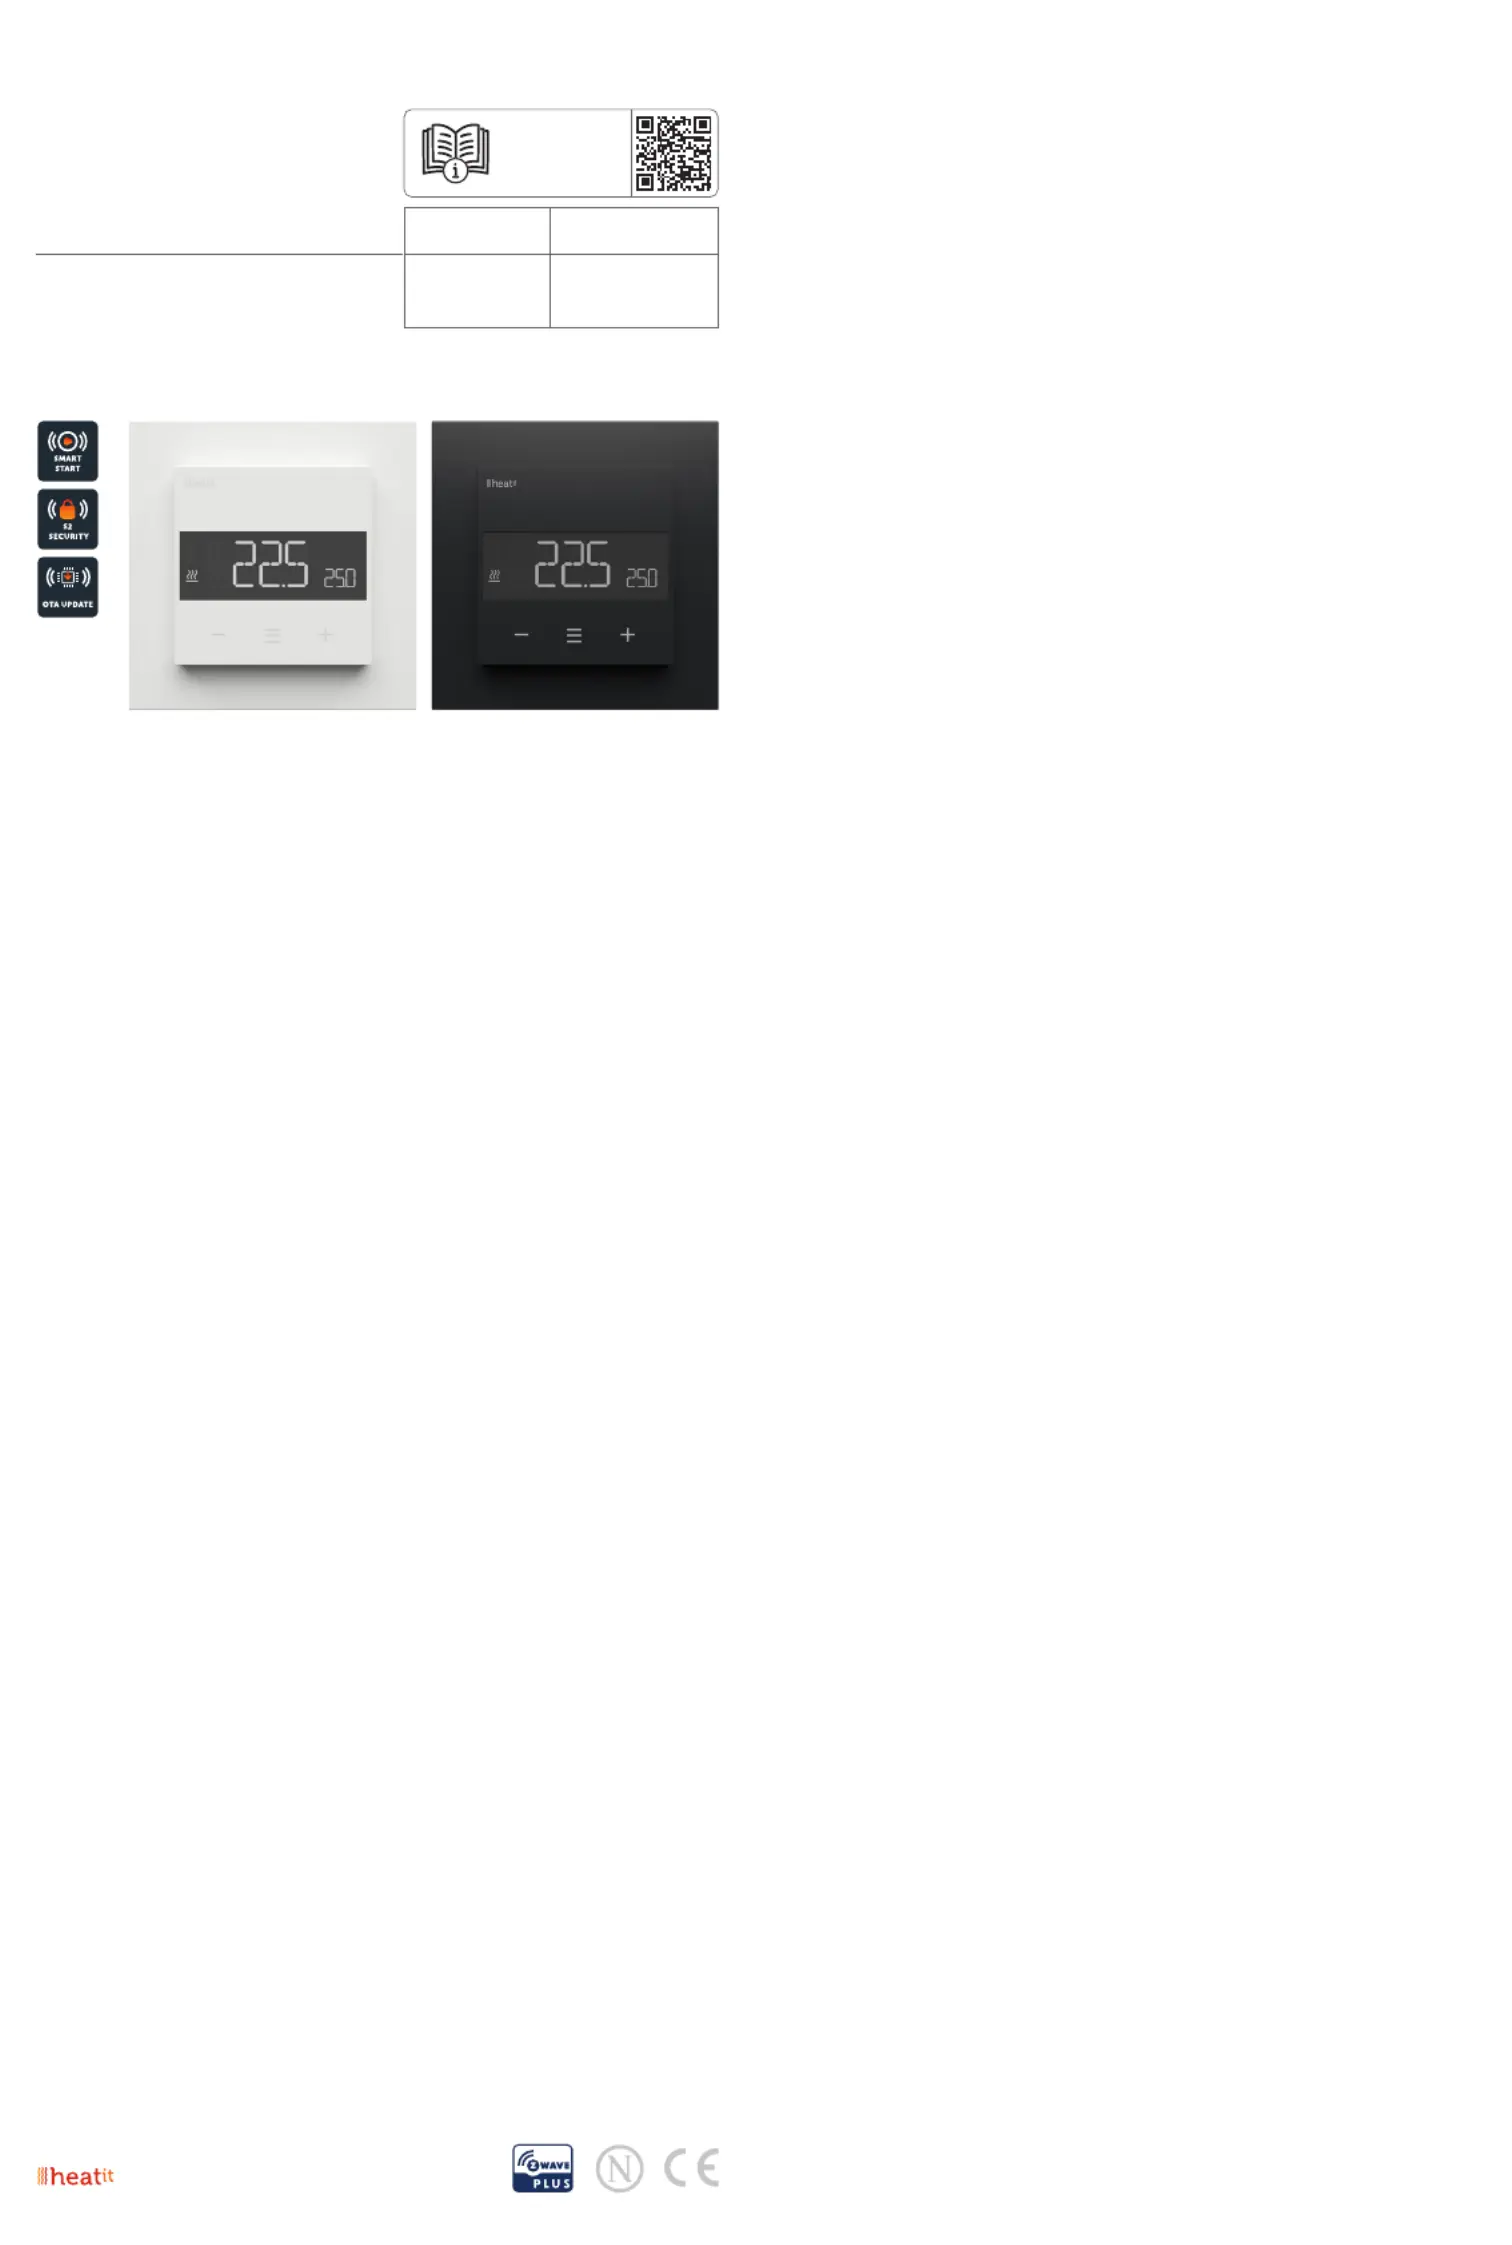
PRODUCT
DOCUMENTS
HEATIT
Z-TRM6 DC
Installers manual
Firmware versionDocument version
FW 1.02024-B
Article no.Document date
54 305 61
54 305 63
22.02.2024
Org. doc. date 02.01.2024
White RAL 9003
54 305 61
TABLE OF CONTENTS
1. Introduction
2. Statement regarding
products from multiple
manufacturers
3. Behavior within the
Z-Wave network
4. Quick start
5. Disclaimer installation
6. Connections
7. Installation
8. Add/Remove
9. Factory reset
10.Startup
11.Principles of regulation
12. Local settings menu
13.Display menu structure
14. Temperature shown in
display
15.Standby and main screen
16. KWh value in menu
17.Size of load
18. Choice of sensor
19. Selecting sensor value
20.Calibration
21. Brightness
22.Display on/o
23.Display icons
24.Child lock
25. Open window detection
26.Error codes
27.Safety features
28.QR-Code placement (DSK)
29.Security
30.Node information frame
31. Associations
32.Association groups
33.Configuration parameters
34.Command classes
35.Supported command
classes
36.Controlled command
classes
37. Thermostat dimensions
38.Thermostat controls
39.Chart - Display menu
Product info
Black matt
54 305 63
Specyfikacje produktu
| Marka: | Heatit |
| Kategoria: | termostat |
| Model: | Z-TRM6 DC |
Potrzebujesz pomocy?
Jeśli potrzebujesz pomocy z Heatit Z-TRM6 DC, zadaj pytanie poniżej, a inni użytkownicy Ci odpowiedzą
Instrukcje termostat Heatit

3 Stycznia 2025
9 Października 2024
9 Października 2024
7 Października 2024
7 Października 2024
7 Października 2024
7 Października 2024
13 Września 2024
28 Sierpnia 2024
27 Sierpnia 2024
Instrukcje termostat
Najnowsze instrukcje dla termostat
9 Kwietnia 2025
9 Kwietnia 2025
8 Kwietnia 2025
8 Kwietnia 2025
7 Kwietnia 2025
7 Kwietnia 2025
6 Kwietnia 2025
6 Kwietnia 2025
5 Kwietnia 2025
5 Kwietnia 2025