Instrukcja obsługi Joy-It BUTTON22
Joy-It Niesklasyfikowane BUTTON22
Przeczytaj poniżej 📖 instrukcję obsługi w języku polskim dla Joy-It BUTTON22 (4 stron) w kategorii Niesklasyfikowane. Ta instrukcja była pomocna dla 14 osób i została oceniona przez 7 użytkowników na średnio 4.6 gwiazdek
Strona 1/4
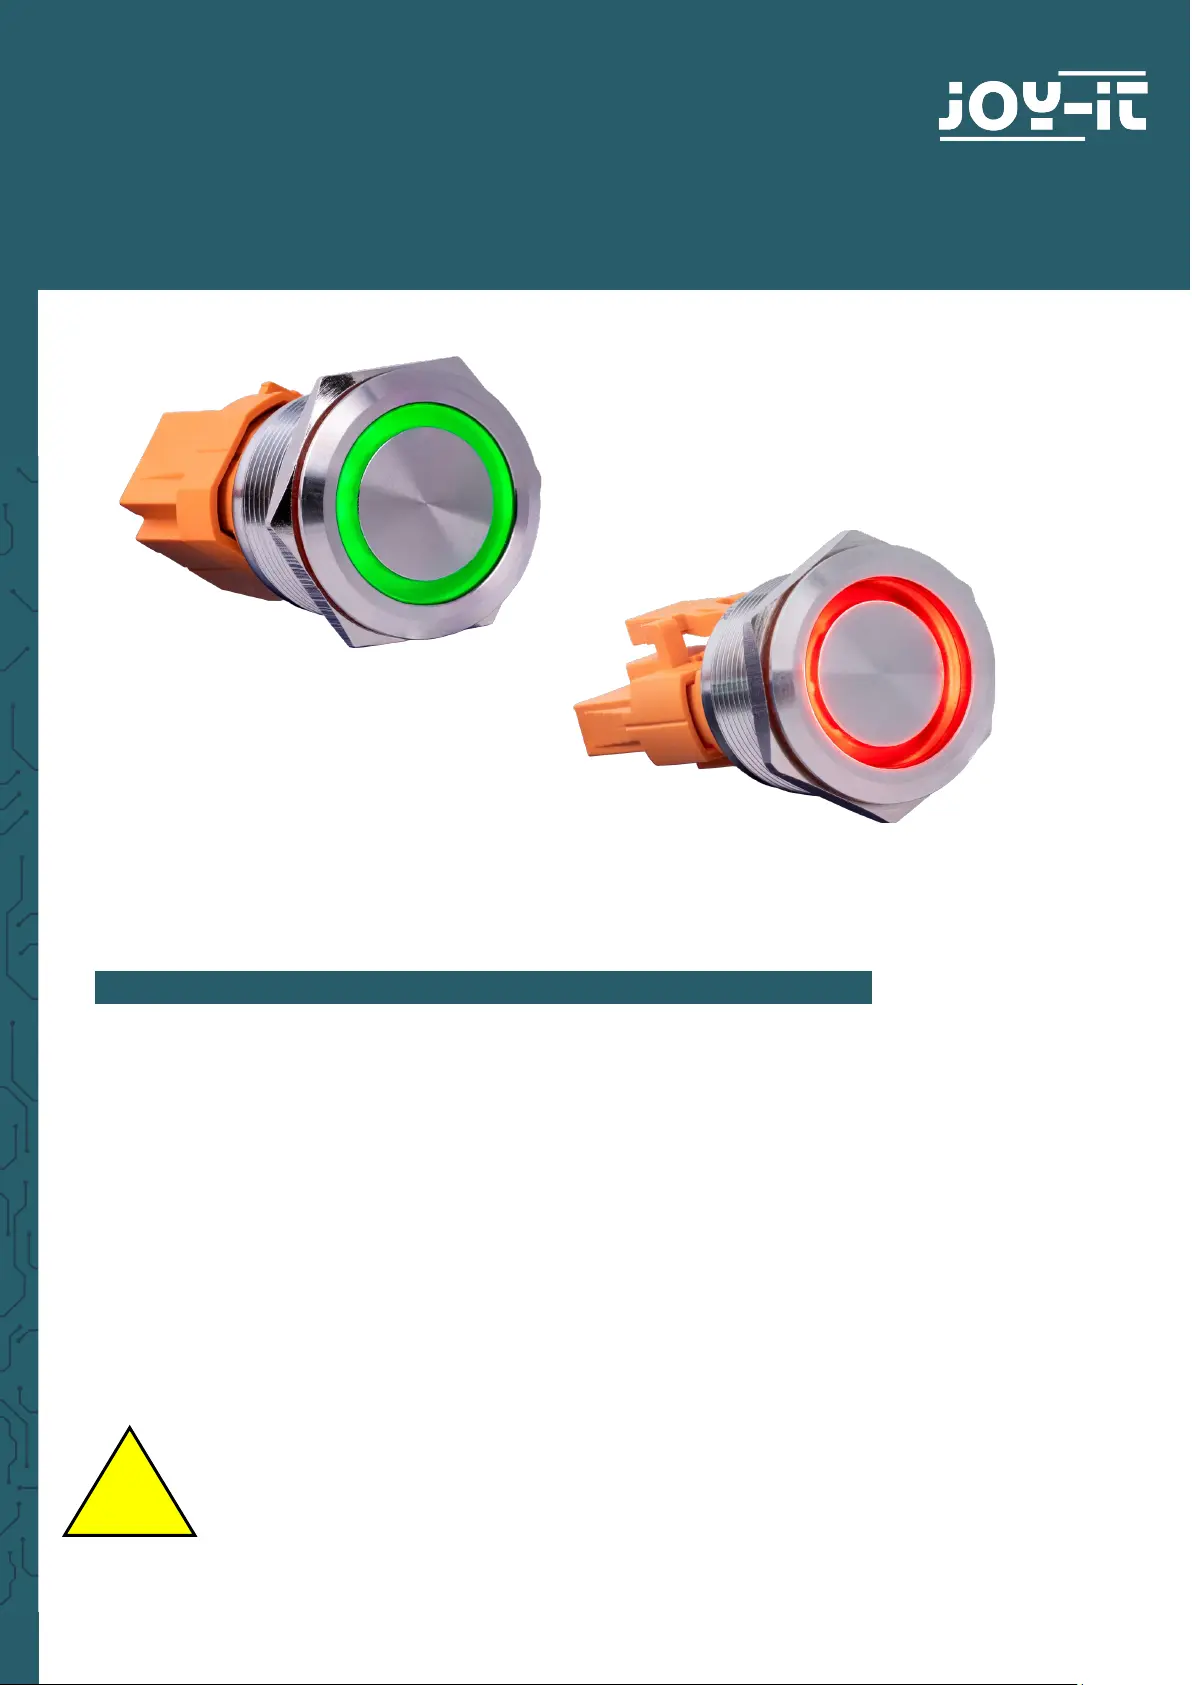
BUTTON22
High-current microswitch button with LED light
1. GENERAL INFORMATION
Dear customer,
Thank you for purchasing our product. In the following, we will show you
which things should be noted during the use.
Should you encounter any unexpected problems, do not hesitate to
contact us.
This manual is about the Button22A, Button22B and Button22C. In the
following, you will find how to connect your button and what you have to
consider during your usage.
For your own safety, this product may only be
installed by a qualified electrician! Working on
electric devices / systems implies the hazard of
electric shocks which may cause serious injuries or
even death!
!
Specyfikacje produktu
| Marka: | Joy-It |
| Kategoria: | Niesklasyfikowane |
| Model: | BUTTON22 |
Potrzebujesz pomocy?
Jeśli potrzebujesz pomocy z Joy-It BUTTON22, zadaj pytanie poniżej, a inni użytkownicy Ci odpowiedzą
Instrukcje Niesklasyfikowane Joy-It

28 Stycznia 2025
28 Stycznia 2025
14 Stycznia 2025
1 Stycznia 2025
27 Grudnia 2024
5 Grudnia 2024
5 Grudnia 2024
8 Października 2024
7 Października 2024
6 Października 2024
Instrukcje Niesklasyfikowane
Najnowsze instrukcje dla Niesklasyfikowane
29 Stycznia 2025
29 Stycznia 2025
29 Stycznia 2025
29 Stycznia 2025
29 Stycznia 2025
29 Stycznia 2025
29 Stycznia 2025
29 Stycznia 2025
29 Stycznia 2025
29 Stycznia 2025