Instrukcja obsługi Joy-It LK-Temp2
Joy-It Niesklasyfikowane LK-Temp2
Przeczytaj poniżej 📖 instrukcję obsługi w języku polskim dla Joy-It LK-Temp2 (7 stron) w kategorii Niesklasyfikowane. Ta instrukcja była pomocna dla 19 osób i została oceniona przez 3 użytkowników na średnio 4.1 gwiazdek
Strona 1/7
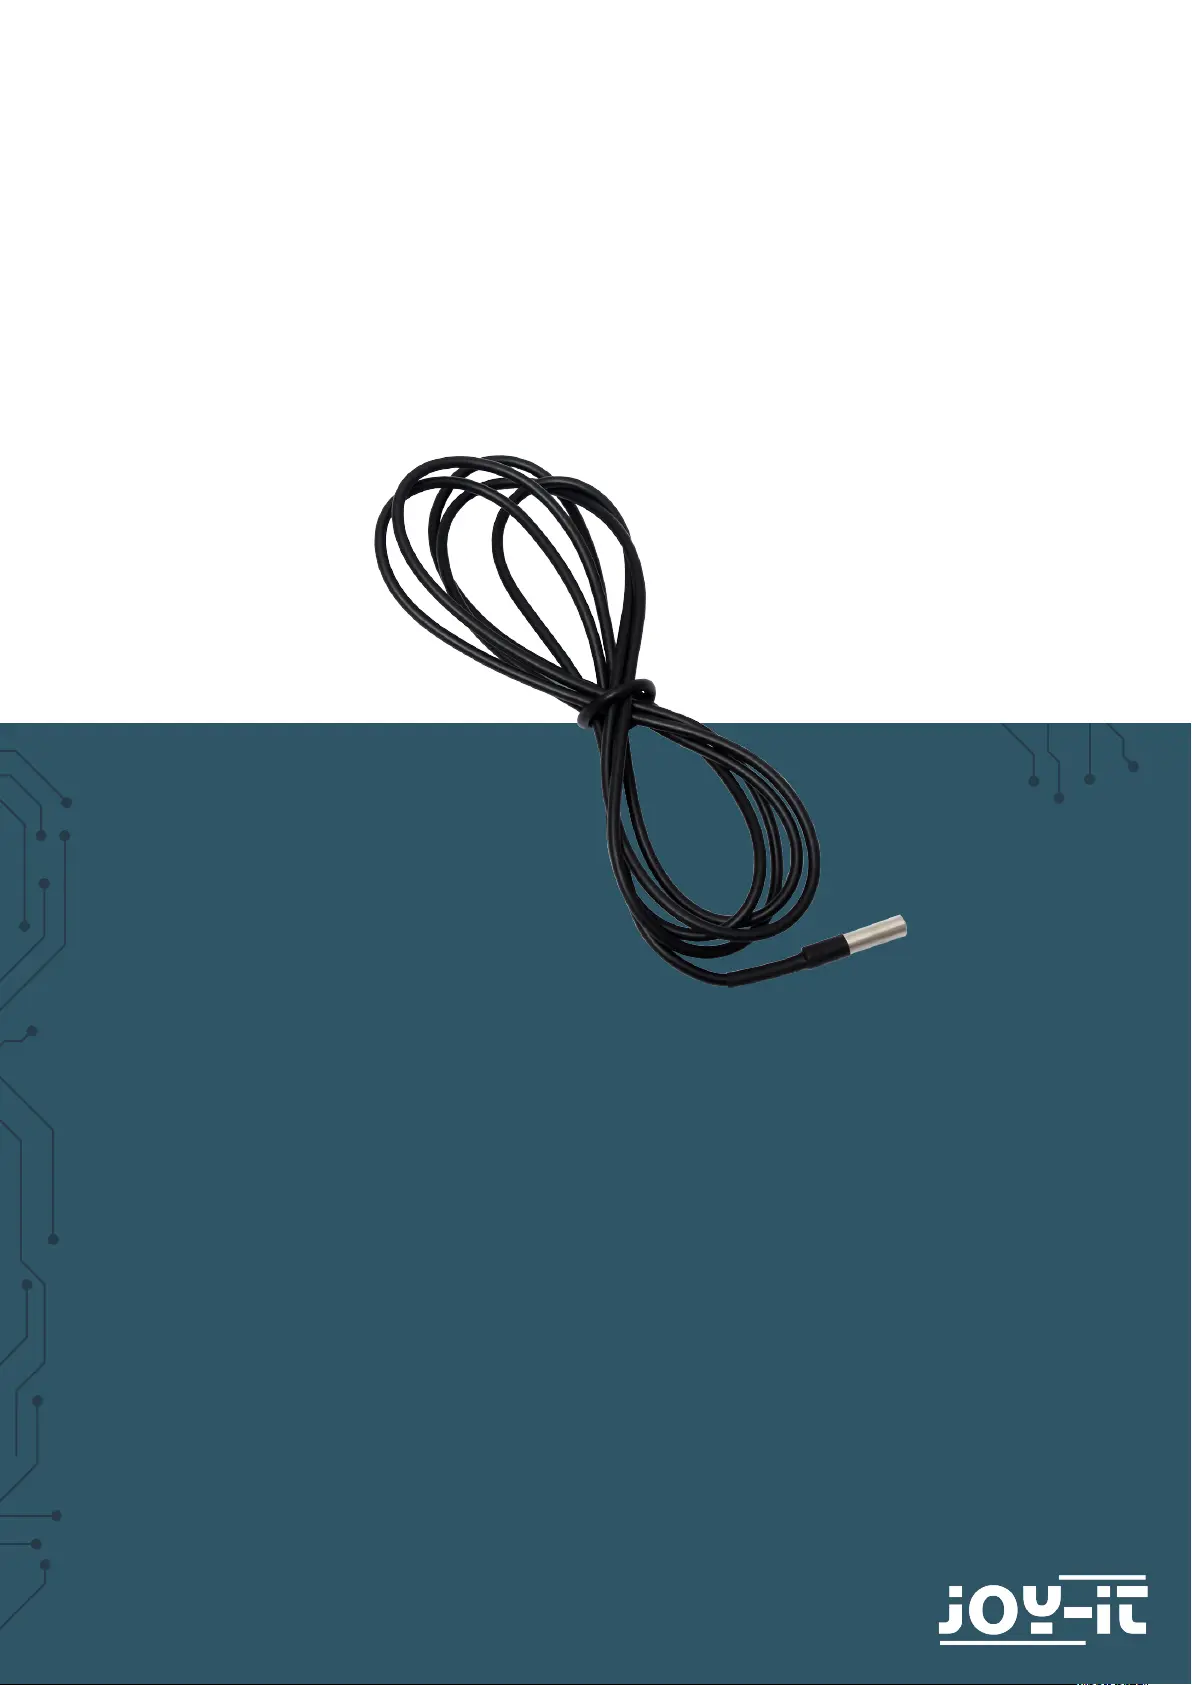
LINKERKIT TEMPERATURE SENSOR
Water protected One-Wire temperature sensor
Joy-IT powered by SIMAC Electronics GmbH - Pascalstr. 8 - 47506 Neukirchen-Vluyn - www.joy-it.net
Specyfikacje produktu
| Marka: | Joy-It |
| Kategoria: | Niesklasyfikowane |
| Model: | LK-Temp2 |
Potrzebujesz pomocy?
Jeśli potrzebujesz pomocy z Joy-It LK-Temp2, zadaj pytanie poniżej, a inni użytkownicy Ci odpowiedzą
Instrukcje Niesklasyfikowane Joy-It

28 Stycznia 2025
28 Stycznia 2025
14 Stycznia 2025
1 Stycznia 2025
27 Grudnia 2024
5 Grudnia 2024
5 Grudnia 2024
8 Października 2024
7 Października 2024
6 Października 2024
Instrukcje Niesklasyfikowane
Najnowsze instrukcje dla Niesklasyfikowane
29 Stycznia 2025
29 Stycznia 2025
29 Stycznia 2025
29 Stycznia 2025
29 Stycznia 2025
29 Stycznia 2025
29 Stycznia 2025
29 Stycznia 2025
29 Stycznia 2025
29 Stycznia 2025