Instrukcja obsługi Vtech VC7002
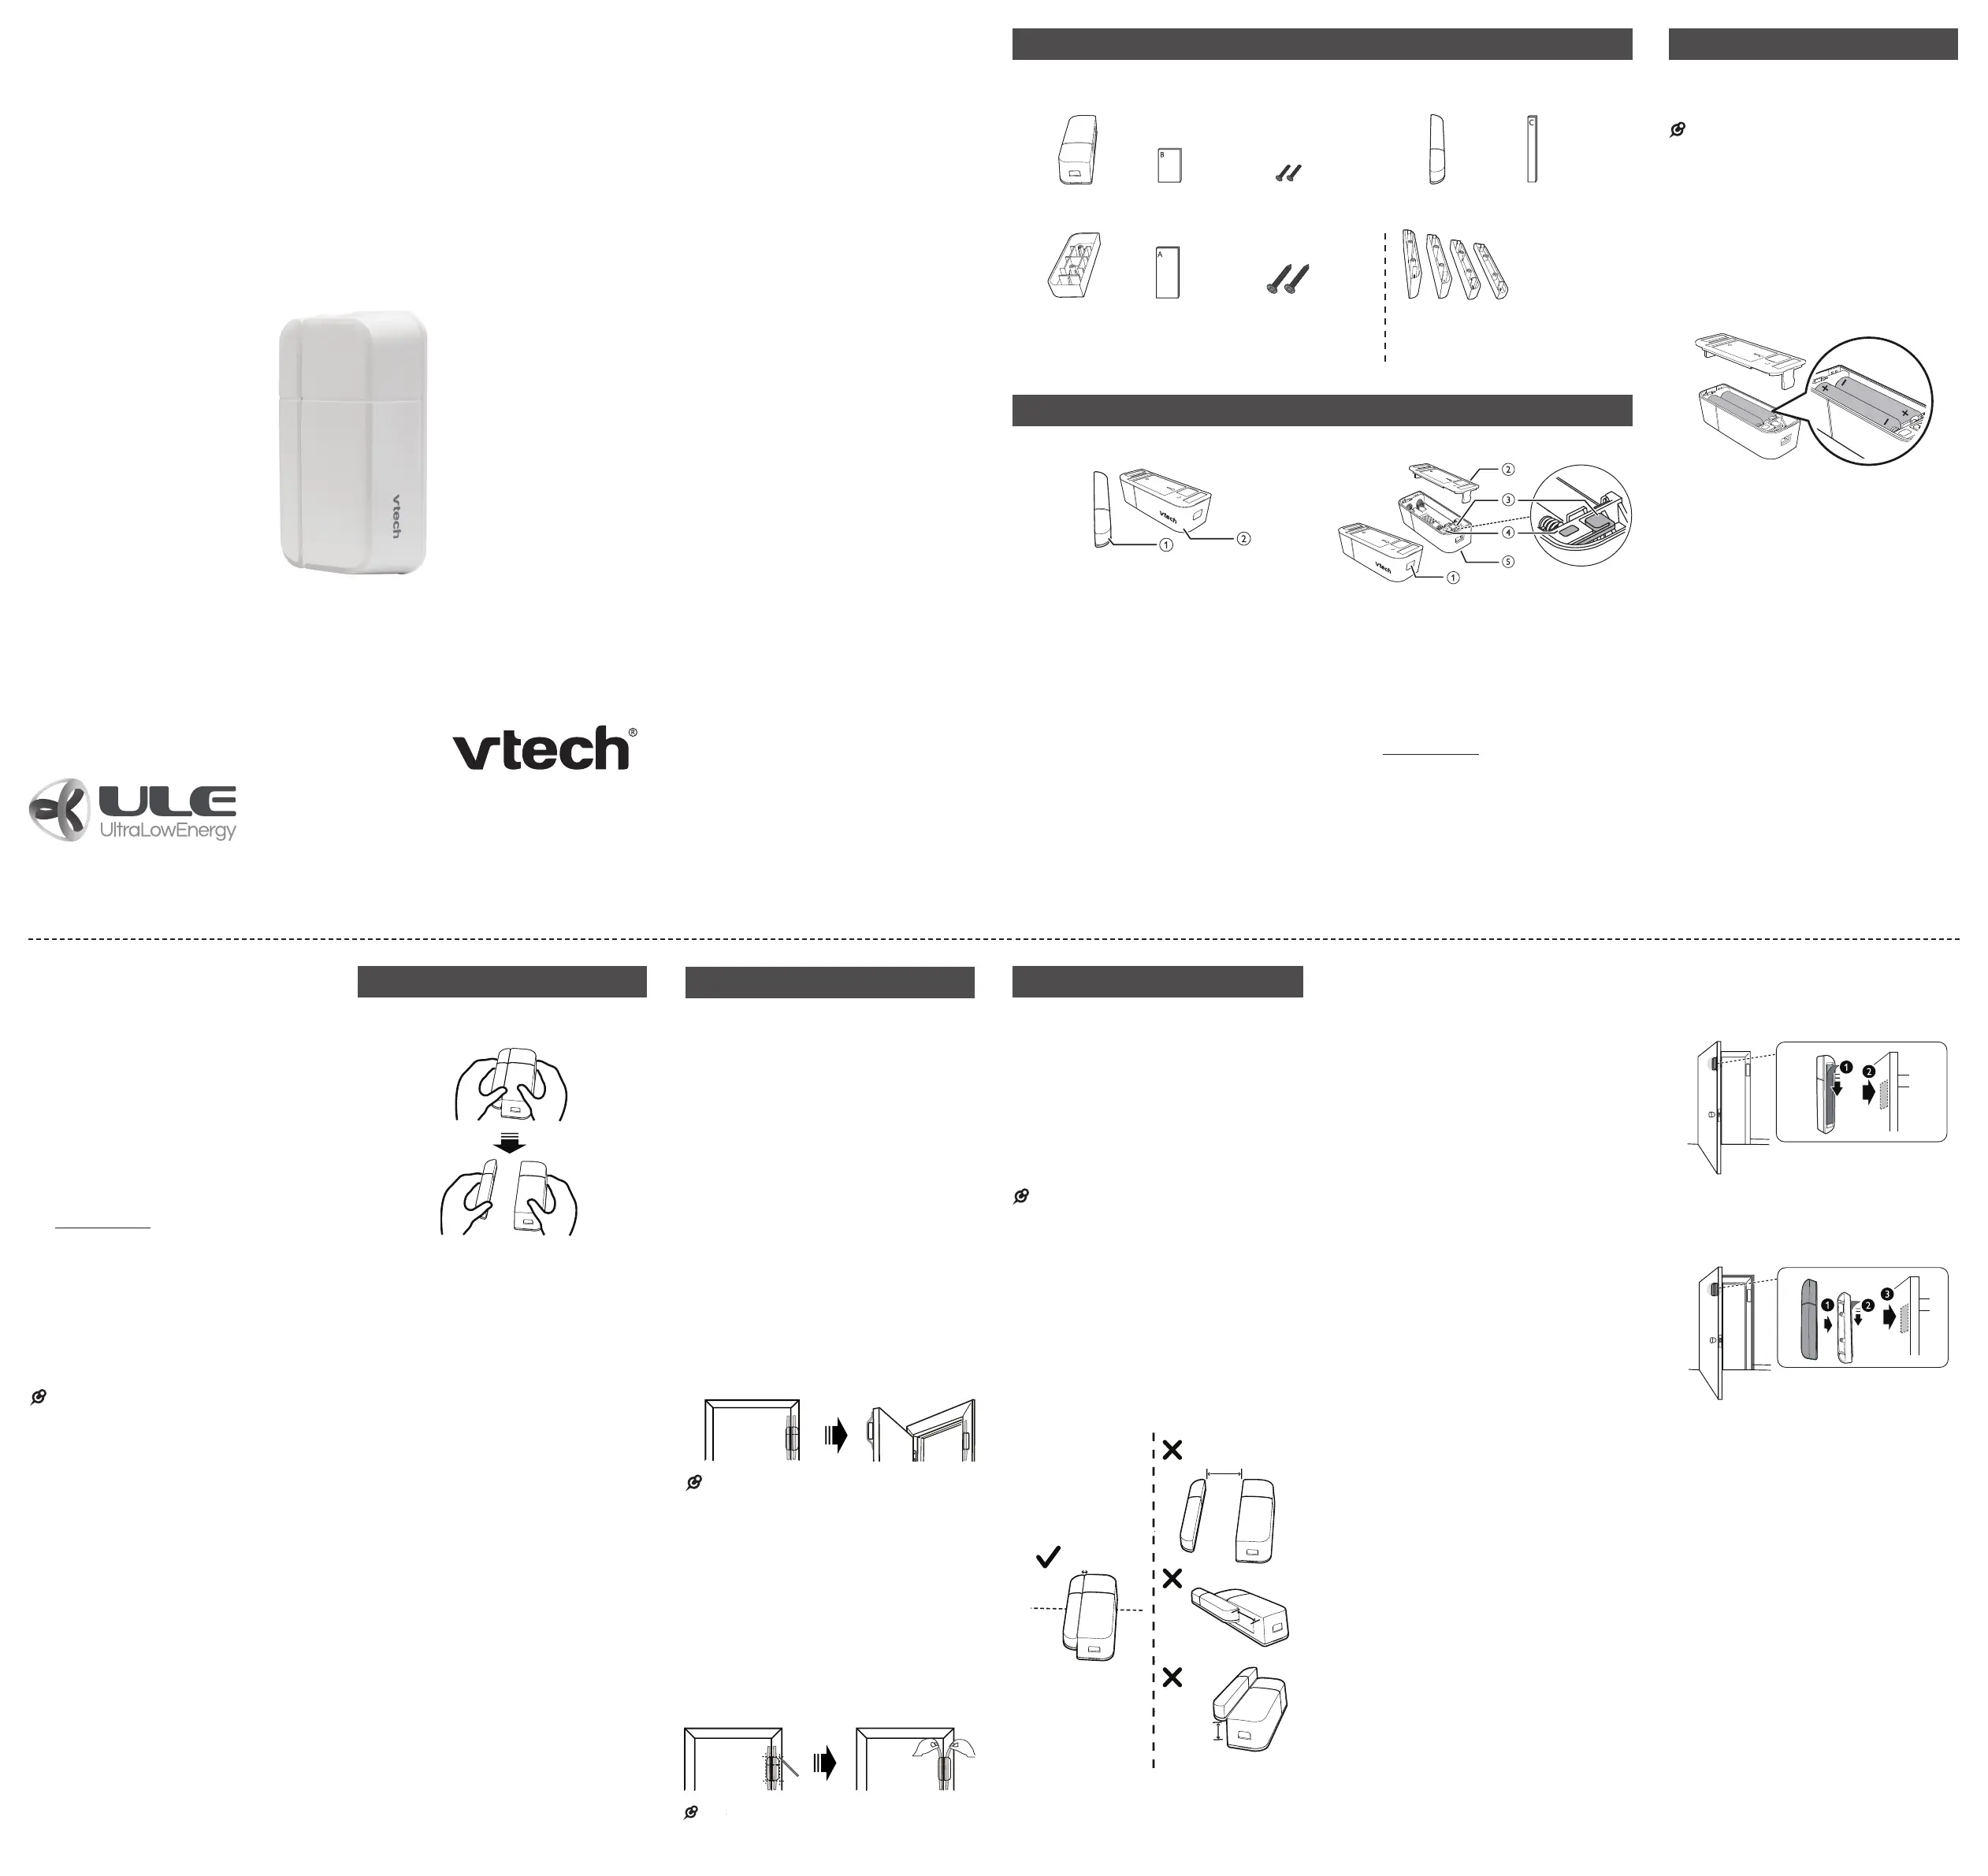
Vtech Kamera monitorująca VC7002
Przeczytaj poniżej 📖 instrukcję obsługi w języku polskim dla Vtech VC7002 (2 stron) w kategorii Kamera monitorująca. Ta instrukcja była pomocna dla 22 osób i została oceniona przez 3 użytkowników na średnio 4.4 gwiazdek
Strona 1/2
Congratulations
on purchasing your new VTech product.
Before using this product, please read
Important safety instructions.
This manual has instructions on how to set
up and register your new sensor.
For instructions on sensor settings, see
the user’s manual that came with your ULE
compatible products. Visit
www.vtechphones.com/wireless-monitoring
for a list of the latest ULE compatible
products.
You may also view or download the online
User’s manual of the respective product
for a full set of installation and operation
instructions at www.vtechcanada.com.
Before use
Install batteries to the
Open/Closed Sensor
NOTES
Use 2 x AAA batteries. Alkaline batteries are
recommended. If you use other kind of batteries,
the performance of the sensor varies.
Do not mix old and new batteries. Do not
mix alkaline, standard (Carbon-Zinc) or
rechargeable (Ni-Cad, Ni-Mh, etc) batteries.
While you insert the batteries, make sure the
polarities are correct.
The batteries operate properly under the
temperature between 0°F (-18°C) and 130°F
(55°C).
Press the latch button on the sensor to
open the battery compartment case.
Insert two AAA alkaline batteries into the
battery compartment.
•
•
•
•
1.
2.
VC7002
Accessory Open/Closed Sensor
for use with
ULE certified systems*
P
Add and register a sensor
Your new VC7002 Open/Closed Sensor
can be registered to any ULE compatible
product.
Register each sensor individually to the
respective ULE compatible product before
use.
Register a sensor:
Enter the registration mode by selecting
the option for adding a sensor to your
ULE compatible product. Refer to the
user’s manual of your ULE compatible
product for more detailed instructions.
Press and hold the P button on the
Open/Closed Sensor, until the LED light
flashes red, to enter the registration
mode.
When the registration process is
complete, the red LED light on the sensor
will remain steady for about two seconds,
and then turn off. The registration
process takes about 90 seconds to
complete.
NOTES
You can also download online User’s manuals at
www.vtechcanada.com.
Replacing a sensor
If you have purchased this new VC7002
accessory sensor to replace an old sensor,
you must deregister the registered sensor
first, and then register this new sensor to
your ULE compatible product.
Deregister a sensor or all sensors:
Refer to the User’s manual of your ULE
compatible products to deregister a sensor
or all sensors.
1.
2.
3.
•
•
Check the sensor before use
1. Separate the sensor unit from the magnet
unit.
You will receive alerts at your ULE
compatible product. Refer to the
Installation guide or User’s manual of
your ULE compatible product for the
sensor alerts.
2. Combine the sensor unit with the magnet
unit.
•
Test the sensor signal strength
You can mount the Open/Closed Sensor on
a door, window, medicine cabinet, or any
object that opens or closes.
Before mounting the sensor, make sure you
test if the location you install the sensor is in
range from your ULE compatible product.
Use adhesive tape to hold the sensor
temporarily in place.
Mount the sensor to a higher position to
avoid obstacles or blockages. Depending
on surroundings and obstructing factors,
like walls or cabinets, the sensor may not
transmit to the baby unit properly.
1. Take the sensor unit and magnet unit to
the desired mounting location, and use
adhesive tape to hold them temporarily in
place at the object and the frame.
2. Enter the signal checking or testing mode
at your ULE compatible product to test the
sensor signal strength.
3. Open the door, window, or medicine cabinet
again and check whether a good signal is
received at your ULE compatible product.
NOTES
I
f No signal or Weak signal message is
displayed in sensor setup mode, mode, or if
you do not receive an alert when you open the
door, move the telephone base closer to the
mounting location or move the sensor closer to
the telephone base.
Depending on surroundings and obstructing
factors, like walls or cabinets, the sensor may
not transmit to the base properly.
After testing the sensor signal strength, mark
the mounting location on the door, window,
or medicine cabinet and its respective
frame. Then, remove the adhesive tape and
proceed to the mounting process.
•
•
•
•
Mount with tape
1. Attach mounting tape C onto the
rectangular area at the rear side of the
magnet unit,
2. Stick the magnet unit onto the door.
Mount with tape
You can choose one out of the four spacers
with suitable height, and then add it to the
magnet unit.
1. Push the spacer towards the magnet unit
until it securely clicks into place.
2. Attach mounting tape C onto the
rectangular area at the rear side of the
spacer.
3. Stick the magnet unit onto the door.
Go to www.vtechcanada.com
to register your product for
enhanced warranty support and
the latest VTech product news.
Mount the sensor
We recommend you mount the magnet unit
on a door, window, or medicine cabinet,
and mount the sensor unit on its respective
frame.
You can use the spacers provided if there is
a difference in level between the door and
the frame. The spacer will help to align your
sensor to the correct height. You can also
use a spacer if the frame is too narrow or has
some decorative molding.
NOTES
You can mount the sensor unit with mounting
tape first, and then use screws later if you
decide to mount it at that location for long term.
Make sure the mounting surface is clean. A
textured surface or any imperfections to a
smooth surface can keep the mounting tape
from making a strong bond.
Align the magnet unit with sensor unit when
mounting.
The distance between the sensor unit and
magnet unit must be less than 1 cm (0.4 inch).
•
•
•
•
c
c
Without spacer
Mount the magnet unit
With spacer (optional)
*
Visit www.vtechphones.com/wireless-monitoring for the latest ULE compatible products.
> 1 cm
(0.4 inch)
> 1 cm
(0.4 inch)
> 1 cm
(0.4 inch)
< 1 cm
(0.4 inch)
What’s in the box
Your product package contains the following items. Save your sales receipt and original
packaging in the event warranty service is necessary.
Overview
Sensor overview
1 – Magnet unit
2 – Sensor unit
Sensor unit overview
1 – Latch button
Press to open the battery
compartment case.
2 – Back cover
3 – P (Pair) button
Press and hold to enter the registration
mode.
4 – LED light
Red for a second when the sensor is
powered on.
Flashes red when the sensor is in the
registration mode.
5 – Battery compartment case
•
•
•
•
P
P
P
P
Sensor unitMagnet unit
Spacer for
sensor unit
(optional)
Double-sided
mounting tape C
Spacers for magnet
unit
(optional)
Large screw x 2
(for fixing the
spacer on the
frame; optional)
Small screw x 2
(for fixing sensor
unit’s back cover on
the spacer; optional)
Double-sided
mounting
tape A
Double-sided
mounting
tape B
NOTES
The door images in this manual are for conceptual
reference only.
•
* The door frame is thicker than
the door.
User’s manual
(Canada version)
Specyfikacje produktu
| Marka: | Vtech |
| Kategoria: | Kamera monitorująca |
| Model: | VC7002 |
Potrzebujesz pomocy?
Jeśli potrzebujesz pomocy z Vtech VC7002, zadaj pytanie poniżej, a inni użytkownicy Ci odpowiedzą
Instrukcje Kamera monitorująca Vtech

14 Grudnia 2024
14 Grudnia 2024
7 Sierpnia 2024
Instrukcje Kamera monitorująca
Najnowsze instrukcje dla Kamera monitorująca
28 Stycznia 2025
25 Stycznia 2025
17 Stycznia 2025
17 Stycznia 2025
15 Stycznia 2025
13 Stycznia 2025
13 Stycznia 2025
13 Stycznia 2025
12 Stycznia 2025
12 Stycznia 2025