Instrukcja obsługi Hamlet HXD3SAUU
Hamlet dysk twardy HXD3SAUU
Przeczytaj poniżej 📖 instrukcję obsługi w języku polskim dla Hamlet HXD3SAUU (2 stron) w kategorii dysk twardy. Ta instrukcja była pomocna dla 45 osób i została oceniona przez 6 użytkowników na średnio 4.9 gwiazdek
Strona 1/2
Installazione del disco sso
1.Svitareleduevitidissaggioailatidelboxperrimuovereilpannelloposteriore.
2.CollegareilcavoSerialATAeilcavodialimentazioneall'harddisk.
3.Inserireildiscoall’internodelboxconcautela.
4.Assicurarel'harddiskalboxinalluminioutilizzandoleappositeviti.
5.Fissarenuovamenteilpannelloposterioreconleappositeviti.Ildiscoèorapronto
peresserecollegatoalcomputer.
Installazione dell’unità
1.Collegareilcavodialimentazioneaunapresaamuroeall’unitàdiscoHamlet.
2.CollegareilcavoUSBalcomputereall’unità.
3.Accenderel’unitàspostandol’interruttorediaccensioneinposizione“ON”.
4.L’unitàverràriconosciutadalsistemaelarelativaiconaverràvisualizzatain
“Risorsedelcomputer”(Windows)osulla“Scrivania”(Mac).
ATTENZIONE:Primadiiniziareadutilizzarel’unitàènecessarioprocederealla
formattazione.Perleprocedurerelativeaidiversisistemioperativi,fareriferimento
allaguidaallegata.
Scollegare dispositivi USB
Seildispositivoèdotatodiunaspiadiattività,primadiscollegarloattenderequalche
secondodopochelaspiahasmessodilampeggiare.
Utenti Windows
Sevienevisualizzatal’icona“Rimozionesicuradell’hardware”nell’areadinotica
nellapartedestradellabarradelleapplicazioni,èpossibileutilizzarlaperrimuovere
ildispositivo.
1.Fareclicsull’icona“Rimozionesicuradell’hardware”.
2.Fareclicsull’unitàchesidesiderascollegare.
3.Vienevisualizzatoilmessaggio:“Rimozionesicuradell’hardware”ounaltro
messaggioequivalente.Aquestopuntolaperifericapuòessererimossasenza
alcunproblema.
Utenti Mac
Perespellereundiscoounvolume,eseguireunadiquesteoperazioni:
•Selezionarel’iconadell’elementodaespellereescegliereArchivio>Espelli.
•Trascinarel’iconadell’elementosull’iconadelCestinonelDock(l’iconadelCestino
sitrasformainiconadiespulsione).
MANUALE UTENTE
HXD3SAUU
www.hamletcom.com
GentileCliente,
Laringraziamoperladuciaripostaneinostriprodotti.Lapreghiamodiseguirele
normed’usoemanutenzionecheseguono.Alterminedelfunzionamentodiquesto
prodottoLapreghiamodinonsmaltirlotrairiutiurbanimisti,madieffettuareperdetti
riutiunaraccoltaseparatanegliappositiraccoglitoridimaterialeelettrico/elettronico
odiriportareilprodottodalrivenditorecheloritireràgratuitamente.
Informiamocheilprodottoèstatorealizzatoconmaterialiecomponentiinconformità
aquantoprevistodalladirettivaRoHS2002/95/CE,dalladirettivaRAEE2002/96/CE
e2003/108/CED.Lgs.151/2005edalladirettivaEMC2004/108/CEperiseguenti
standard:EN55022:2006+A1:2007,EN55024:1998+A1:2001+A2:2003.
Lainformiamoinoltrecheladocumentazionecompletarelativaallacerticazione
CEdelprodottopuòessererichiestacontattandoHamlettramitepostaelettronica
all’indirizzoe-mailinfo@hamletcom.com.
Leinformazionirelativeall’importatoreperilsuopaesesonodisponibilinellasezione
“Chisiamo”delsitowww.hamletcom.com.
Marchi e variazioni
Tuttiimarchieinomidisocietàcitatiinquestaguidasonoutilizzatialsoloscopo
descrittivoeappartengonoairispettiviproprietari.Lapresenteguidahascopo
puramenteinformativoepuòesseremodicatasenzapreavviso.
Informazioni importanti
Hamletnongarantisceinnessunacircostanzailrecuperooilripristinodeidatiincaso
didannioperditariconducibiliall’usodell’unità.Perprevenirepossibiliperditedidati,
siconsigliavivamentedieffettuareDUEcopiedeidatiediconservarneadesempio
unasuun’unitàdiscoesternael’altrasull’unitàdiscointerna,oppuresuun’altraunità
discoesternaosuundiversosupportodiarchiviazionerimovibile.
Introduzione
Requisiti di sistema
•WindowsXP/Vista/7&8,MacOS10.4osuperiore,Linux(kernel2.4.18osup.)
•PortaUSB(siconsigliaUSB2.0perlemassimeprestazioni)
Contenuto della confezione
•Boxesterno3,5"SATA
•CavoUSB
•Alimentatore
•Manualeutente
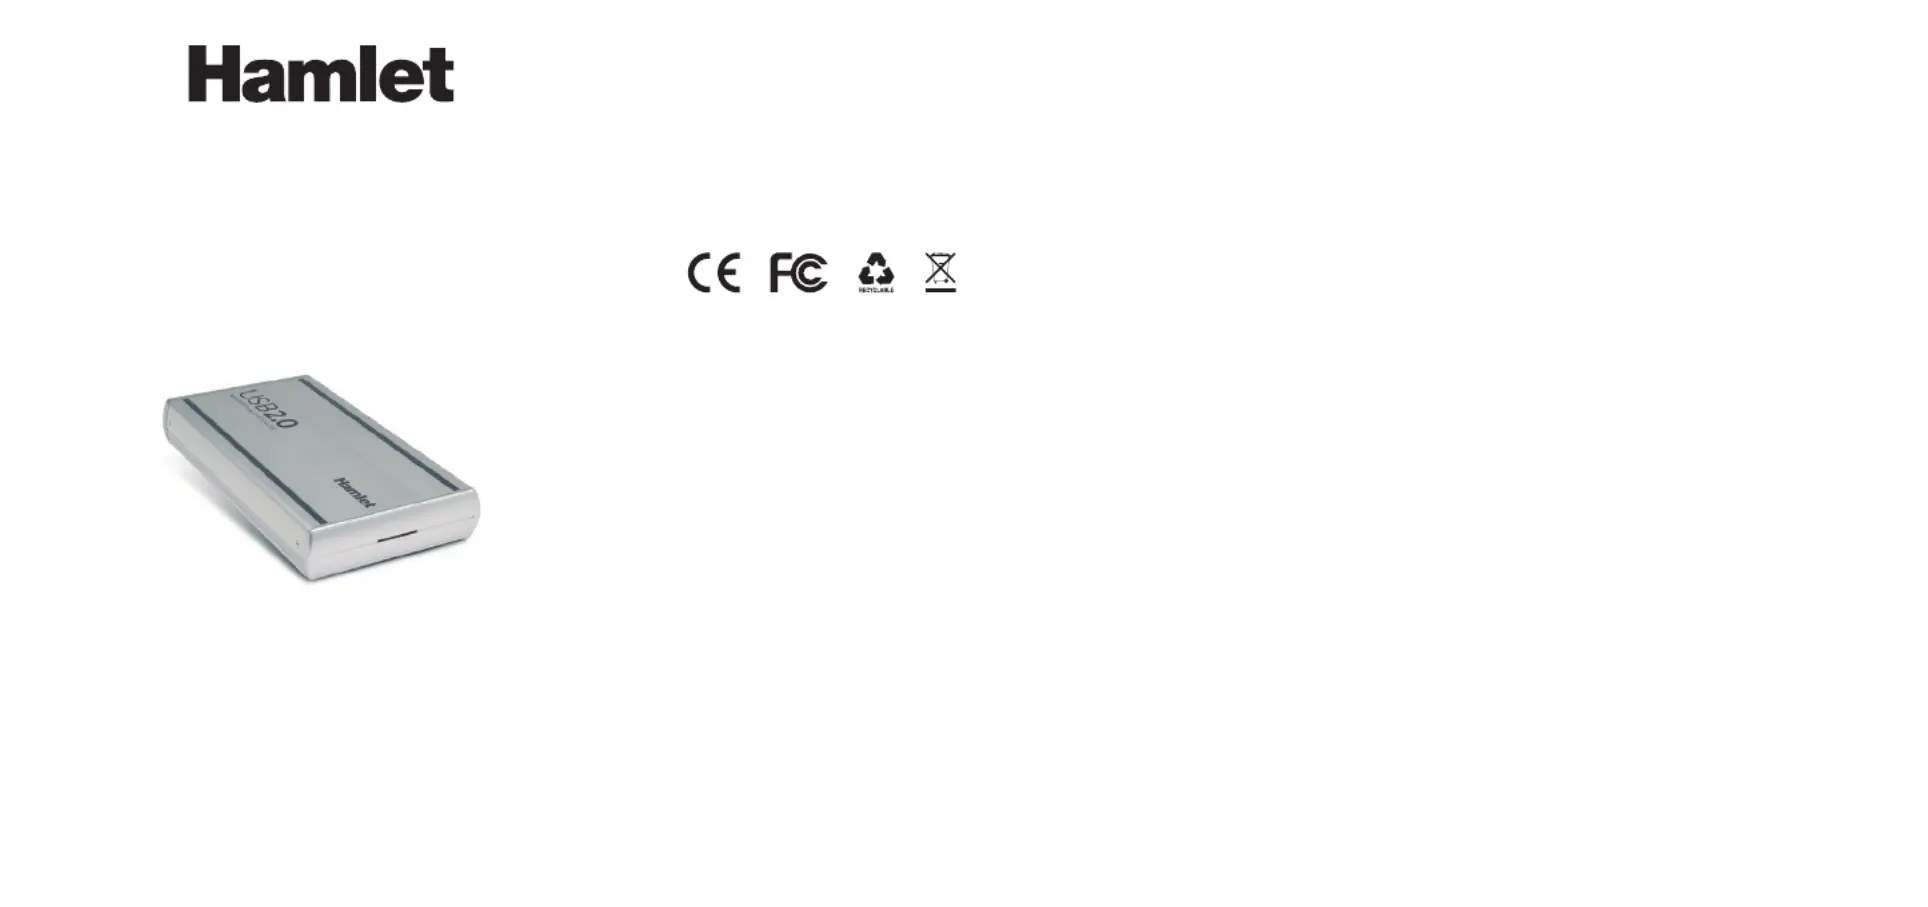
SATA DESK STATION
Box USB 2.0 per Hard Disk SATA da 3.5"
Specyfikacje produktu
| Marka: | Hamlet |
| Kategoria: | dysk twardy |
| Model: | HXD3SAUU |
Potrzebujesz pomocy?
Jeśli potrzebujesz pomocy z Hamlet HXD3SAUU, zadaj pytanie poniżej, a inni użytkownicy Ci odpowiedzą
Instrukcje dysk twardy Hamlet

30 Stycznia 2025
15 Stycznia 2025
15 Stycznia 2025
15 Stycznia 2025
15 Stycznia 2025
15 Stycznia 2025
14 Stycznia 2025
14 Stycznia 2025
14 Stycznia 2025
8 Stycznia 2025
Instrukcje dysk twardy
Najnowsze instrukcje dla dysk twardy
9 Kwietnia 2025
9 Kwietnia 2025
28 Marca 2025
27 Marca 2025
25 Lutego 2025
9 Lutego 2025
31 Stycznia 2025
31 Stycznia 2025
29 Stycznia 2025
31 Grudnia 2025