Instrukcja obsługi Hartke Loop HL77
Hartke Niesklasyfikowane Loop HL77
Przeczytaj poniżej 📖 instrukcję obsługi w języku polskim dla Hartke Loop HL77 (32 stron) w kategorii Niesklasyfikowane. Ta instrukcja była pomocna dla 32 osób i została oceniona przez 4 użytkowników na średnio 4.4 gwiazdek
Strona 1/32
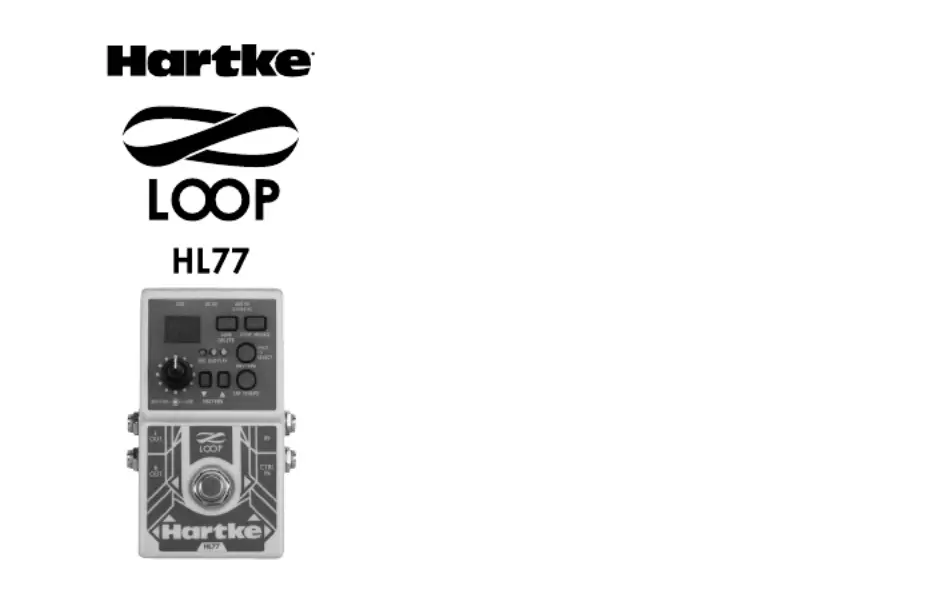
Description
Hartke’s HL77 Looper Pedal combines extensive fea-
tures, an abundance of onboard memory and a simple
user interface into a compact, rugged design for guitar-
ists and bassists looking to add layers to their creativity.
Offering unlimited overdubs and 20 rhythm tracks in 3/4
or 4/4 time, the HL77 is the perfect creative addition to
any guitarist/instrumentalist’s arsenal.
Features
• 99 phrase locations with 12 hours of record time
• 20 backing rhythm tracks in 3/4 or 4/4 time signatures
• USB connection for importing and exporting phrases
• 1/4” instrument and control inputs
• 1/8” stereo input for sampling external sources
• Dual 1/4” outputs
• Operates on 9-volt battery (not included) or optional
AC power adapter
• Rugged, die cast design
For more information about the HL77 Looper pedal and the
rest of our product line, visit hartke.com.
Specyfikacje produktu
| Marka: | Hartke |
| Kategoria: | Niesklasyfikowane |
| Model: | Loop HL77 |
Potrzebujesz pomocy?
Jeśli potrzebujesz pomocy z Hartke Loop HL77, zadaj pytanie poniżej, a inni użytkownicy Ci odpowiedzą
Instrukcje Niesklasyfikowane Hartke

3 Stycznia 2025
3 Stycznia 2025
9 Października 2024
9 Października 2024
9 Października 2024
6 Października 2024
6 Października 2024
5 Października 2024
12 Września 2024
28 Sierpnia 2024
Instrukcje Niesklasyfikowane
Najnowsze instrukcje dla Niesklasyfikowane
29 Stycznia 2025
29 Stycznia 2025
29 Stycznia 2025
29 Stycznia 2025
29 Stycznia 2025
29 Stycznia 2025
29 Stycznia 2025
29 Stycznia 2025
29 Stycznia 2025
29 Stycznia 2025