Instrukcja obsługi Hortus 210-134
Hortus
Niesklasyfikowane
210-134
Przeczytaj poniżej 📖 instrukcję obsługi w języku polskim dla Hortus 210-134 (4 stron) w kategorii Niesklasyfikowane. Ta instrukcja była pomocna dla 20 osób i została oceniona przez 10.5 użytkowników na średnio 4.6 gwiazdek
Strona 1/4

Manual | Brugsanvisning
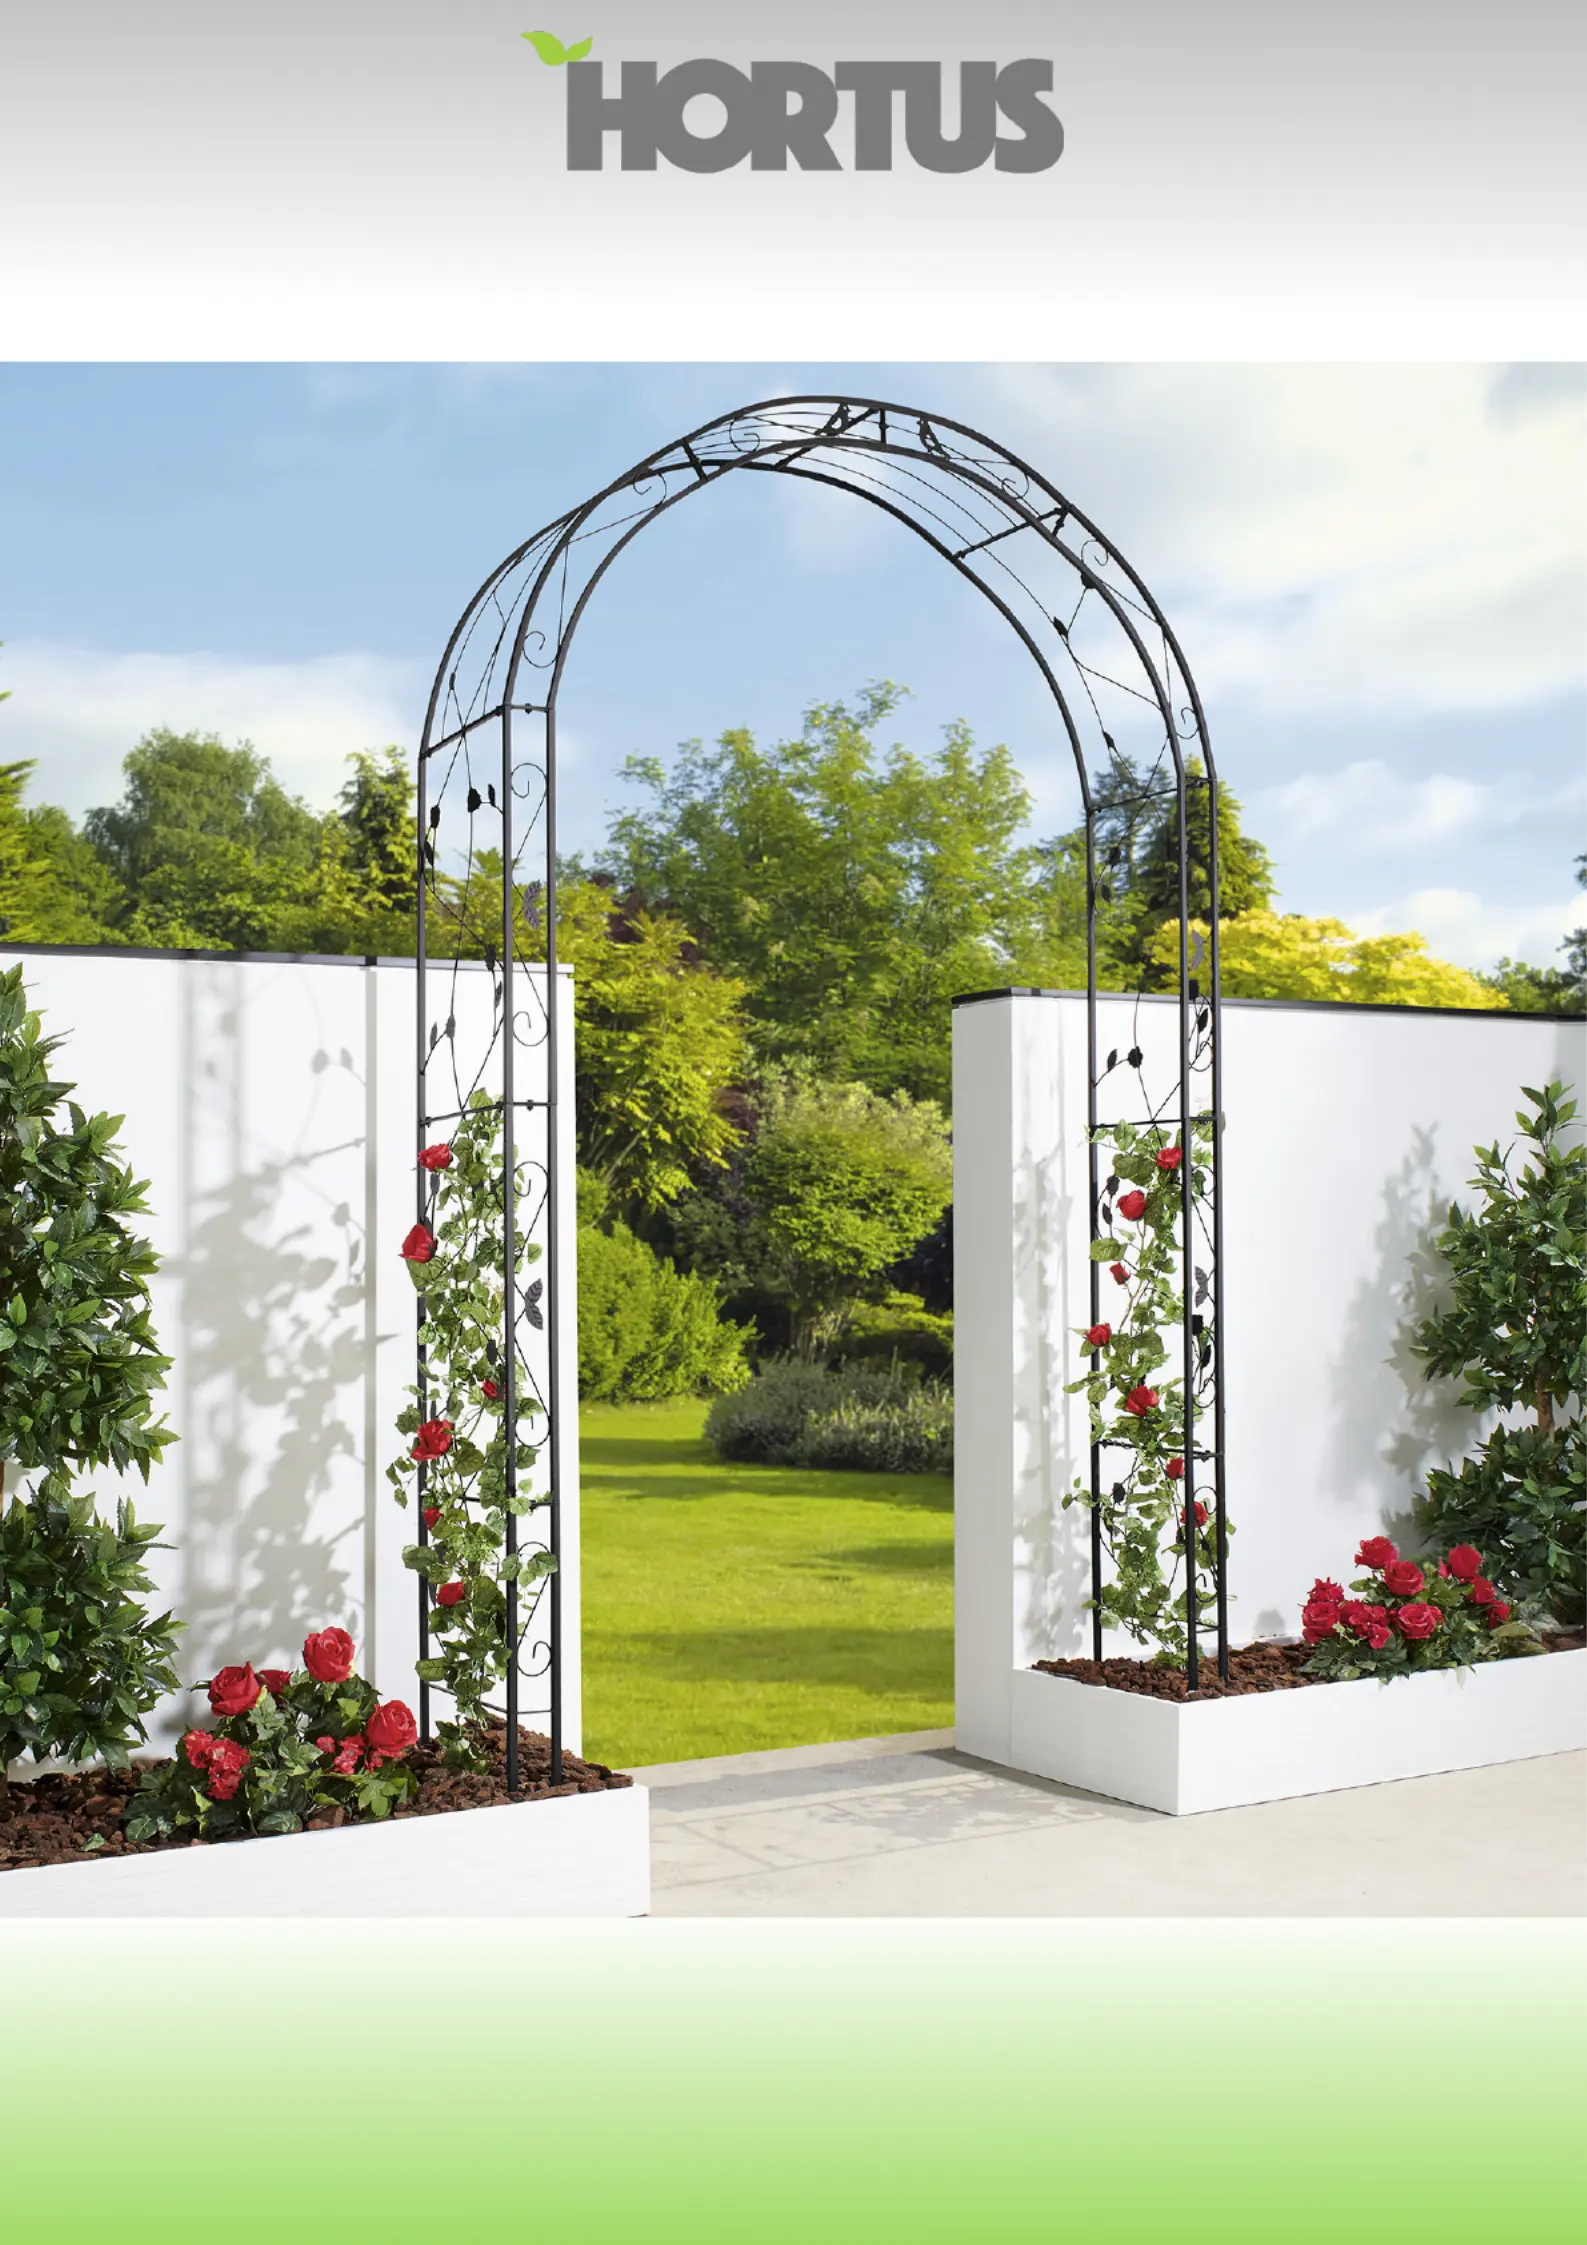
Garden arch - Rosenbue
Art. no. 210-134
EAN 5705858704746
Size: 145 x 260 x 38 cm Imported by / Importeret af
NSH NORDIC A/S
Virkefeltet 4
DK-8740 Braedstrup
Made in PRC

Congratulation with your new garden arch. Just follow a few good advices and the assembling will go
easy and smoothly.
Start by controlling the contents of the packing. (see part list)
The assembling of the garden arch is easiest if you assemble the garden arch in a laying position.
Nuts and screws are inserted as shown at the picture. When the metal parts are placed correct next
to each other tighten the nuts and bolts rmly. When the garden arch is assembled, put it in a upright
position and placed on the spot you have chosen. Pres the integrated ground spikes into the ground
and you are ready to enjoy the beautiful sight of your new garden arch.
NOTE! When the arch is nished, there will be 1 angle screw and 2 angle collectors in excess.
These are used if you wish to put 2 garden arch together into a double arch.
GB
1.Part list
A. 1 pcs.
B. 2 pcs.
C. 1 pcs.
D. 1 pcs.
E. 1 pcs.
F. 1 pcs.
G. 2 pcs.
H. 1 pcs.
2. Screws 28 pcs.
3. Nuts 30 pcs.
4. Angle screw 1 pcs.
(only used if you make a double arch)
5. Angle connectors 2 pcs.
(only used if you make a double arch)
6. Spanners 2 pcs.
7. Integrated ground spikes.

Tillykke med deres nye rosenbue. Ved hjælp af nogle få gode råd, tager det kun kort tid, at samle og
opstille denne otte rosenbue.
Start med at kontrollere indholdet i emballagen. (se stykliste)
Rosenbuen samles liggende, hvilket gør det lettere at styre delene. Møtrikker og bolte sættes i som
vist på tegningen. Metaldelene placeres korrekt ud for hinanden og møtrikker og bolte strammes. Når
rosenbuen er samlet rejses denne og placeres på det udvalgte spot. Tryk de integrerede
jordspyd i jorden og de er klar til at nyde synet af deres nye otte rosenbue.
BEMÆRK! Når buen er færdigsamlet vil der være 1 vinkelskrue og 2 vinkel beslag i overskud.
Disse benyttes, hvis man ønsker at sætte 2 rosenbuer sammen til en dobbelt rosenbue.
DA
1.Stykliste
A. 1 stk.
B. 2 stk.
C. 1 stk.
D. 1 stk.
E. 1 stk.
F. 1 stk.
G. 2 stk.
H. 1 stk.
2. Bolte 28 stk.
3. Møtrikker 30 stk.
4. Vinkelskrue 1 stk. (kun til dobbelt bue)
5. Vinkel beslag 2 stk. (kun til dobbelt bue)
6. Spændenøgle 2 stk.
7. Integrerede jordspyd.
Specyfikacje produktu
Marka: | Hortus |
Kategoria: | Niesklasyfikowane |
Model: | 210-134 |
Potrzebujesz pomocy?
Jeśli potrzebujesz pomocy z Hortus 210-134, zadaj pytanie poniżej, a inni użytkownicy Ci odpowiedzą
Instrukcje Niesklasyfikowane Hortus
9 Października 2024
Instrukcje Niesklasyfikowane
- Niesklasyfikowane Musway
- Niesklasyfikowane Hudora
- Niesklasyfikowane Make Noise
- Niesklasyfikowane Black Box
- Niesklasyfikowane Bauknecht
- Niesklasyfikowane Mistral
- Niesklasyfikowane Reloop
- Niesklasyfikowane TC Electronic
- Niesklasyfikowane JAR Systems
- Niesklasyfikowane Nemef
- Niesklasyfikowane Plastkon
- Niesklasyfikowane Silicon Power
- Niesklasyfikowane Bavaria By Einhell
- Niesklasyfikowane Bliss Outdoors
- Niesklasyfikowane Berner
Najnowsze instrukcje dla Niesklasyfikowane
29 Stycznia 2025
29 Stycznia 2025
29 Stycznia 2025
29 Stycznia 2025
29 Stycznia 2025
29 Stycznia 2025
29 Stycznia 2025
29 Stycznia 2025
29 Stycznia 2025
29 Stycznia 2025