Instrukcja obsługi Soundskins SSK-BRONCO
Soundskins
Niesklasyfikowane
SSK-BRONCO
Przeczytaj poniżej 📖 instrukcję obsługi w języku polskim dla Soundskins SSK-BRONCO (5 stron) w kategorii Niesklasyfikowane. Ta instrukcja była pomocna dla 23 osób i została oceniona przez 12 użytkowników na średnio 4.2 gwiazdek
Strona 1/5
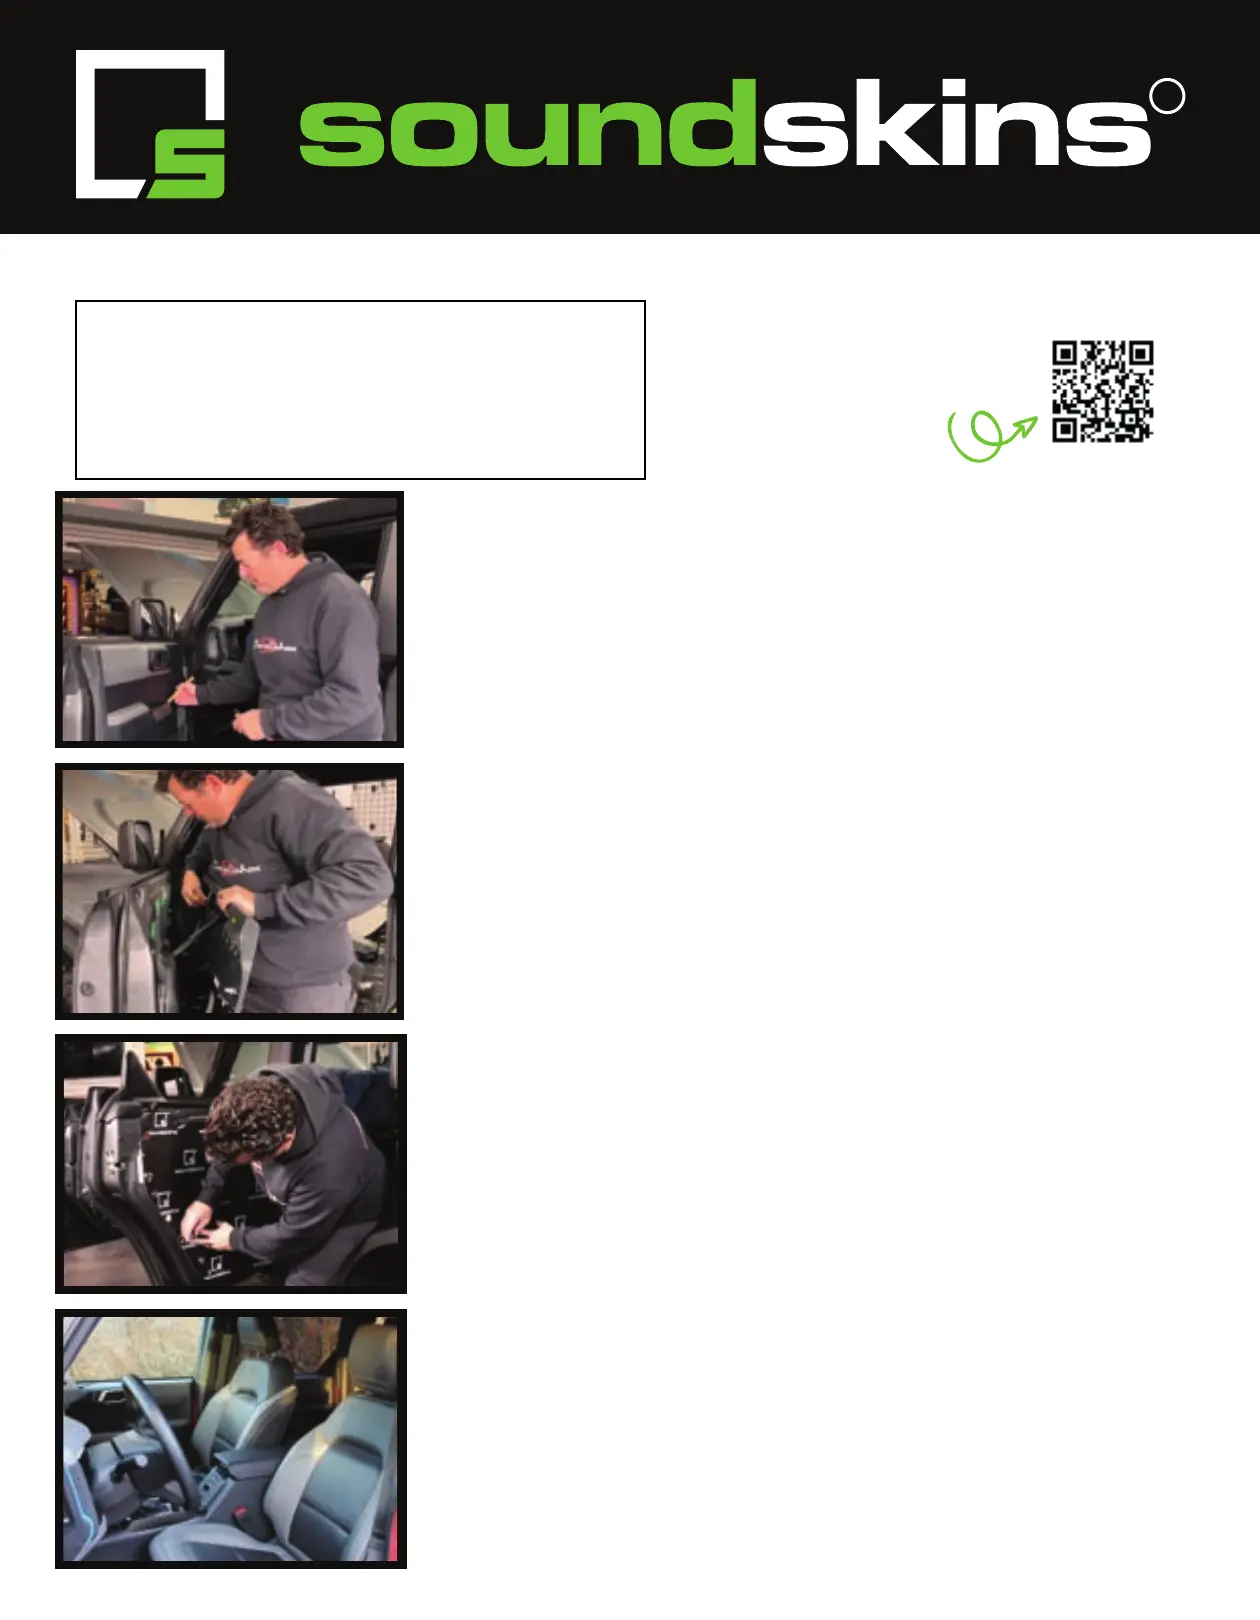
Bronco Kit Installation Instructions
1. Start by locating the fastening hardware on the door panels.
There will be one behind the door handle under a plastic cover,
one behind the door grab handle that you will have to pop out to
reveal, and 2 at the bottom right corner of the door panels. Take a
7 mm socket and remove. Then, use a panel tool to pry the panel
off the door, start from the bottom right corner. Be sure not to break
any clips or mounting hardware.
3. Then, start applying the door pieces. Peel off the backing paper
starting at the top, tack the piece onto the door and work your way
down, pressing down the material and pulling down the backing
paper more as you go along. Remember to feed the harnesses
through the proper holes and ensure all holes are aligned properly
before pressing the entire piece down. Repeat steps 1-3 for all 4
doors.
4. Before removing the front seats, you MUST disconnect the
negative terminal of your car battery with a 10 mm bolt. Now, you
can work on removing the front seats. There are 13 mm bolts
covered by plastic cover plates on both sides underneath the seats
- you will need a T20 torx bit to remove them. Then, disconnect the
harness by sliding the red security tab out of the way and pinching
the connector. Then, carry the seats out of the car.
2. Pull the door panel away slowly. There will be 2 plug clips that
will need to be released as well as a wire plug to disconnect. Set
the door panel aside and unhook all plugs, remove the vapor
barrier, and clean the car metal surface using a microfiber cloth
and Acetone or other cleaning solution. The point is to get the
surface clean to ensure material glue contact.
• Drill
• 7mm, 10 mm, 13mm, 18mm socket
• Socket extension
• T20, T30, T55 torx bit
• Panel/trim tool
• Roller
• Flat head screw driver
• 3/8” Ratchet
• Microber cloth
• Acetone or cleaning solution
• Shop vacuum
• Tarp, cloth, blanket, or towel
Tools needed for installation:
R
Scan this code to watch the
full instructional video!
Specyfikacje produktu
| Marka: | Soundskins |
| Kategoria: | Niesklasyfikowane |
| Model: | SSK-BRONCO |
Potrzebujesz pomocy?
Jeśli potrzebujesz pomocy z Soundskins SSK-BRONCO, zadaj pytanie poniżej, a inni użytkownicy Ci odpowiedzą
Instrukcje Niesklasyfikowane Soundskins

4 Października 2024

4 Października 2024

4 Października 2024

4 Października 2024

4 Października 2024

4 Października 2024

4 Października 2024

4 Października 2024

4 Października 2024

4 Października 2024
Instrukcje Niesklasyfikowane
- Arylic
- Vello
- Peg Perego
- Izzy
- VisionTek
- Signature Hardware
- Greemotion
- Neutrik
- Parrot
- Plastkon
- NEC
- Grunkel
- EnGenius
- Carcomm
- Steren
Najnowsze instrukcje dla Niesklasyfikowane

29 Stycznia 2025

29 Stycznia 2025

29 Stycznia 2025

29 Stycznia 2025

29 Stycznia 2025

29 Stycznia 2025

29 Stycznia 2025

29 Stycznia 2025

29 Stycznia 2025

29 Stycznia 2025