Instrukcja obsługi Symmons Museo 533TPL
Symmons
Niesklasyfikowane
Museo 533TPL
Przeczytaj poniżej 📖 instrukcję obsługi w języku polskim dla Symmons Museo 533TPL (4 stron) w kategorii Niesklasyfikowane. Ta instrukcja była pomocna dla 12 osób i została oceniona przez 6.5 użytkowników na średnio 4.5 gwiazdek
Strona 1/4

533RH, 533TB-18, 533TB-24, 533TPL, 533TPR, 533TR
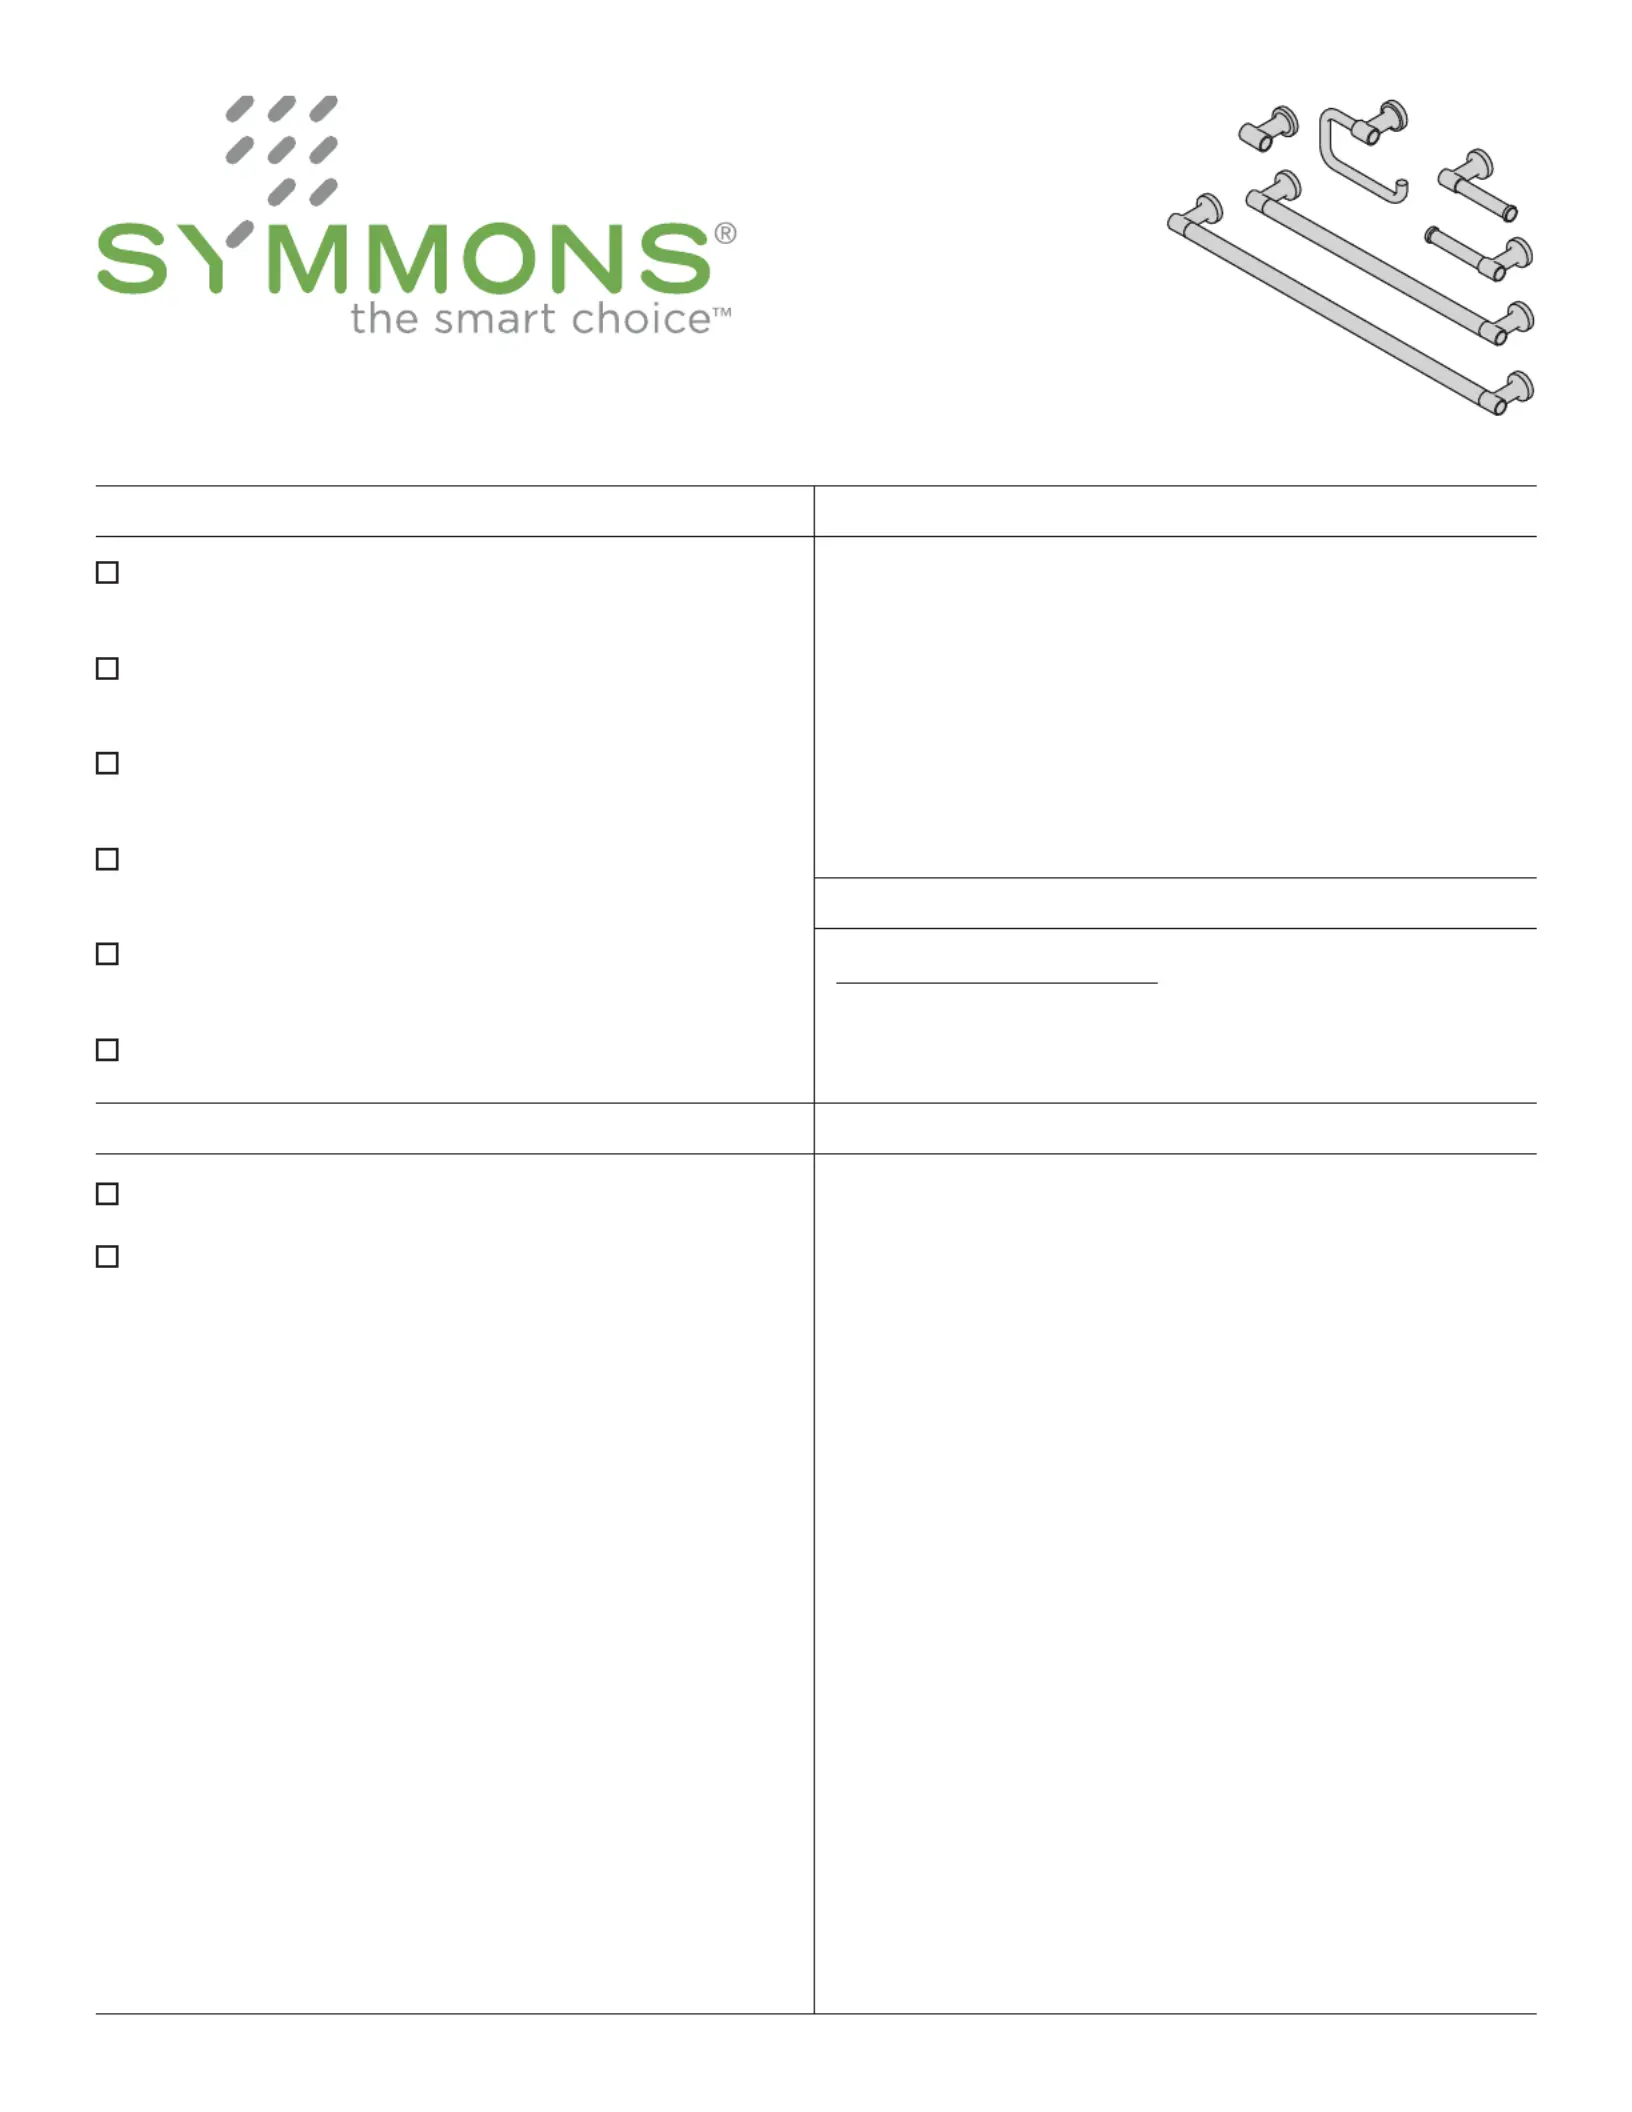
Museo™ Accessories
Operation & Maintenance Manual
Model Numbers Specifications
533RH Robe Hook
533TB-18 18" Towel Bar
533TB-24 24" Towel Bar
533TPL Toilet Paper Holder (left hand)
533TPR Toilet Paper Holder (right hand)
533TR Towel Ring
All premium accessories made from brass plated in
standard polished chrome nish.
Modifications Warranty
-BLK Polished graphite finish
-STN Satin nickel finish
Limited Lifetime - to the original end purchaser in
consumer installations.
5 Years - for commercial installations.
Refer to www.symmons.com/warranty for complete
warranty information.
Note: Append appropriate -sufx to model number.
For California Residents
WARNING: This product contains chemicals known to the
State of California to cause cancer, birth defects, or other
reproductive harm.
Compliance

2
Dimensions
Measurements
A 2", 51 mm
B 1 7/8", 48 mm
C 3 7/16", 87 mm
D 7 1/2", 191 mm
E 5 3/8", 137 mm
F 6 1/2", 165 mm
G 18", 457 mm
H 20", 508 mm
I 24", 610 mm
J 26", 660 mm
Required for Installation
Allen wrench
(3/16")
Phillips head
screwdriver
Power drill
Note: Dimensions are subject to change without notice.
AA
AA
AA
GG
H
AA
II
JJ
DD
EE
CC
FF
C
C
CC
BB
CC
533RH
533TB-18
CC
533TB-24
533TPR
CC
533TPL
533TR
AA
FF
Replacement Parts
Description Part Number
Mounting
Hardware Kit RA-017

3
Installation
1) Measure and mark centerlines
for mounting bracket installation
using dimensions on page 2.
Notes: 533TB-18 and 533TB-24
only. Make sure both centerline
marks are level.
2a)
Dry Wall Option: Place mounting
brackets into desired position.
Using brackets as a guide, mark
holes. Push toggle anchors into
wall.
Note:
For plaster walls 1/2” thick or
less, insert toggle tool into toggle to
secure behind wall prior to installing
accessory trim.
2b) Stud Option:
Place mounting
brackets into desired position.
Using brackets as a guide,
carefully drill 3/16" holes
into wall.
3) With mounting brackets in position,
secure to wall using screws.
4) Hang top of accessory on
mounting bracket. Lower into
position.
5) Secure with set screw.
1
2
1
2
1
2
1
3
3
2
Care and Cleaning
1) Clean finished trim area with a soft cloth using mild soap and water or a non-abrasive cleaner and then quickly rinse with
water.
Specyfikacje produktu
Marka: | Symmons |
Kategoria: | Niesklasyfikowane |
Model: | Museo 533TPL |
Potrzebujesz pomocy?
Jeśli potrzebujesz pomocy z Symmons Museo 533TPL, zadaj pytanie poniżej, a inni użytkownicy Ci odpowiedzą
Instrukcje Niesklasyfikowane Symmons
1 Stycznia 2025
1 Stycznia 2025
1 Stycznia 2025
1 Stycznia 2025
19 Grudnia 2024
19 Grudnia 2024
Instrukcje Niesklasyfikowane
- Niesklasyfikowane Lenmar
- Niesklasyfikowane META
- Niesklasyfikowane Aluratek
- Niesklasyfikowane Bontempi
- Niesklasyfikowane EtiamPro
- Niesklasyfikowane SPC
- Niesklasyfikowane Oliveri
- Niesklasyfikowane Mafell
- Niesklasyfikowane Code Corporation
- Niesklasyfikowane HyperIce
- Niesklasyfikowane Gemini
- Niesklasyfikowane Teac
- Niesklasyfikowane Telmax
- Niesklasyfikowane MOON
- Niesklasyfikowane Integra
Najnowsze instrukcje dla Niesklasyfikowane
29 Stycznia 2025
29 Stycznia 2025
29 Stycznia 2025
29 Stycznia 2025
29 Stycznia 2025
29 Stycznia 2025
29 Stycznia 2025
29 Stycznia 2025
29 Stycznia 2025
29 Stycznia 2025