Instrukcja obsługi Tripp Lite SmartRack SRIN4101010
Tripp Lite
Niesklasyfikowane
SmartRack SRIN4101010
Przeczytaj poniżej 📖 instrukcję obsługi w języku polskim dla Tripp Lite SmartRack SRIN4101010 (24 stron) w kategorii Niesklasyfikowane. Ta instrukcja była pomocna dla 18 osób i została oceniona przez 9.5 użytkowników na średnio 4.3 gwiazdek
Strona 1/24

Installation Guide
1111 W. 35th Street, Chicago, IL 60609 USA • tripplite.com/support
Copyright © 2021 Tripp Lite. All rights reserved.
Español 7 • Français 13 • Русский 19
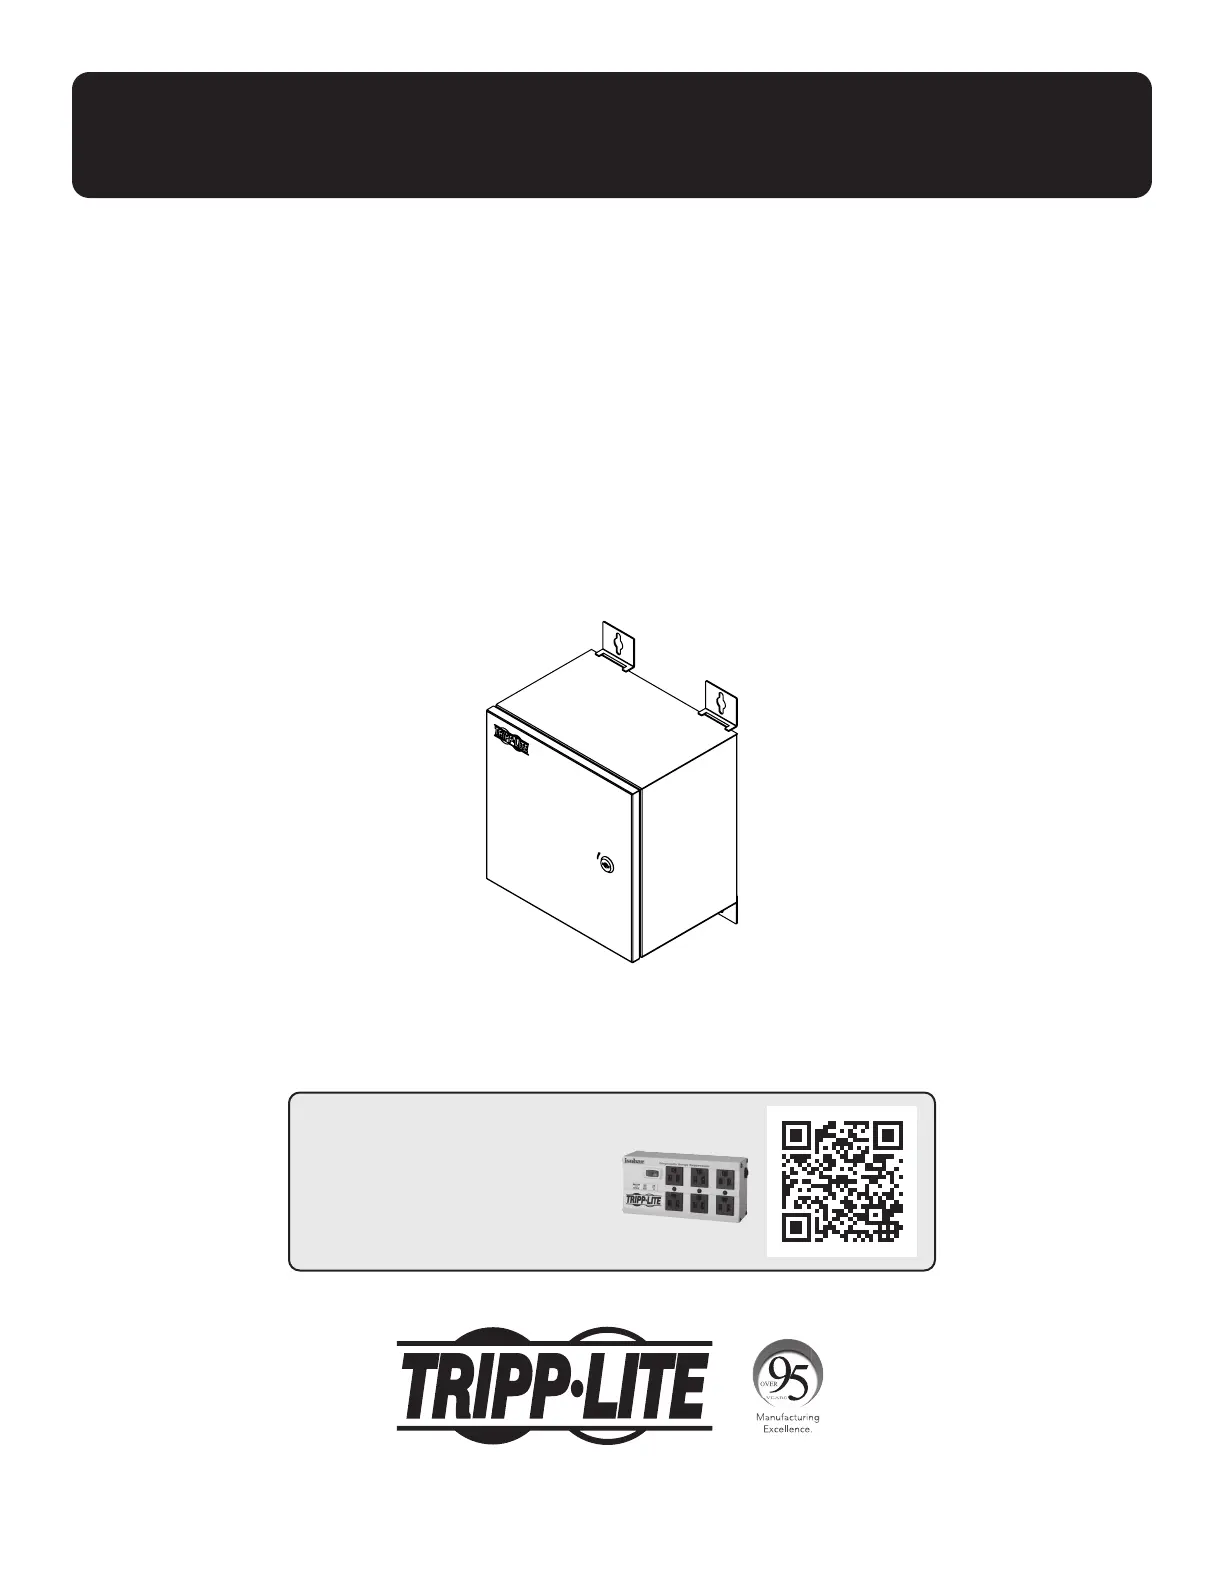
NEMA-4 Single-Lock
Metal Enclosure
Models:
SRIN410106, SRIN4101010, SRIN410146, SRIN4101410,
SRIN412126, SRIN4121210, SRIN414146, SRIN4141410
Series Numbers: (AC0043, AC004C, AC004B, AC004A, AC0049, AC0048, AC0047, AC0046)
WARRANTY REGISTRATION
Register your product today and be
automatically entered to win an ISOBAR®
surge protector in our monthly drawing!
tripplite.com/warranty

2
Components List
Installation
IMPORTANT:
Ensure you have received all parts according to the component checklist prior to installing. If any parts are
missing or faulty, visit tripplite.com/support for service.
x1
x4 x8 x1 x2
x1 (Metal)
x1 (Plastic)
1. Attach Mounting Feet to the Enclosure’s Rear Panel
Note: SRIN4141410 model shown. Enclosure
size and dimensions will differ by model.

3
Installation
• Installers are responsible for providing wall-mounting hardware. Use a minimum of two #10 x 2” or larger screws
(not included) to secure the enclosure in place.
• Make sure mounting screws are anchored into the center of the studs. Use of a stud finder is highly recommended.
• If there is no stud at the mounting location, it is recommended you use four anchors to secure the enclosure in place.
Due to the weight of the enclosure, plastic expansion wall anchors are not recommended for drywall installations.
Suitable anchors include: threaded drywall anchors, threaded drywall toggles, sleeve-type hollow wall anchors
(a.k.a. molly bolts) or toggle bolts.
• If placing the enclosure over a telecommunications receptacle, remove the wall plate, then fasten the enclosure to the
wall. Once secured, fasten the wall plate over the receptacle.
• If no telecommunications receptacle is available, a surface mount box (or biscuit jack) and equipment cord can be
mounted inside the unit.
• Use an adhesive-backed surface mount box.
2. Mount Enclosure to Wall
Mark the exact
location of the
mounting holes
Attach the
enclosure to
the wall
Drill pilot holes
Find a wood stud
location for mounting
the enclosure
(Mounting Hardware
Not Included)
Specyfikacje produktu
Marka: | Tripp Lite |
Kategoria: | Niesklasyfikowane |
Model: | SmartRack SRIN4101010 |
Potrzebujesz pomocy?
Jeśli potrzebujesz pomocy z Tripp Lite SmartRack SRIN4101010, zadaj pytanie poniżej, a inni użytkownicy Ci odpowiedzą
Instrukcje Niesklasyfikowane Tripp Lite
15 Stycznia 2025
15 Stycznia 2025
15 Stycznia 2025
15 Stycznia 2025
15 Stycznia 2025
15 Stycznia 2025
9 Stycznia 2025
9 Stycznia 2025
9 Stycznia 2025
9 Stycznia 2025
Instrukcje Niesklasyfikowane
- Niesklasyfikowane Juwel
- Niesklasyfikowane Drive Medical
- Niesklasyfikowane Carson
- Niesklasyfikowane Watercool
- Niesklasyfikowane Kenko
- Niesklasyfikowane Eden
- Niesklasyfikowane Block
- Niesklasyfikowane ProLights
- Niesklasyfikowane Durex
- Niesklasyfikowane I.safe Mobile
- Niesklasyfikowane Enbrighten
- Niesklasyfikowane Lescha
- Niesklasyfikowane GMB Gaming
- Niesklasyfikowane Cayin
- Niesklasyfikowane OnePlus
Najnowsze instrukcje dla Niesklasyfikowane
29 Stycznia 2025
29 Stycznia 2025
29 Stycznia 2025
29 Stycznia 2025
29 Stycznia 2025
29 Stycznia 2025
29 Stycznia 2025
29 Stycznia 2025
29 Stycznia 2025
29 Stycznia 2025