Instrukcja obsługi Seville Classics Mesh Utility Shoe Rack 3 Tier
Seville Classics Niesklasyfikowane Mesh Utility Shoe Rack 3 Tier
Przeczytaj poniżej 📖 instrukcję obsługi w języku polskim dla Seville Classics Mesh Utility Shoe Rack 3 Tier (2 stron) w kategorii Niesklasyfikowane. Ta instrukcja była pomocna dla 24 osób i została oceniona przez 9 użytkowników na średnio 4.1 gwiazdek
Strona 1/2
STEPS TO STACK THE RACK
1.Build another rack following the instructions above.
However, do not install the LEVELING FEET (B) on the second
(top) unit.
______________________________________________________
2.Screw the STACKING PINS (G) into the legs of the top unit.
Remove all CAPS (C) from the original (base) unit.
______________________________________________________
3.Lift the top unit up and onto the base unit, lining up the pins
with the holes at the four top corners so that they can be
inserted into each other. Be sure everything is in alignment and
then press down firmly on the top unit so that it sits tightly into
and onto the base unit.
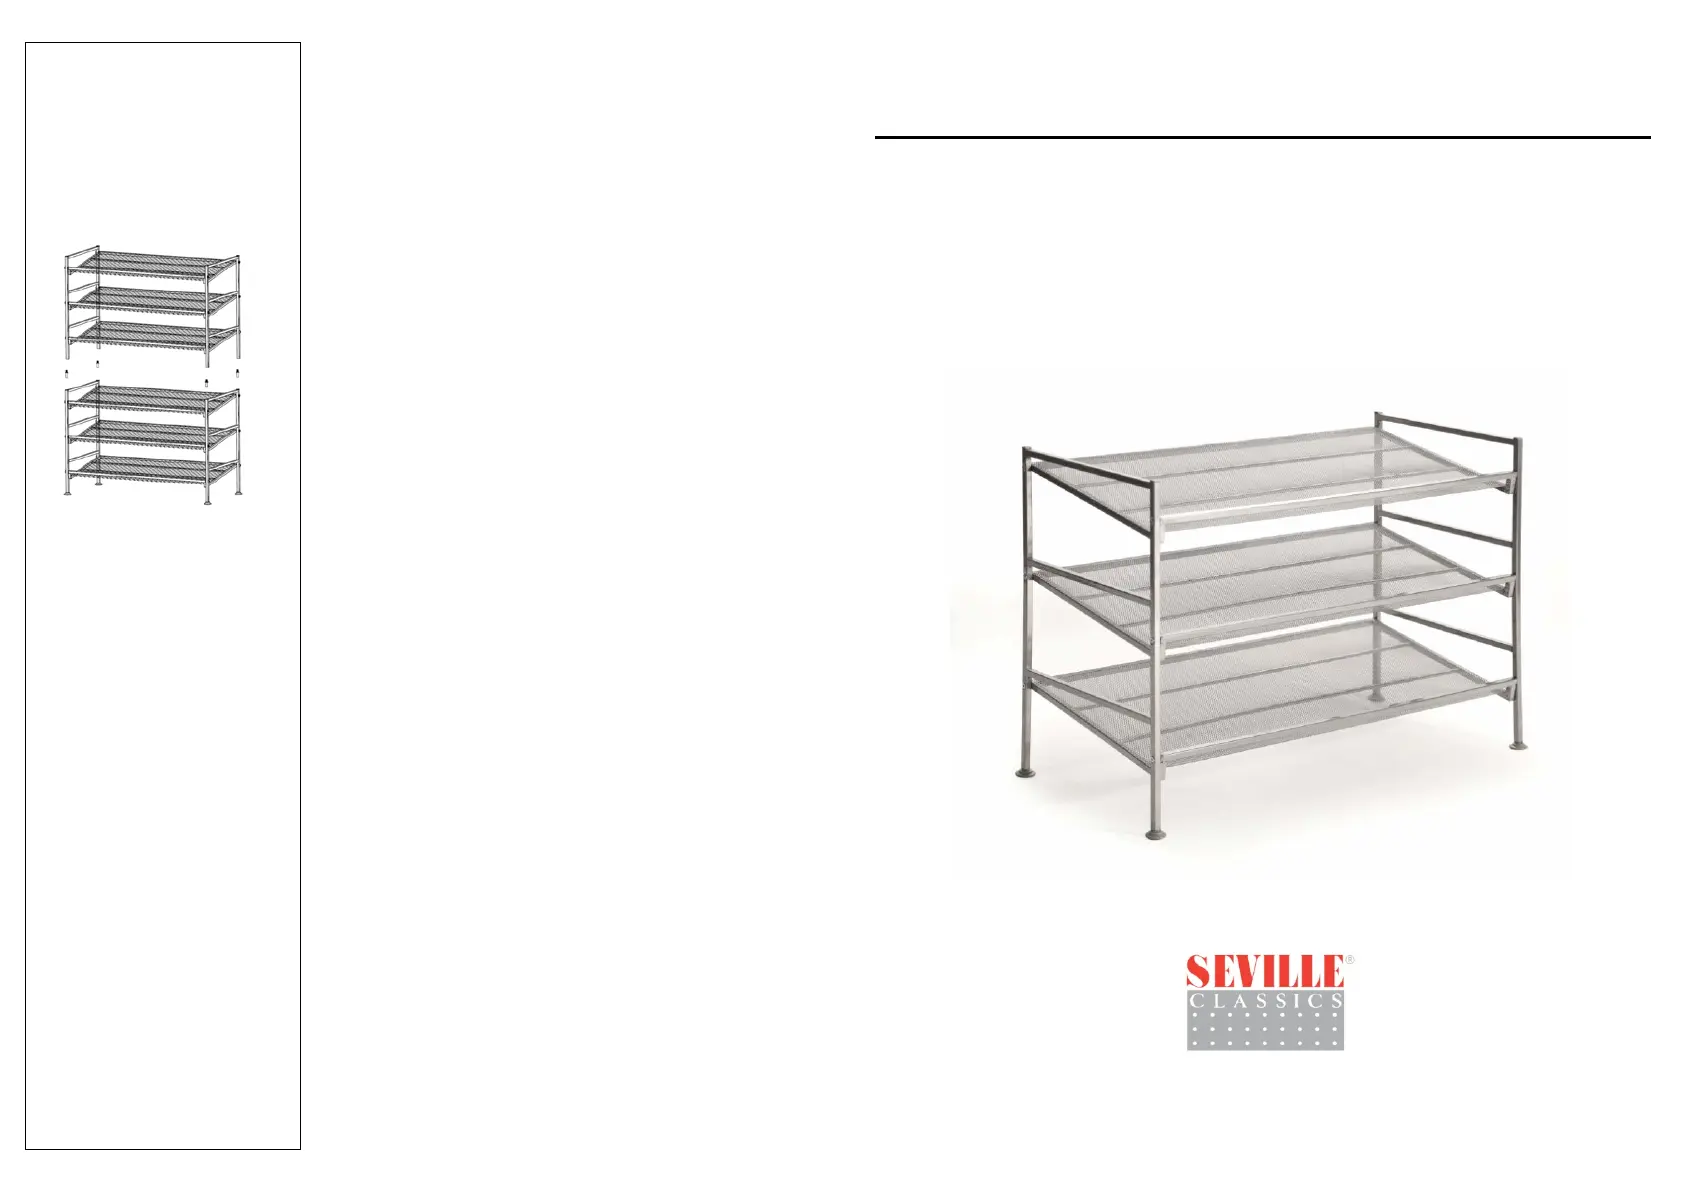
WEIGHT CAPACITYPER SHELF: 13.6 kg/ 30 lb
ASSEMBLY INSTRUCTIONS
3-TIER ADJUSTABLESHOE RACK (Model No. 15890)
www.sevilleclassics.com
©2015 Seville Classics, Inc.
NOTE: Drawing shows 2 units
stacked vertically. Do not exceed
maximum height of 2 stacked units.
WARNING: Do not sit on the rack. Do
not drop heavy items on the rack.
Place heavier items on the lower
shelves and lighter ones on the top
shelves. Do not move the rack while
loaded.
G
TF150617
Specyfikacje produktu
| Marka: | Seville Classics |
| Kategoria: | Niesklasyfikowane |
| Model: | Mesh Utility Shoe Rack 3 Tier |
Potrzebujesz pomocy?
Jeśli potrzebujesz pomocy z Seville Classics Mesh Utility Shoe Rack 3 Tier, zadaj pytanie poniżej, a inni użytkownicy Ci odpowiedzą
Instrukcje Niesklasyfikowane Seville Classics

1 Października 2024
1 Października 2024
1 Października 2024
1 Października 2024
1 Października 2024
1 Października 2024
1 Października 2024
1 Października 2024
1 Października 2024
1 Października 2024
Instrukcje Niesklasyfikowane
Najnowsze instrukcje dla Niesklasyfikowane
29 Stycznia 2025
29 Stycznia 2025
29 Stycznia 2025
29 Stycznia 2025
29 Stycznia 2025
29 Stycznia 2025
29 Stycznia 2025
29 Stycznia 2025
29 Stycznia 2025
29 Stycznia 2025